Cooling system controlled by Arduino UNO
Tutorial plan
1- What is a cooling system ?
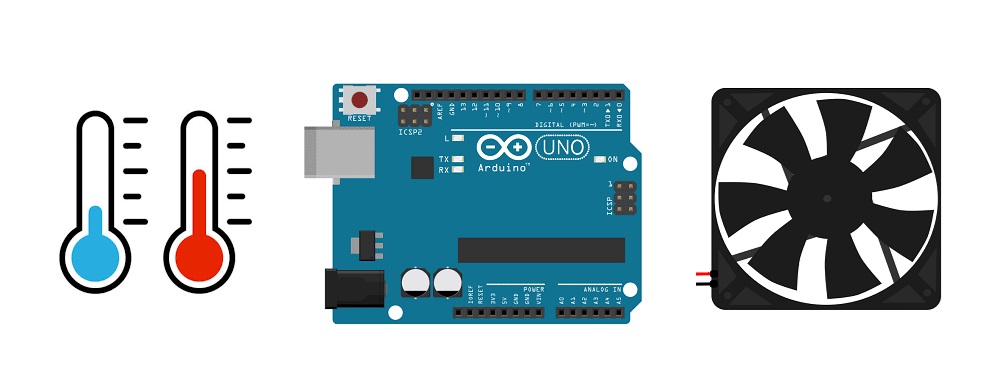
2- How does the cooling system controlled by the Arduino UNO board work ?
3- Components Needed
4- System wiring Diagram
5- Arduino prograc for the Cooling System
What is a cooling system ?
A cooling system is a mechanism designed to remove heat from a space, object, or substance to maintain it at a desired temperature. Cooling systems are used in a variety of applications to prevent overheating, maintain optimal operating conditions, and ensure efficiency and safety.
Types of Cooling Systems
Automotive Cooling System:
Used in vehicles to cool the engine and prevent it from overheating. This typically includes a radiator, water pump, coolant, and fans to dissipate heat.
HVAC (Heating, Ventilation, and Air Conditioning) Systems:
Used in buildings to regulate indoor temperature, particularly for cooling during hot weather. These systems use refrigerants and compressors to remove heat from the air.
Electronics Cooling Systems:
Used in computers, phones, and other electronics to cool components like processors and graphics cards. Common methods include fans, heat sinks, and liquid cooling systems.
Industrial Cooling Systems:
Used in manufacturing processes where machinery generates substantial heat, which can interfere with production or cause damage.
Refrigeration and Freezing Systems:
Used to cool and preserve food, chemicals, and other perishable items by lowering their temperature to extend shelf life or enable safe transport.
Key Components of Cooling Systems
Coolant (like water, air, or refrigerants): Transfers heat away from the source.
Radiator/Heat Exchanger: Disperses absorbed heat into the environment.
Fans or Blowers: Increase airflow to accelerate heat dissipation.
Thermostats and Sensors: Regulate and monitor temperature.
Pumps and Compressors: Facilitate the movement of coolant or refrigerant in the system.
Cooling systems are critical in various fields, from automotive engineering and electronics to climate control in buildings, ensuring functionality and safety across a wide range of applications.
How does the cooling system controlled by the Arduino UNO board work ?
To create a cooling system using an Arduino UNO, a DHT11 sensor, and a 5V fan, you’ll set up the Arduino to read temperature and humidity from the DHT11 sensor. Based on this temperature reading, the Arduino will control the fan, turning it on when the temperature exceeds a set threshold and off when it cools down.
Temperature Monitoring: The Arduino reads the temperature from the DHT11 sensor every 2 seconds.
Fan Activation: When the temperature exceeds the defined threshold, the Arduino turns on the fan by sending a signal to the relay or transistor, which completes the fan circuit.
Fan Deactivation: When the temperature falls back below the threshold, the Arduino turns the fan off, conserving power and cooling only when necessary.
This cooling system provides simple, automated temperature control, making it ideal for projects that require temperature regulation, such as small electronics enclosures or DIY climate control setups.
Components Needed
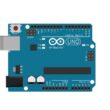
Arduino UNO:

The main controller.
DHT11 Sensor:

the sensor Measures ambient temperature.
5V Fan:
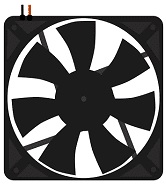
The fan Provides cooling when activated.
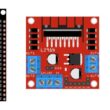
Relay Module :

The module serves as an electronic switch to control the 5V fan
LCD I2C Display:
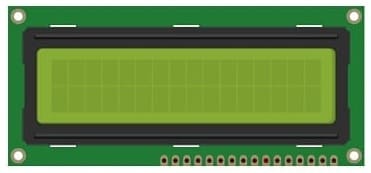
it displays temperature reading.
Jumper Wires

Jumper wires will be used to make connections between the components.
Breadboard:
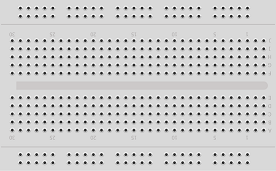
A breadboard can be used to create a temporary circuit for testing and prototyping.
System wiring Diagram
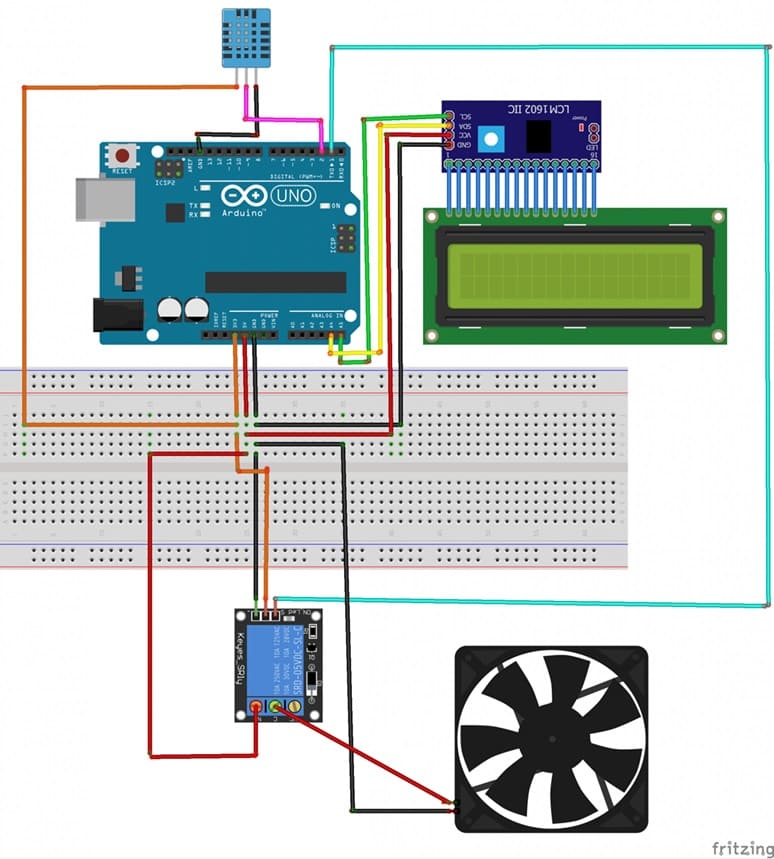
DHT11 Sensor:
Connect the VCC pin of the DHT11 to the 3.3V pin on the Arduino.
Connect the GND pin of the DHT11 to GND on the Arduino.
Connect the DATA pin of the DHT11 to a digital pin on the Arduino (e.g., D2).
Fan Control with Relay Module:
Connect the control (S) pin of the relay module to a digital pin on the Arduino (e.g., D1).
Connect VCC and GND of the relay module to 5V and GND on the Arduino.
Connect one terminal of the fan to the normally open (NO) terminal of the relay, and the other terminal to the GND. The COM terminal of the relay should go to the 5V power supply.
LCD I2C Display:
Connect the SDA pin of the I2C LCD to the A4 pin on the Arduino.
Connect the SCL pin of the I2C LCD to the A5 pin on the Arduino.
Connect VCC to the 5V pin on the Arduino and GND to GND.
Arduino program for the Cooling System
This code will read data from the DHT11 sensor, display temperature and humidity on the LCD, and control the fan based on the temperature threshold.
|
1 2 3 4 5 6 7 8 9 10 11 12 13 14 15 16 17 18 19 20 21 22 23 24 25 26 27 28 29 30 31 32 33 |
#include <dht11.h> #include <LiquidCrystal_I2C.h> #define DHT11PIN 2 // DATA -> Pin 2 #define ventilateurPIN 1 // Pin -> for Fan LiquidCrystal_I2C lcd(0x27, 20, 4); dht11 DHT11; void setup() { pinMode(ventilateurPIN,OUTPUT); //sets the Pin 2 digital of the Arduino in output mode lcd.init(); } void loop() { DHT11.read(DHT11PIN); lcd.backlight(); lcd.clear(); lcd.setCursor(0, 0); lcd.print("temperature= "); lcd.setCursor(0,1); lcd.print((float)DHT11.temperature); if ((float)DHT11.temperature >28) { digitalWrite(ventilateurPIN,HIGH); // the fan starts to turn } else { digitalWrite(ventilateurPIN,LOW); // the fan stops } delay(2000); } |
Explanation of the Code
DHT11 Library: The DHT library allows the Arduino to read temperature and humidity data from the DHT11 sensor. Install this library via the Arduino Library Manager if needed.
LiquidCrystal_I2C Library: This library lets the Arduino control the I2C LCD, simplifying the display code. Install it from the Arduino Library Manager.
LCD Display: The LCD shows the current temperature and humidity readings, updating every 2 seconds.
Fan Control: The fan is activated when the temperature exceeds the defined threshold (temperatureThreshold, set to 28°C in this code). The relay module acts as a switch for the fan, turning it on or off based on this condition.
0 commentaire
laisser un commentaire
Tutoriels récents
Tutoriels populaires
Tutoriels plus commentés
