Using water pump by Arduino board
Tutorial plan
1- How to use water pump by Arduino UNO board ?
2- Components Needed
3- Circuit Setup
4- Programming the Arduino board
How to use water pump by Arduino UNO board ?
A water pump is a mechanical device designed to move water from one place to another. Its primary purpose is to increase the pressure of water, enabling it to flow through pipes, channels, or hoses to where it’s needed. Water pumps are essential in many applications, including agricultural irrigation, plumbing systems, drainage, and industrial processes.
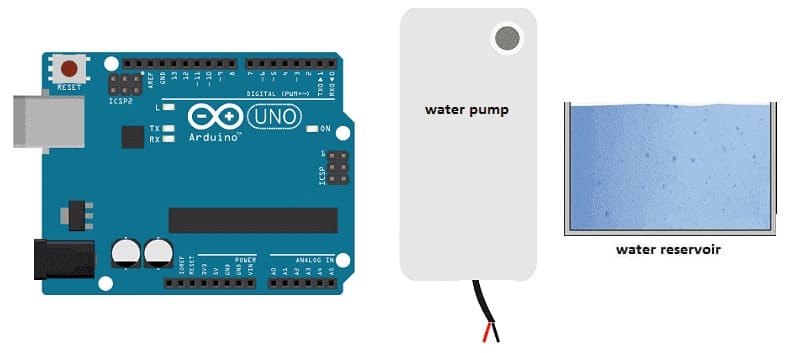
Using an Arduino UNO to control a water pump is a common project, especially in DIY and automation applications like automatic plant watering or aquarium management. The Arduino itself can't power a water pump directly because it doesn’t provide enough current. However, by using a relay module, the Arduino can safely control the pump.
Components Needed
1- Arduino UNO:

The Arduino UNO is a microcontroller board that reads button inputs and controls the relay.
2- Relay Module (for controlling the water pump with the Arduino):

A relay module allows the Arduino to control a high-power device like a water pump by isolating the pump's high voltage from the Arduino’s low voltage. When the Arduino sends a signal, the relay switches on, allowing current to flow through the pump and activate it.
3- Water Pump 12V (for small projects)
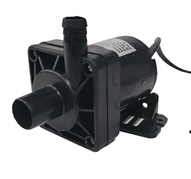
A 12V water pump is an excellent choice for small projects due to its manageable power requirements and compatibility with many microcontrollers like Arduino.
4- Push button:
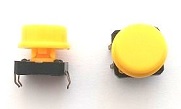
The push button is a simple input device that sends a signal to the Arduino when pressed. The Arduino detects button presses to toggle the relay.
5- Power Supply:
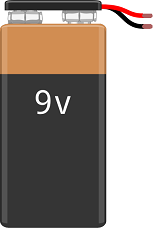
You’ll need a 9V power supply that provides enough current for the pump to operate effectively.
5- Jumper Wires

Jumper wires will be used to make connections between the components.
6- Breadboard:
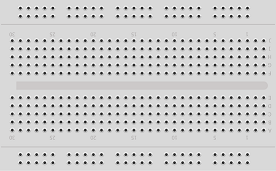
A breadboard can be used to create a temporary circuit for testing and prototyping.
Circuit Setup
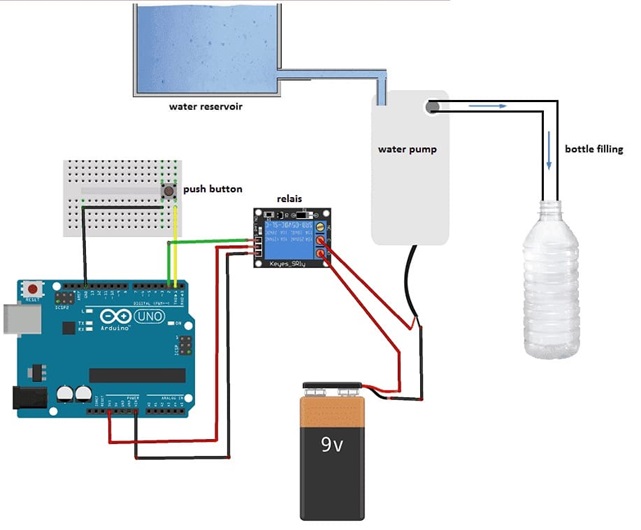
1- Connect the Relay Module to Arduino:
VCC(+) on Relay to 5V on Arduino
GND(-) on Relay to GND on Arduino
S on Relay to any digital pin on Arduino (e.g., D2)
2- Connect the Water Pump:
The relay acts as a switch to control the pump’s power. Connect one terminal of the water pump to the relay’s Common (COM) pin.
- Connect the Normally Open (NO) pin on the relay to the positive terminal of the external power supply.
- Connect the other terminal of the water pump to the ground of the power supply.
3- Push Button to Arduino:
- Connect one side of the button to GND.
- Connect the other side to a digital pin on the Arduino (e.g., Pin 1).
- Enable the internal pull-up resistor on the Arduino for the button pin in the code.
Programming the Arduino board
Here’s a simple code that toggles the pump on or off each time you press the button.
|
1 2 3 4 5 6 7 8 9 10 11 12 13 14 15 16 17 18 19 20 21 22 23 |
const int buttonPin = 1; // // Button connected to pin 1 const int relay_pump = 2; <span class="hljs-comment">// Relay connected to pin 2 </span> int buttonState; void setup() { pinMode(buttonPin, INPUT); pinMode(relay_pump, OUTPUT); } void loop() { <span class="hljs-comment">// Read the button state</span> buttonState = digitalRead(bouton); if (buttonState == 0) // We press the button { digitalWrite(relay_pump, HIGH); // the water pump fills the bottle } else // we release the button { digitalWrite(relay_pump, LOW); // the water pump stops } } |
Explanation
- Button Debounce: Debouncing prevents multiple triggers from a single press due to mechanical bouncing.
- Relay Control: The relay is controlled with a digital output from the Arduino. It turns on the pump when the button is pressed and toggles it with each press.
