Using KY-032 sensor and remote control with Arduino UNO
Tutorial plan
1- Introducing the KY-032 Infrared Sensor
2- The relationship between the KY-032 infrared sensor and a remote control
3- How to receive the Arduino UNO an infrared signal from the remote control using the KY-032 sensor?
4- The components needed to use the KY-032 infrared sensor with Arduino UNO
5- Mounting Arduino UNO with the KY-032 infrared sensor
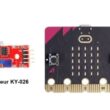
Introducing the KY-032 Infrared Sensor
The KY-032 Infrared Sensor is a module that is commonly used in electronics and robotics projects for detecting the presence of infrared signals. It is also known as an infrared obstacle avoidance sensor module. The module consists of an infrared emitter (LED) and an infrared receiver (phototransistor) placed side by side.
Here are some key features and characteristics of the KY-032 Infrared Sensor:
1- Detection Method: The sensor module detects infrared light by emitting a modulated infrared signal and measuring the reflection. When an object is present in front of the module, the infrared light emitted by the LED bounces off the object and is detected by the phototransistor.
2- Operating Voltage: The KY-032 module typically operates at a voltage range of 3.3V to 5V, making it compatible with most microcontrollers and development boards.
3- Digital Output: The module provides a digital output that can be easily interfaced with microcontrollers or other digital circuits. It produces a HIGH (logic 1) output when no obstacle is detected and a LOW (logic 0) output when an obstacle is detected within its detection range.
4- Adjustable Detection Range: The detection range of the KY-032 sensor can be adjusted using a potentiometer on the module. This allows you to fine-tune the sensitivity of the sensor according to your specific requirements.
5- Applications: The KY-032 Infrared Sensor can be used in various applications, including obstacle detection and avoidance in robotics, line following robots, proximity sensing, object detection, and security systems.
When using the KY-032 Infrared Sensor, it's important to keep in mind that it primarily detects the presence of objects based on their reflective properties rather than their distance. The effectiveness of the sensor can be affected by factors such as ambient light and the reflective properties of the objects being detected.
How to receive Arduino UNO an infrared signal from the remote control using the KY-032 sensor ?
To receive an infrared signal from a remote control using the KY-032 sensor and Arduino UNO, you can follow these steps:
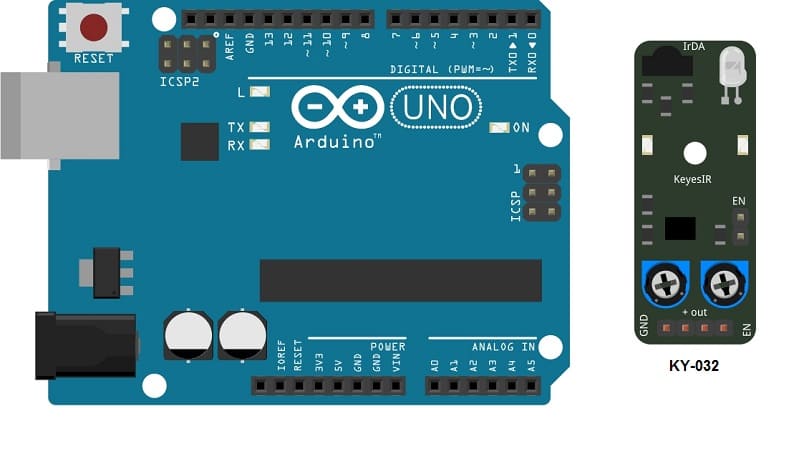
1- Connect the KY-032 sensor to the Arduino UNO. Connect the VCC pin of the sensor to the 5V pin on the Arduino, the GND pin to the GND pin, and the signal pin to any available digital pin, for example, pin 5.
2- Open the Arduino IDE on your computer and create a new project.
3- Include the IRremote.h library at the top of your code. Make sure you have this library installed. If not, you can install it from the Arduino IDE library manager.
|
1 |
#include <IRremote.h> |
4- Create an object of type IRrecv to receive the infrared signals. Also, declare a variable of type decode_results to store the decoding results.
|
1 2 |
IRrecv irReceiver(5); // Use digital pin 5 for IR signal decode_results results; |
5- In the setup() function, initialize the infrared receiver using the begin() method.
|
1 2 3 4 |
void setup() { Serial.begin(9600); irReceiver.enableIRIn(); // Initialize the infrared receiver } |
6- In the loop() function, check if an infrared signal is received using the decode() method. If a signal is detected, you can use results.value to retrieve the value of the infrared signal.
|
1 2 3 4 5 6 |
void loop() { if (irReceiver.decode(&results)) { Serial.println(results.value, HEX); // Print the value of the infrared signal in hexadecimal irReceiver.resume(); // Prepare the receiver to receive new signals } } |
Here is the full program :
|
1 2 3 4 5 6 7 8 9 10 11 12 13 14 15 16 |
#include <IRremote.h> IRrecv irReceiver(2); // Use digital pin 2 for IR signal decode_results results; void setup() { Serial.begin(9600); irReceiver.enableIRIn(); // Initialize the infrared receiver } void loop() { if (irReceiver.decode(&results)) { Serial.println(results.value, HEX); // Print the value of the infrared signal in hexadecimal irReceiver.resume(); // Prepare the receiver to receive new signals } } |
The components needed to use the KY-032 infrared sensor with Arduino UNO
To use the KY-032 infrared sensor with the Micro:bit board, you will need the following components:
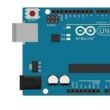
1- Arduino UNO:

The Arduino UNO is a popular microcontroller board widely used for various electronic projects and prototyping.
The Arduino UNO is widely used by beginners, hobbyists, and professionals alike due to its simplicity, versatility, and extensive community support. It is an excellent choice for learning electronics, prototyping projects, and building interactive systems.
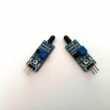
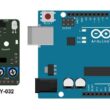
2- KY-032 infrared sensor module:
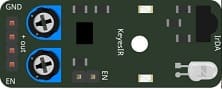
The KY-032 module itself, which consists of an infrared emitter (LED) and an infrared receiver (phototransistor) placed side by side. It can detect infrared signals and provide a digital output based on the presence or absence of obstacles.
3- Jumper wires:

You will need jumper wires to establish connections between the Micro:bit board and the KY-032 sensor. These wires typically have male-to-male connectors at both ends.
4- Breadboard

The breadboard is a common tool used in robotics and electronics to create circuit prototypes and temporary connections. It makes it easy to test and connect electronic components together without having to solder the connections.
These components are the basic requirements for using the KY-032 infrared sensor with the Micro:bit board. Additionally, you may need a remote control that transmits infrared signals to test the functionality of the sensor.
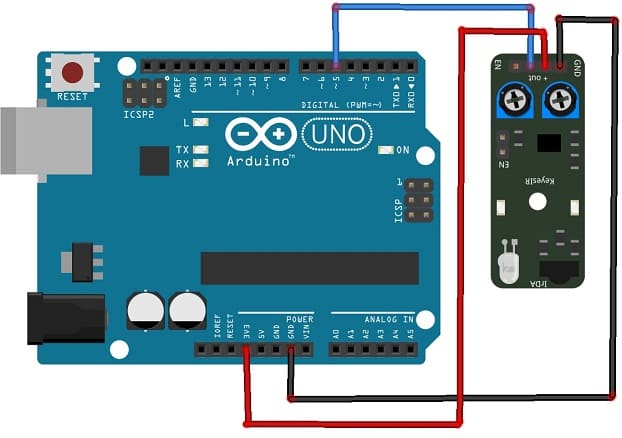
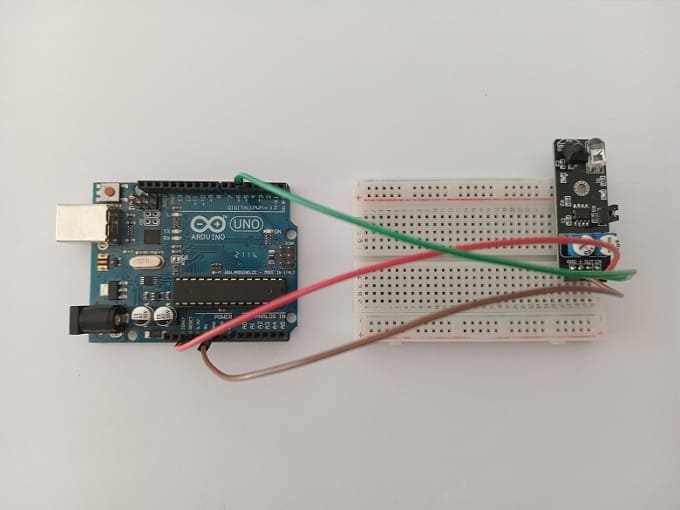
Mounting Arduino UNO with the KY-032 infrared sensor
To mount the Arduino UNO with the KY-032 infrared sensor, you can follow these steps:
1- Gather the following components:
Arduino UNO board
KY-032 infrared sensor
Jumper wires
2- Connect the KY-032 sensor to the Arduino UNO using the following connections:
VCC pin of the sensor to the 5V pin on the Arduino
GND pin of the sensor to the GND pin on the Arduino
Signal pin of the sensor to any available digital pin on the Arduino, such as pin 5
Ensure the connections are secure and properly aligned.
0 comment
Leave a comment
Passion for robotics

Recent tutorials


Robotics workshop

Polpular tutorials


Making robots

Most commented tutorials


Robotic arm

Categories
Smart Home