Using Arduino, relay module and push button to control 5V DC motor
Tutorial plan
1- How Arduino UNO controls a 5V DC motor ?
2- Necessary components
3- Wiring diagram of components
4- Arduino program
How Arduino UNO controls a 5V DC motor ?
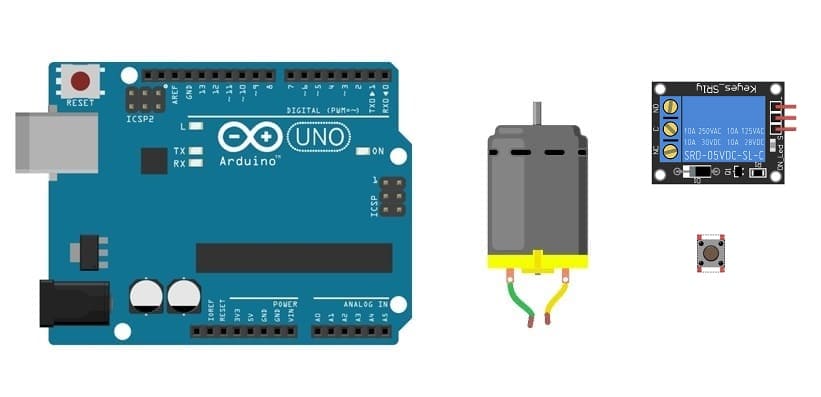
Using an Arduino UNO, a relay module, and a push button to control a 5V DC motor involves setting up a system where the Arduino activates the relay in response to button presses, which in turn switches the motor on or off.
How It Works:
1- Initial Setup:
The motor is off by default, as the relay is in its unenergized state (NO contact is open).
The push button's state is constantly monitored by the Arduino.
2- Push Button Press:
When the button is pressed, the Arduino detects a LOW signal on the button pin (due to the pull-up configuration).
A software debounce delay is used to prevent multiple detections caused by button bouncing.
3- Motor Control via Relay:
The Arduino toggles the state of the relay pin.
If the relay pin is set to HIGH, the relay coil energizes, closing the NO contact and connecting the motor to the power supply, turning it on.
If the relay pin is set to LOW, the relay de-energizes, opening the NO contact and cutting power to the motor, turning it off.
Necessary components
Arduino UNO
It Acts as the main controller. It reads the state of the push button and controls the relay based on the input.
5V DC Motor
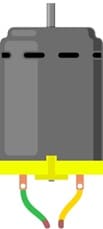
It converts electrical energy into mechanical energy to perform rotational motion.
Relay Module

A relay module is an electrically operated switch that allows the Arduino to control higher power circuits like motors.
Push Button
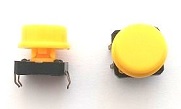
It provides user input to toggle the motor on and off.
Jumper Wires

Jumper wires will be used to make connections between the components.
Breadboard:
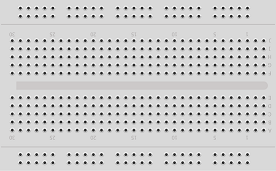
A breadboard provide a platform for prototyping and connecting components without soldering.
Wiring diagram of components
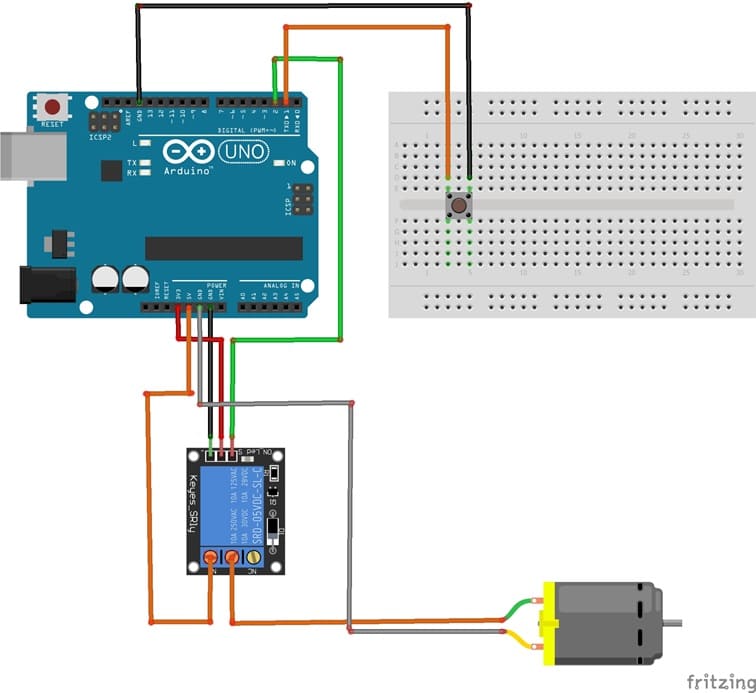
Push Button:
One terminal connected to an Arduino digital pin (e.g., pin 1).
The other terminal connected to GND.
Relay Module:
VCC (+) : Connected to Arduino's 3V3 pin.
GND (-): Connected to Arduino's GND.
S: Connected to an Arduino digital pin (e.g., pin 2) to control the relay.
Relay's COM (Common): Connected to the +5V pin of Arduino.
Relay's NO (Normally Open): Connected to one terminal of the motor.
The other motor terminal is connected to the GND of Arduino UNO.
Arduino program
The Arduino reads the state of the push button and controls the relay accordingly. The relay switches the motor on or off.
|
1 2 3 4 5 6 7 8 9 10 11 12 13 14 15 16 17 18 19 20 21 22 |
const int bouton = 1; // the button is connected to pin 1 of the Adruino board const int relais_moteur = 2; // the relay is connected to pin 1 of the Adruino board int etatBouton; void setup() { pinMode(bouton, INPUT); pinMode(relais_moteur, OUTPUT); } void loop() { etatBouton = digitalRead(bouton); if (etatBouton == 0) // Push the push button { digitalWrite(relais_moteur, HIGH); // The motor starts to run } else // Release the push button { digitalWrite(relais_moteur, LOW); // The motor stops running } } |


