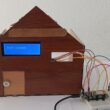
Use of the TM1637 display by the Arduino UNO board
Tutorial plan
1- What is the TM1637 display ?
2- How Arduino board displays numbers in TM1637 display?
3- The components necessary to display texts on the TM1637 display using the Arduino card
4- Arduino board wiring diagram with TM1637 display
5- Programming the Arduino board to display text in the TM1637 display
What is the TM1637 display ?
The TM1637 is a commonly used display driver chip designed to control 7-segment LED displays. It's often used to interface with digital clocks, temperature displays, and other numeric output devices. The chip handles the multiplexing of the display, making it easier to control and display numbers or characters with minimal pin usage on microcontrollers or embedded systems. It communicates via a simple 2-wire interface, making it quite popular among hobbyists and in various electronic projects due to its ease of use and versatility.
How Arduino board displays text in TM1637 display ?
Arduino boards can interface with various types of displays to output information or graphics. These displays come in different technologies, such as LCD (Liquid Crystal Display), OLED (Organic Light Emitting Diode), LED (Light Emitting Diode), and more. The process of using displays with Arduino involves connecting the display hardware to the Arduino board and utilizing appropriate libraries to control and display information.
Here's a general overview of the steps involved in using displays with Arduino:
1. Hardware Connections:
Identify the pins required for communication between the Arduino and the display (e.g., data pins, power, ground).
Connect these pins from the display to the corresponding pins on the Arduino board.
2. Library Installation:
Find and install the necessary library for the specific display type you're using. For instance, if you're using an OLED display, you might use libraries like TM1637Display.
Go to the Arduino IDE, navigate to "Sketch" -> "Include Library" -> "Manage Libraries..." and search for the relevant display library. Install it.
3. Code Implementation:
Include the necessary library in your Arduino sketch.
Use the library functions to initialize the display, set parameters (such as brightness or contrast), and display content (text, numbers, graphics).
4. Upload and Test:
Upload the code to your Arduino board and observe the display to ensure the information or graphics are being shown correctly.
The components necessary to display texts on the TM1637 display using the Arduino card
To use the TM1637 display with an Arduino, you'll need the following components:
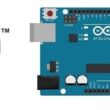
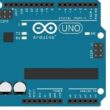
Arduino UNO Board:

The Arduino Uno is a popular and versatile microcontroller board that's widely used in various electronics projects.
TM1637 Display
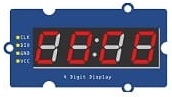
This display is used for displaying numbers.
Jumper Wires:

To make the physical connections between the components.
Arduino board wiring diagram with TM1637 display
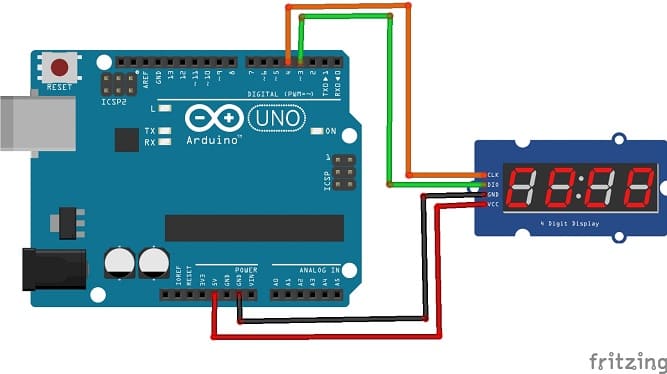
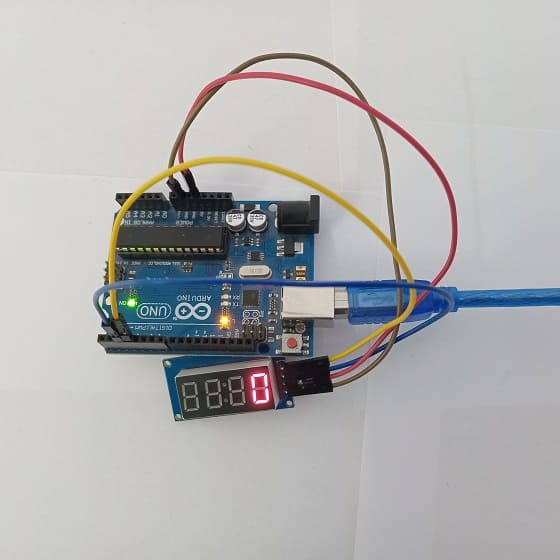
Connect the TM1637 Display to your Arduino as follows:
1- Connect the VCC pin of the TM1637 display to 5V pin of the Arduino
2- Connect the GND pin of the TM1637 display to GND pin of the Arduino
3- Connect the CLK pin of the TM1637 display to pin 4 of the Arduino
4- Connect the DIO pin of the TM1637 display to pin 5 of the Arduino
Programming the Arduino board to display text in the TM1637 display
Here's a basic example to display numbers on the TM1637 dispaly using the "TM1637Display" library:
|
1 2 3 4 5 6 7 8 9 10 11 12 13 14 15 16 17 18 19 20 21 22 23 24 25 26 27 28 |
#include <TM1637Display.h> // Module connection pins (Digital Pins) #define CLK 3 #define DIO 2 #define TEST_DELAY 2000 TM1637Display display(CLK, DIO); void setup() { //initialize the TM1637 display.setBrightness(0x0f); } void loop() { // Display ___0 display.showNumberDec(0,false); delay(1000); // Display __10 display.showNumberDec(10,false); delay(1000); // Display _210 display.showNumberDec(210,false); delay(1000); // Display 3210 display.showNumberDec(3210,false); delay(1000); } |
Upload the code to your Arduino Uno.
This code initializes the TM1637 and displays numbers on TM1637 display.
0 comment
Leave a comment
Passion for robotics

Recent tutorials

Robotics workshop

Polpular tutorials


Making robots

Most commented tutorials


Robotic arm

Categories
Smart Home