Use of the LCD I2C 1602 display by the Micro:bit board
Tutorial plan
1- What is the LCD I2C 1602 display ?
2- How Micro:bit board displays text in LCD I2C 1602 display ?
3- The necessary components to use the LCD I2C 1602 display by the Micro:bit card
4- Micro:bit board wiring diagram with LCD I2C 1602 display
5- Programming the Micro:bit board with Makecode to display text in the LCD I2C 1602 display
What is the LCD I2C 1602 display ?
The LCD I2C 1602 display is a type of liquid crystal display (LCD) that utilizes the I2C (Inter-Integrated Circuit) communication protocol to interface with microcontrollers or other devices. Here's what each part of the name refers to:
LCD: Stands for Liquid Crystal Display. It's a flat panel display commonly used in electronic devices for displaying information in text or graphical form.
I2C: Stands for Inter-Integrated Circuit. It's a serial communication protocol that allows multiple devices to communicate with each other using only two wires - a clock line (SCL) for synchronization and a data line (SDA) for sending and receiving data.
1602: Represents the dimensions of the display. In this case, "1602" signifies that the display has 16 characters per line and 2 lines.
The "I2C" part in the name indicates that this particular LCD display model is equipped with an I2C interface, which simplifies the wiring needed to connect it to microcontrollers like Arduino, Micro:bit board, Raspberry Pi, etc. The I2C interface reduces the number of pins required for communication, making it more convenient to use, especially in projects with limited available pins.
How Micro:bit board displays text in LCD I2C 1602 display ?
The BBC micro:bit does not have built-in support for an LCD I2C 1602 display, as it doesn't have an I2C interface. However, you can use an external I2C backpack module that can convert the parallel interface of the 1602 LCD to I2C. Here's a general guide on how you might achieve this:
1. Obtain the Necessary Hardware:
BBC micro:bit
1602 LCD with I2C backpack module
Jumper wires
2. Connect the Hardware:
Connect the SDA and SCL pins from the I2C backpack to the corresponding pins on the micro:bit.
Connect the VCC and GND pins from the I2C backpack to the power and ground on the micro:bit.
3. Write MicroPython Code:
You can use the Makecode to write code for the micro:bit.
Write code to initialize the I2C communication and send commands to the LCD for displaying text. Make use of the MicroPython i2c library.
4. Flash the Code:
Copy the makecpode file to the micro:bit. The micro:bit will appear as a USB drive when connected to a computer, and you can drag and drop the file onto it.
The necessary components to use the LCD I2C 1602 display by the Micro:bit card
To use a LCD I2C 1602 display with the Micro:bit board, you'll need the following components:
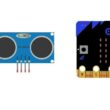
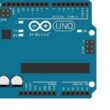
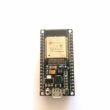
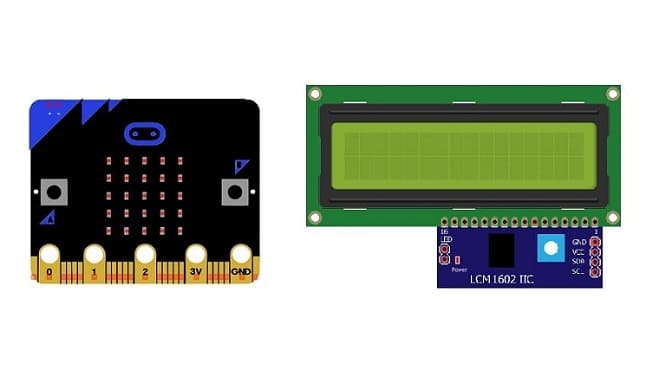
Micro:bit board:

The Micro:bit board is a small, programmable microcontroller board designed for education and beginner-friendly coding projects. It was developed by the BBC, in collaboration with various partners, as a tool to introduce young people to programming and electronics.
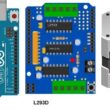
The GPIO expansion card for the Micro:bit card

The GPIO expansion board for the Micro:bit board expands the capabilities of the Micro:bit board by adding more input/output (GPIO) pins and additional functionality.
LCD I2C 1602 Display:

The LCD I2C 1602 display is a type of liquid crystal display (LCD) that utilizes the I2C (Inter-Integrated Circuit) communication protocol to interface with microcontrollers or other devices.
Jumper Wires:

To make the physical connections between the components.
Breadboard:

A breadboard is a useful tool for creating temporary electronic circuits. It allows you to connect components without soldering .
Micro:bit board wiring diagram with LCD I2C 1602 display
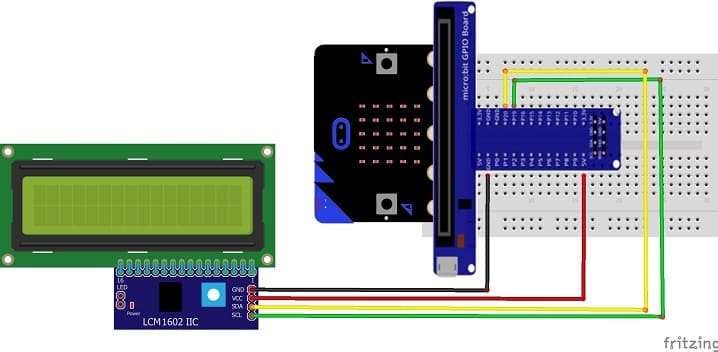
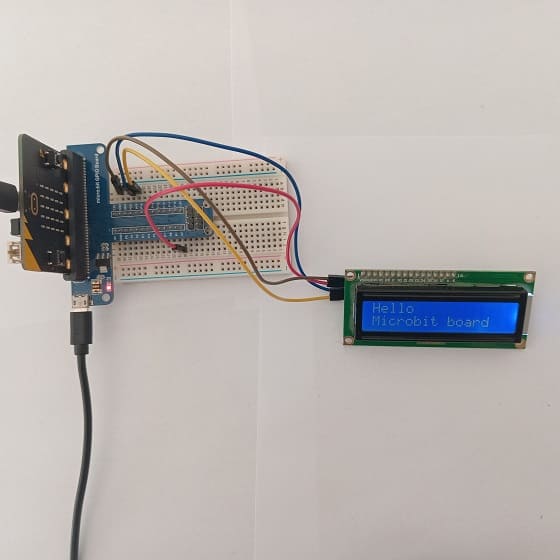
Connect the LCD I2C 1602 Display to the Micro:bit board as follows:
1- Connect the SDA (data line) of the LCD I2C 1602 display to P20 pin of the Micro:bit board.
2- Connect the SCL (clock line) of the LCD I2C 1602 display to P19 of the Micro:bit board.
3- Connect the VCC pin of the LCD I2C 1602 display to the 5V pin of the GPIO board or another energy source .
4- Connect the GND pin of the LCD I2C 1602 display to GND pin of the Micro:bi board.
Programming the Micro:bit board with Makecode to display text in the LCD I2C 1602 display
To program the Micro:bit with MakeCode to display text on an I2C 1602 LCD display, you can follow these steps:
1- Open MakeCode: Go to MakeCode and create a new project.
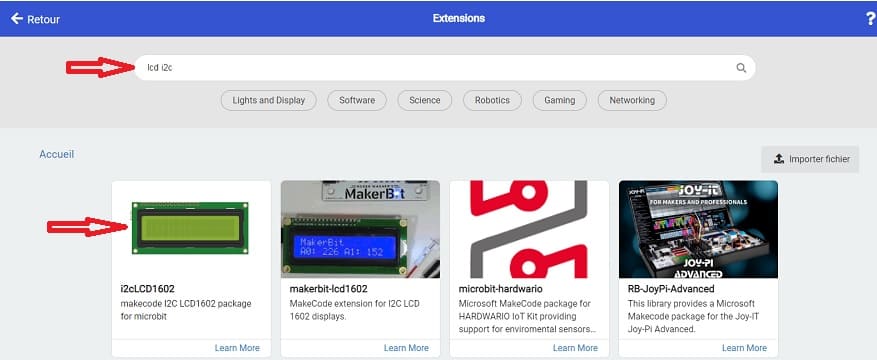
2- Add LCD I2C Extension:
In the MakeCode editor, look for the "Extensions" option and click on it.

In the search bar, type "I2C LCD," and you should find an extension for the I2C LCD display. Add it to your project.
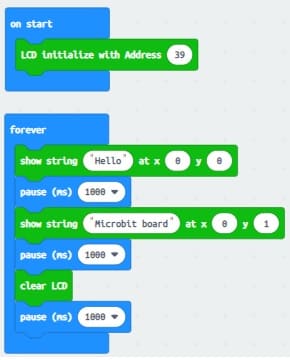
3- Initialize the LCD: Find blocks that initialize the I2C LCD. You'll typically need to specify the I2C address of the LCD (commonly 0x27) and the number of columns and rows on your LCD.
4- Display Text: Find blocks that allow you to display text on the LCD. This might involve specifying the text and the position on the LCD where you want it to appear.
5- Write Code:
Drag and drop the initialization block to your workspace and set the I2C address and other parameters.
Drag and drop the block that displays text on the LCD and specify the text you want to display.
6- Download and Flash:
Connect your Micro:bit to the computer, and drag-and-drop the downloaded .hex file onto the Micro:bit drive.
Click on the "Download" button, you should see the text displayed on the LCD.
0 comment
Leave a comment
Passion for robotics

Recent tutorials


Robotics workshop

Polpular tutorials


Making robots

Most commented tutorials


Robotic arm

Categories
Smart Home