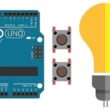
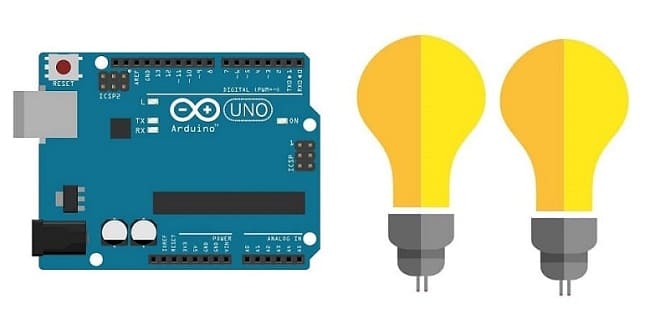
Turn on two lamps by Arduino UNO
Tutorial plan
1- What is the role of the relay ?
2- The components needed to control two lamps by Arduino UNO
3- Mounting the Arduino UNO with two lamps and two relays
4- Programming the Arduino UNO board to flash two lamps
What is the role of the relay ?
The relay plays a vital role in electrical circuits by acting as a switch controlled by an external power source. It's used to control high-power or high-voltage devices with a low-power signal. Essentially, it isolates the controlling circuit from the controlled circuit.
Here's how it works:
Switching: A relay consists of an electromagnet that, when energized, causes a switch mechanism to close or open. This switch can control the flow of electricity to another circuit.
Isolation: One of the primary functions of a relay is to provide isolation between the control circuit (the part that activates the relay) and the load circuit (the part controlled by the relay). This helps protect the controlling components from potential damage due to high currents or voltages in the load circuit.
Amplification: Relays can amplify signals. For example, a small electrical signal from a microcontroller like an Arduino can activate a relay to control a much larger electrical load, such as turning on or off a motor, lamps, or other appliances.
In the context of an Arduino or other microcontroller projects, relays are often used to interface between the low-power output pins of the microcontroller and higher power devices that the microcontroller itself cannot directly control. This allows for the safe control of devices that require higher voltage or current levels.
The components needed to control two lamps by Arduino UNO
To control two lamps using an Arduino UNO and two relays modules, you will need the following components:
Arduino UNO:

The Arduino UNO board is a widely used open-source microcontroller board that serves as a foundation for creating interactive electronic projects. Developed by the Arduino company, it's popular due to its simplicity and versatility.
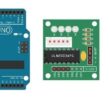
Two relays modules:
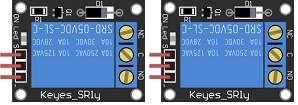
You'll need a relay module that is compatible with the Arduino UNO and can switch the high-voltage lamp. Ensure it's rated for the voltage and current required for your lamp.
Two lamps (220V):

The two lamps are rated for 220V.
Power Supply for the Lamp:

You'll need a power source for the lamp, typically a 220V AC power supply.
Wiring:
Various wires and cables for connecting the components in your circuit.
Breadboard:

A breadboard is a prototyping board that allows you to build circuits without soldering. It provides a convenient way to connect the components together.
Jumper Wires:

You'll need jumper wires to make connections between the Arduino UNO, lamp, relay, and breadboard. Ensure you have male-to-male jumper wires or a mix of male-to-male and male-to-female wires, depending on your specific needs.
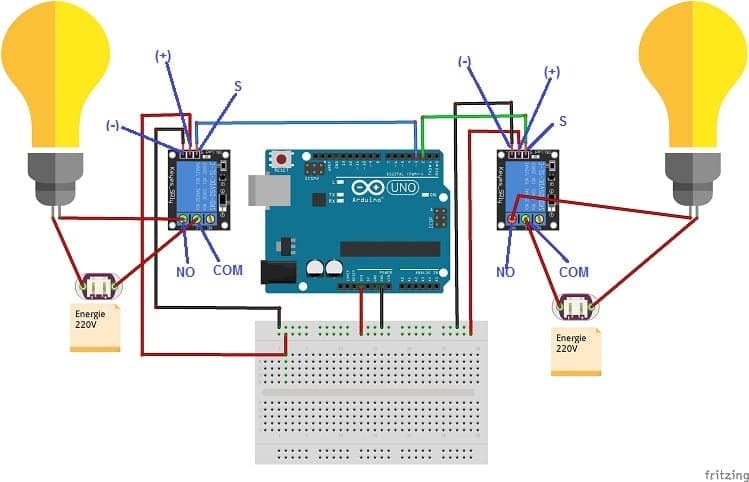
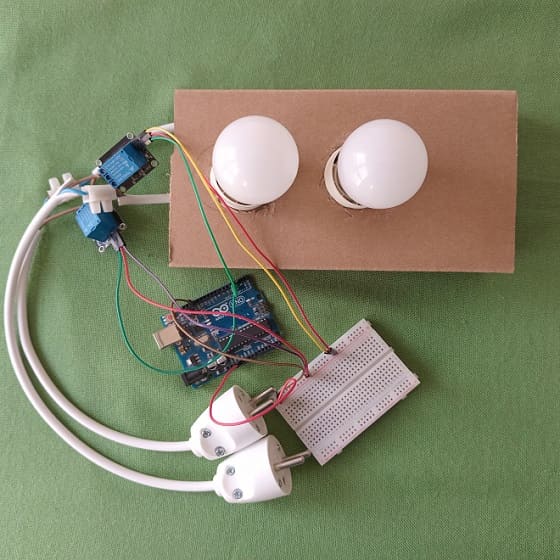
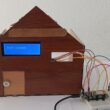
Mounting the Arduino UNO with two lamps and two relays
To control two lamps using a Arduino UNO board, you will need to use two relays modules to safely interface the low-voltage Arduino UNO with the high-voltage lamp. Here are the step-by-step instructions to set up the Arduino UNO with a lamp:
1- Safety First: Ensure the lamp is disconnected from any power source before proceeding.
2- Connect the first relay to the Arduino UNO:
- Connect the relay's control pin (S) to pin 2 of Arduino UNO board.
- Connect the pin (+) of relay to pin 3.3V of Arduino UNO board.
- Connect the relay's ground pin (GND) to the Arduino UNO's GND.
3- Connect the first lamp and the power supply to the Relay:
- Connect one of the the power supply's wires to the relay's common (COM) terminal.
- Connect the wire of the lamp to the normally open (NO) terminal of the relay.
- Connect the neutral wire of the power supply directly to the neutral wire of the lamp.
4- Connect the second relay to the Arduino UNO:
- Connect the relay's control pin (S) to pin 3 of Arduino UNO board.
- Connect the pin (+) of relay to pin 3.3V of Arduino UNO board.
- Connect the relay's ground pin (GND) to the Arduino UNO's GND.
5- Connect the second lamp and the power supply to the Relay:
- Connect one of the the power supply's wires to the relay's common (COM) terminal.
- Connect the wire of the lamp to the normally open (NO) terminal of the relay.
- Connect the neutral wire of the power supply directly to the neutral wire of the lamp.
Programming the Arduino UNO board to flash two lamps
To flash two lamps using an Arduino UNO, upload the following code to the Arduino UNO using the Arduino IDE:
|
1 2 3 4 5 6 7 8 9 10 11 12 13 |
void setup() { pinMode(2, OUTPUT); /// Set the first relay pin as an output pinMode(3, OUTPUT); /// Set the second relay pin as an output } void loop() { digitalWrite(2, HIGH); // Turn ON the first relay (lamp 1 ON) digitalWrite(3, LOW); // Turn OFF the second relay (lamp 2 OFF) delay(1000); // Wait for 1 second digitalWrite(2, LOW); // Turn OFF the fisrt relay (lamp 1 OFF) digitalWrite(3, HIGH); // Turn ON the second relay (lamp 2 ON) delay(1000); // Wait for 1 second } |
Once the code is uploaded, each of the lamps connected to relay will start blinking on and off at one-second intervals. The digitalWrite() function is used to control the state of the relay by setting the pin to HIGH (on) and LOW (off) with a delay of 1 second (delay(1000)).
0 comment
Leave a comment
Passion for robotics

Recent tutorials

Robotics workshop

Polpular tutorials


Making robots

Most commented tutorials


Robotic arm

Categories
Smart Home