The TM1637 display
What is a TM1637 display ?
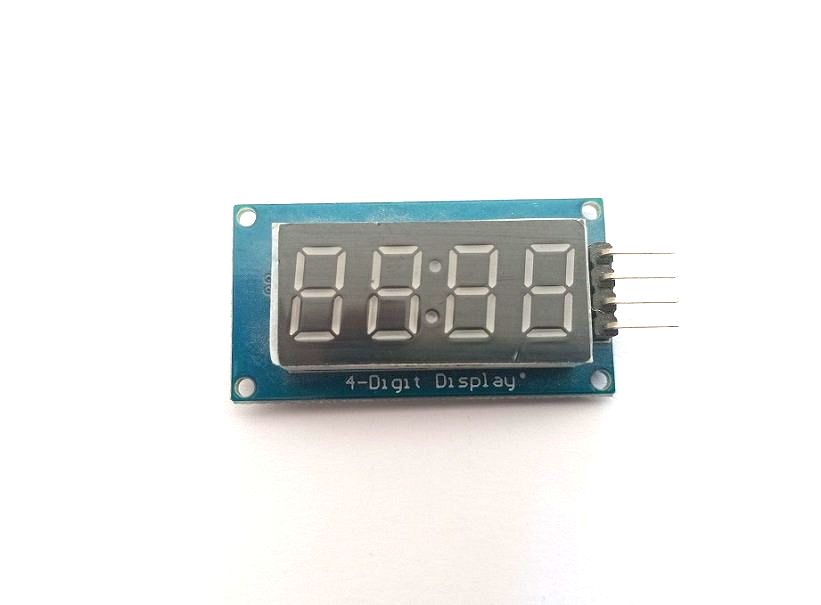
A TM1637 display is a type of seven-segment LED display that uses the TM1637 driver IC to control the display of numbers, letters, and symbols. These displays are commonly used in electronic projects because they are relatively inexpensive, easy to use, and offer a simple way to display numeric data.
TM1637 displays typically consist of four seven-segment digits arranged in a common anode configuration, with a decimal point on each digit. They also feature two push-buttons for adjusting the display brightness and toggling between the display modes.
The TM1637 driver IC communicates with the microcontroller through a two-wire serial interface, making it easy to control the display using just a few digital pins. There are also several libraries available for popular microcontrollers such as Arduino and Raspberry Pi that make it easy to program and control TM1637 displays.
Overall, TM1637 displays are a convenient and cost-effective way to display numeric data in electronic projects, and they are often used in DIY clocks, timers, counters, and other applications where a simple numerical display is required.
Composition of the TM1637 display
The TM1637 display typically consists of four seven-segment digits arranged in a common anode configuration, with a decimal point on each digit. Each digit is made up of seven LED segments arranged in a specific pattern, which can be lit up or turned off to display different numbers and characters.
In addition to the display digits, the TM1637 module also includes two push-buttons for adjusting the brightness of the display and toggling between different display modes.
The TM1637 driver IC is responsible for controlling the display of the digits on the module. It communicates with the microcontroller using a two-wire serial interface and supports a variety of commands for setting the display brightness, toggling the display mode, and updating the display with new data.
Programming the TM1637 display
Programming the TM1637 display typically involves writing code to control the TM1637 driver IC, which communicates with the microcontroller using a two-wire serial interface. Here's an overview of the steps involved in programming the TM1637 display:
1- Connect the TM1637 display to your microcontroller board using jumper wires. Make sure to connect the CLK pin to a digital output pin on your board, and the DIO pin to another digital output pin.
2- Initialize the TM1637 display by sending the appropriate initialization commands to the TM1637 driver IC. This usually involves setting the display brightness and mode.
3- Write a function to convert the data you want to display into the appropriate format for the TM1637 driver IC. For example, if you want to display the number "1234", you would need to convert this into an array of hexadecimal values that represent the seven-segment patterns for each digit.
4- Send the converted data to the TM1637 driver IC using the two-wire serial interface. This typically involves sending a start bit, followed by the address of the TM1637 driver IC, the data to be displayed, and an end bit.
5- Repeat steps 3-4 as needed to update the display with new data.
Here's some sample code in Arduino syntax that demonstrates how to display the number "1234" on a TM1637 display:
|
1 2 3 4 5 6 7 8 9 10 11 12 13 14 15 16 17 18 19 20 21 22 23 |
#include <TM1637.h> #define CLK 2 #define DIO 3 TM1637 tm1637(CLK, DIO); void setup() { tm1637.init(); tm1637.setBrightness(7); } void loop() { int value = 1234; byte data[] = { TM1637.encodeDigit(value / 1000), TM1637.encodeDigit((value / 100) % 10), TM1637.encodeDigit((value / 10) % 10), TM1637.encodeDigit(value % 10) }; tm1637.display(data); delay(1000); } |
In this example, we first define the CLK and DIO pins used to connect the TM1637 display to the Arduino board. We then create a TM1637 object and initialize the display with a brightness level of 7.
In the loop function, we define a variable called "value" that holds the data we want to display (in this case, the number 1234). We then convert this value into an array of four hexadecimal values using the TM1637.encodeDigit() function.
Finally, we call the tm1637.display() function to send the data to the TM1637 driver IC and update the display. We then add a delay of 1 second before repeating the process.
0 comment
Leave a comment
Passion for robotics

Recent tutorials


Robotics workshop

Polpular tutorials


Making robots

Most commented tutorials


Robotic arm

Categories
Smart Home