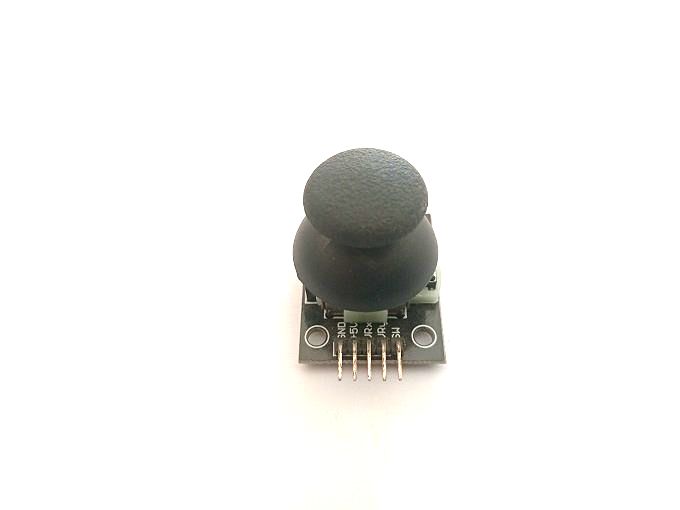
The Joystick
Definition of JOYSTICK
A joystick is a device used to control the movement or direction of an object or cursor on a computer screen. It typically consists of a handheld lever or stick that can be moved in different directions to provide input to a computer or gaming console. Joysticks are commonly used for playing video games, piloting aircraft or other vehicles, and controlling robotic devices. They may be connected to a computer or game console via a USB port or wireless connection, and often include additional buttons or triggers for additional input options.
Joystick and microcontrollers
Joysticks can be used as input devices in microcontroller-based systems. Microcontrollers are small computers on a single chip that can be programmed to control various devices. They can be used to read the signals from a joystick and use the data to control other devices, such as motors or servos, or to send commands to a computer or other system.
The most common types of joysticks used in microcontroller-based systems are analog joysticks, which provide a variable output based on the position of the joystick. This output can be read by an analog-to-digital converter (ADC) on the microcontroller and converted to a digital value that can be processed by the microcontroller.
Microcontrollers can also be programmed to interpret the signals from the joystick and use them to control other devices or to send commands to a computer or other system. This can be done using various programming languages and development tools, such as C, C++, or Python.
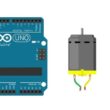
Joystick and Arduino
Joysticks can be easily interfaced with Arduino microcontrollers, making it possible to use them as input devices in a variety of projects.
The most common type of joystick used with Arduino is the analog joystick, which provides variable output signals that can be read by the microcontroller's analog-to-digital converter (ADC). The joystick's output signals can be mapped to specific ranges of values, which can then be used to control other components connected to the Arduino.
To connect a joystick to an Arduino, the joystick's output pins can be connected to the Arduino's analog input pins. The Arduino's sketch can then read the input signals using the analogRead() function, and use them to control other components connected to the Arduino.
There are also pre-built joystick modules available that can be easily connected to an Arduino using jumper wires. These modules usually include built-in potentiometers to simplify the wiring and make it easier to read the joystick's output signals.
Joystick pins
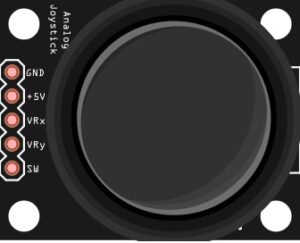
Joysticks typically have three pins: power, ground, and signal. The pins are usually labeled as follows:
VCC or +5V: This pin is connected to the positive power supply (5 volts) of the system.
GND or Ground: This pin is connected to the ground of the system.
VRx and VRy: These are the two pins for the X-axis and Y-axis of the joystick. They provide analog output signals proportional to the joystick's position along each axis.
The SW (or S) pin on a joystick is typically a button pin that is used to detect when the joystick button is pressed. When the joystick button is pressed, the SW pin is connected to the ground pin, and the microcontroller can detect this as a logic low (or "0") on the corresponding digital input pin.
When connecting a joystick to a microcontroller, such as an Arduino board, you will typically connect the power and ground pins to the appropriate pins on the microcontroller, and connect the VRx and VRy pins to two of the analog input pins on the microcontroller. The button pin, if present, can be connected to a digital input pin on the microcontroller.
Joystick programming with Arduino IDE
To program a joystick with Arduino IDE, you'll need to follow these basic steps:
1- Connect the joystick to the Arduino board using jumper wires. The joystick usually has three pins: power, ground, and signal. Connect the power and ground pins to the 5V and GND pins on the Arduino board, and the signal pin to one of the analog input pins (e.g. A0).
2- Open the Arduino IDE and create a new sketch. In the sketch, you'll need to define the pins used to connect the joystick to the Arduino. For example, you can use the following code:
|
1 2 3 |
const int JOYSTICK_X_PIN = A0; // Joystick X-axis pin const int JOYSTICK_Y_PIN = A1; // Joystick Y-axis pin const int JOYSTICK_BUTTON_PIN = 2; // Joystick button pin |
3- In the setup() function, you'll need to initialize the joystick pins as inputs. You can use the pinMode() function to do this. For example:
|
1 2 3 4 5 |
void setup() { pinMode(JOYSTICK_X_PIN, INPUT); pinMode(JOYSTICK_Y_PIN, INPUT); pinMode(JOYSTICK_BUTTON_PIN, INPUT_PULLUP); } |
Note that we're using INPUT_PULLUP for the button pin, which enables the internal pull-up resistor on the Arduino board. This means that when the button is not pressed, the pin will read HIGH, and when the button is pressed, the pin will read LOW.
4- In the loop() function, you can read the joystick's analog output using the analogRead() function, and map the values to a specific range. For example:
|
1 2 3 4 5 6 7 8 9 10 11 12 13 14 15 16 17 18 19 20 21 22 23 24 |
void loop() { int x = analogRead(JOYSTICK_X_PIN); int y = analogRead(JOYSTICK_Y_PIN); int button = digitalRead(JOYSTICK_BUTTON_PIN); // Map the X and Y values to a range of -100 to 100 int mappedX = map(x, 0, 1023, -100, 100); int mappedY = map(y, 0, 1023, -100, 100); // Print the mapped values to the serial monitor Serial.print("X: "); Serial.print(mappedX); Serial.print(" Y: "); Serial.print(mappedY); // Check if the button is pressed if (button == LOW) { Serial.println(" Button: Pressed"); } else { Serial.println(" Button: Not pressed"); } delay(100); // Delay for stability } |
This code reads the X and Y values of the joystick, maps them to a range of -100 to 100, and prints the values to the serial monitor. It also checks the state of the button and prints a message indicating whether it's pressed or not.
6- Upload the code to the Arduino board and open the serial monitor. You should see the joystick's X and Y values, as well as the button state, printed to the monitor.
These are the basic steps to program a joystick with Arduino IDE. From here, you can use the joystick's output signals to control other components connected to the Arduino, such as motors or servos, or to send commands to other systems.
Role of Joystick in robot control
Joysticks are commonly used as input devices for controlling robots. They provide a convenient and intuitive way for operators to control the robot's movements and actions in real-time.
In robot control, joysticks are typically used to control the robot's speed, direction, and orientation. They can also be used to control specific actions, such as grasping and lifting objects, or activating tools and sensors.
The joystick's analog output signals can be used to control the robot's motors or servos. For example, by moving the joystick forward or backward, the operator can control the robot's speed and direction of movement. By moving the joystick left or right, the operator can control the robot's turning or rotation.
Joysticks can also be used to control the robot's arm or gripper. For example, the joystick's output signals can be used to control the position and orientation of the arm, as well as the opening and closing of the gripper.
0 comment
Leave a comment
Passion for robotics

Recent tutorials

Robotics workshop

Polpular tutorials


Making robots

Most commented tutorials


Robotic arm

Categories
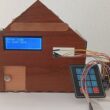
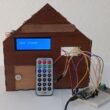
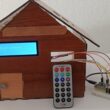
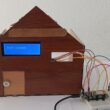
Smart Home