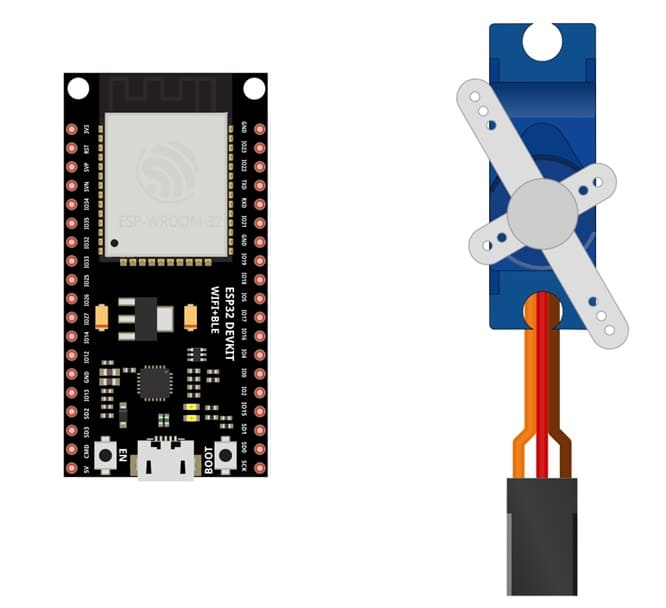
The ESP32 card and the servo motor
Tutorial plan
1- Presentation of servo motor
2- Necessary components to control a servo motor by ESP32
3- Wiring Setup
4- Programming ESP32 with Micropython
Presentation of servo motor
A servo motor is a rotary actuator or linear actuator that allows precise control of angular or linear position, velocity, and acceleration. It is widely used in robotics, automation, and control systems due to its reliability and precision.
Structure of a Servo Motor
A standard servo motor consists of the following components:
DC Motor: Provides the rotational force.
Gearbox: Reduces the speed and increases torque.
Control Circuit: Processes signals to determine the motor's position.
Position Sensor (Potentiometer): Measures the motor's angle and provides feedback to the control circuit.
Output Shaft: Connected to the mechanical load or a device
Working Principle
A servo motor works on the principle of closed-loop control. It adjusts its output based on feedback from a position sensor:
1. Input Signal:
A pulse-width modulation (PWM) signal is sent to the servo motor.
The pulse width determines the position of the motor shaft.
2. Control Action:
The control circuit compares the desired position (from the PWM signal) with the actual position (from the potentiometer).
If there is a difference, the motor adjusts its position.
3. Feedback Loop:
The potentiometer continuously sends position feedback to the control circuit, ensuring precise movement.
Necessary components to control a servo motor by ESP32
Controlling a servo motor using an ESP32 microcontroller involves several key components. Below is a detailed list of the necessary components, their purpose, and how they integrate into the system.
ESP32 Microcontroller

Acts as the brain of the system, generating the required PWM signals to control the servo motor.
Servo Motor

The actuator that performs the physical movement (angular or linear) based on the PWM signal.
Jumper Wires :

Jumper wires will be used to make connections between the components.
Breadboard (Optional):
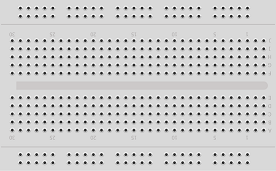
A breadboard is a versatile and reusable platform used for prototyping and testing electronic circuits without the need for soldering.
Wiring Setup
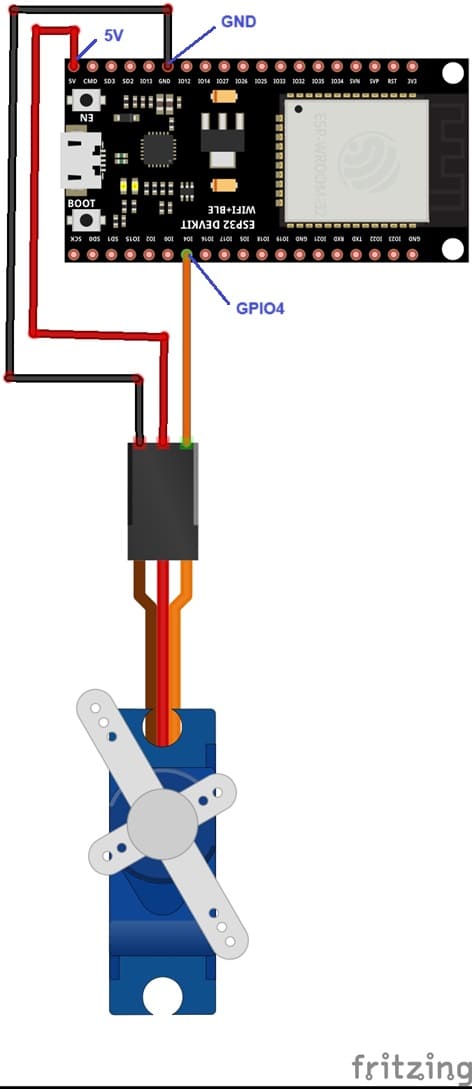
Servo Motor Connections:
Signal (Control): Connect to an ESP32 GPIO pin (e.g., GPIO4).
VCC (Power): Connect to a 5V pin of ESP32.
GND (Ground): Connect to the ground of the ESP32.
Programming ESP32 with Micropython
Load the following code:
|
1 2 3 4 5 6 7 8 9 10 |
import time import machine p4 = machine.Pin(4) servo = machine.PWM(p4,freq=50) # duty for servo is between 40 - 115 while True: servo.duty(30) # turn the servo motor 30° time.sleep(2) # wait 2s servo.duty(130) # turn the servo motor 180° time.sleep(2) #wait 2s |
Explanation of Code
1. Servo Object: servo creates an instance to control the motor.
2. Attach Method: machine.PWM(p4,freq=50) assigns the selected GPIO pin (e.g., GPIO5) to the servo.
3. Servo Movement: servo.duty(angle); sets the servo to a specific angle (0° to 180°).
4. Delay: time.sleep Allows time for the servo to physically move to the desired position.


