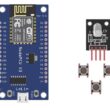
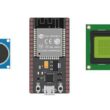
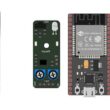
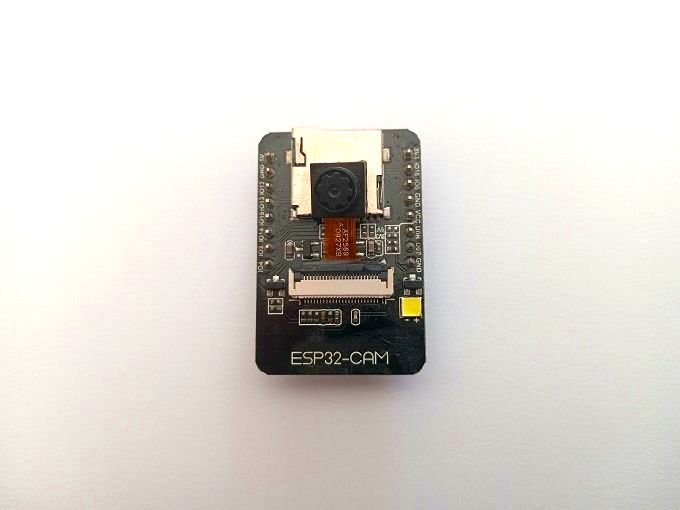
THE ESP32-CAM BOARD
What is an ESP32-CAM card ?
The ESP32-CAM board is a development board that combines an ESP32 microcontroller with a camera module. It is designed for projects that require Wi-Fi connectivity and real-time video streaming capabilities. Here are some key features of the ESP32-CAM board:
ESP32 microcontroller: The ESP32 is a powerful microcontroller that features dual-core processing, Wi-Fi and Bluetooth connectivity, and a wide range of I/O interfaces.
Camera module: The ESP32-CAM board includes a camera module that can capture images and video with resolutions up to 2MP.
Wi-Fi connectivity: The ESP32-CAM board includes a Wi-Fi module that allows it to connect to a wireless network and stream video in real-time.
MicroSD card slot: The ESP32-CAM board includes a microSD card slot that can be used to store images and video.
GPIO pins: The ESP32-CAM board includes a number of GPIO pins that can be used to connect sensors, actuators, and other peripherals.
Programming interface: The ESP32-CAM board can be programmed using the Arduino IDE or other development environments.
The ESP32-CAM board is an excellent choice for projects that require real-time video streaming over Wi-Fi. It is ideal for applications such as security cameras, remote monitoring systems, and robotics projects. Its powerful microcontroller and camera module make it a versatile tool for a wide range of applications.
How to program the ESP32-CAM board ?
There are several ways to program the ESP32-CAM board, but the most common method is to use the Arduino IDE. Here are the steps to follow:
Install the ESP32 board in the Arduino IDE. To do this, open the Arduino IDE, go to File > Preferences, and in the "Additional Boards Manager URLs" field, enter the following URL: https://dl.espressif.com/dl/package_esp32_index.json. Then, go to Tools > Board > Boards Manager, search for "esp32" and install the "ESP32" board package.
Connect the ESP32-CAM board to your computer using a USB cable. Make sure the board is powered on.
In the Arduino IDE, go to Tools > Board and select "ESP32 Wrover Module" as the board.
Select the appropriate port in the Tools > Port menu.
Download and install the ESP32 camera library from the following GitHub repository: https://github.com/espressif/arduino-esp32/tree/master/libraries/ESP32/examples/Camera. To install the library, go to Sketch > Include Library > Manage Libraries, search for "esp32 camera" and install the library.
Load an example sketch from the File > Examples > ESP32 > Camera menu. This will open a sketch that demonstrates how to capture and display an image from the camera module.
Modify the example sketch as needed for your project, and upload it to the ESP32-CAM board by clicking the "Upload" button in the Arduino IDE.
The ESP32-CAM board and robotics
The ESP32-CAM board is a powerful tool for robotics projects that require image processing or video streaming capabilities. With its integrated camera module and Wi-Fi connectivity, the ESP32-CAM can be used for various robotics applications, such as:
Object detection and tracking: The ESP32-CAM can capture images and process them to detect and track objects in real-time. This can be useful for applications such as autonomous robots that need to navigate around obstacles.
Surveillance and monitoring: The ESP32-CAM can be used to create a surveillance system that captures images or video and sends them over Wi-Fi to a remote device for monitoring. This can be useful for security robots or monitoring systems.
Remote control: The ESP32-CAM can be used to create a remote control system for a robot. The camera module can capture images or video of the robot's surroundings, and the Wi-Fi connectivity can be used to transmit control signals to the robot.
Human-robot interaction: The ESP32-CAM can be used to create a robot that can interact with humans using visual cues. For example, the camera module can be used to recognize human faces or gestures, and the robot can respond accordingly.
The ESP32-CAM board and artificial intelligence
The ESP32-CAM board can be used in conjunction with artificial intelligence (AI) algorithms to create intelligent robotics applications. The board's integrated camera module can capture images or video, which can be processed using AI algorithms to perform tasks such as object detection, face recognition, or gesture recognition. Here are some examples of how the ESP32-CAM board can be used with AI:
Object detection: The ESP32-CAM board can be used to detect objects in real-time using computer vision algorithms. This can be useful for applications such as autonomous robots that need to navigate around obstacles.
Facial recognition: The ESP32-CAM board can be used to recognize human faces using AI algorithms. This can be useful for applications such as security robots that need to identify individuals.
Gesture recognition: The ESP32-CAM board can be used to recognize human gestures using AI algorithms. This can be useful for applications such as controlling a robot with hand gestures.
Machine learning: The ESP32-CAM board can be used for machine learning applications such as image classification or object recognition. The board's low cost and ease of use make it accessible to hobbyists and students who want to experiment with machine learning.
0 comment
Leave a comment
Passion for robotics

Recent tutorials


Robotics workshop

Polpular tutorials


Making robots

Most commented tutorials


Robotic arm

Categories
Smart Home