Programming Arduino with mBlock
Introducing mBlock
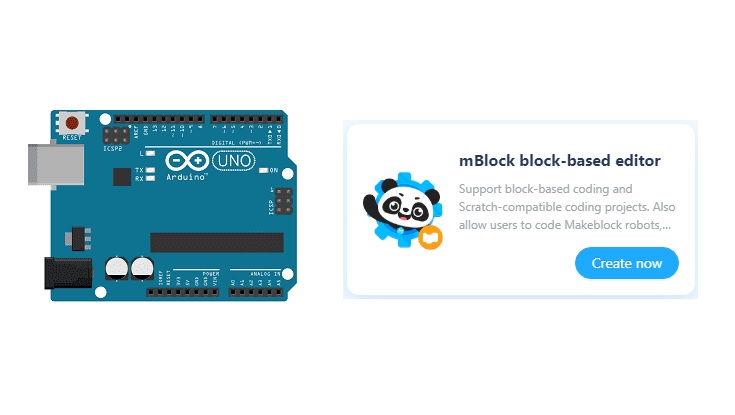
mBlock is a graphical programming environment designed to make programming accessible and engaging, particularly for beginners and children. It is based on Scratch, a widely-used visual programming language in education.
mBlock allows you to program a variety of boards and platforms, including Arduino boards, mBot robots, micro:bit, and other electronic devices. It provides a user-friendly and intuitive interface, with a palette of programming blocks that you can drag and drop to create programs.
Here are some key features and highlights of mBlock:
1- Visual programming: mBlock utilizes a block-based visual programming approach, eliminating the need for typing code. Blocks are represented graphically and can be assembled to create programs.
2- Expanded libraries: mBlock offers a wide range of platform-specific programming blocks, enabling control of motors, sensors, LEDs, servomotors, and other electronic components.
3- Integration with electronics: mBlock simplifies the use of electronic components by providing specific blocks that interact directly with them. For example, you can easily read sensor data or control outputs to actuators.
4- Wireless connectivity: mBlock supports wireless communication with compatible platforms, allowing you to remotely control and program robots and other devices.
5- Interactive learning: mBlock is designed to encourage interactive learning of programming. It provides tutorials, project examples, and learning activities to help users develop their skills.
6- Cross-platform compatibility: mBlock is available for Windows, macOS, and Linux, allowing users on different platforms to enjoy its features.
mBlock is commonly used in educational settings, including schools and programming clubs, due to its user-friendly nature and visual approach. It enables users to create interactive projects and develop their understanding of fundamental programming and electronics concepts.
Programming the Arduino board with mBlock
To program an Arduino board with mBlock, you can follow these steps:
1- Download and install mBlock: 
Visit the official mBlock website (https://www.mblock.cc/) and download the appropriate version for your operating system (Windows, macOS, Linux).
Once the download is complete, run the installation file and follow the instructions to install the software on your computer.
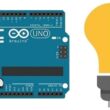
2- Connect the Arduino board:
Connect your Arduino board to your computer using a USB cable.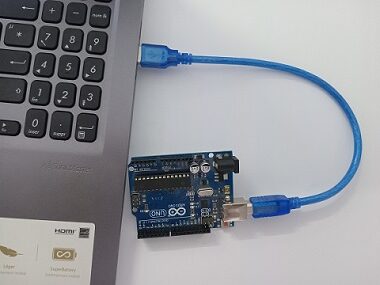
Ensure that the necessary drivers for your Arduino board are installed on your computer.
3- Launch mBlock: After installation, open mBlock by clicking on its icon in your applications menu or on the desktop.
4- Select the Arduino platform:
When you launch mBlock, you click on the Add button. 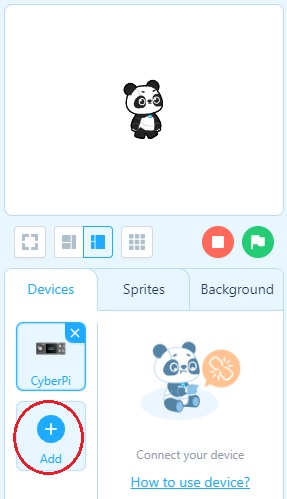
Choose Arduino if you want to program an Arduino board. 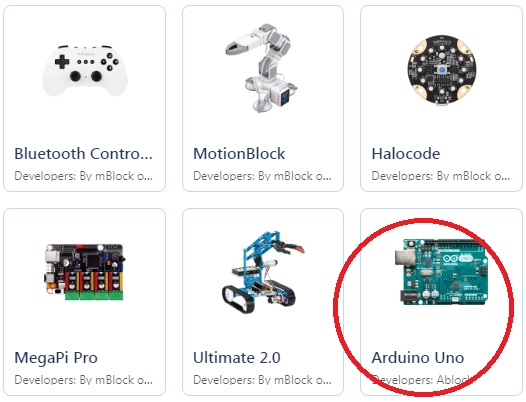
5- Configure the serial port:
In mBlock, click on the "Connect" menu at the top of the window.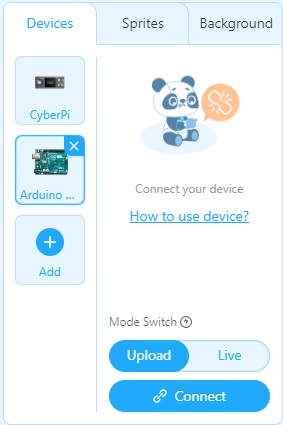
Select the serial port to which your Arduino board is connected. If you're unsure about the port, you can check in your operating system's device manager. 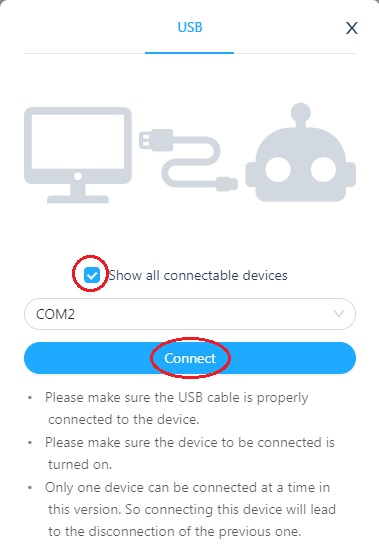
6- Programming with mBlock:
mBlock uses a graphical interface with blocks that you can drag and drop to create your program.
On the right side of the window, you'll find different categories of blocks, including specific blocks for Arduino.
Explore the available blocks and use them to build your program by assembling them in the central workspace.
7- Upload the program to the Arduino board:
Once your program is complete, click on the "Upload" button to transfer the code to your Arduino board. 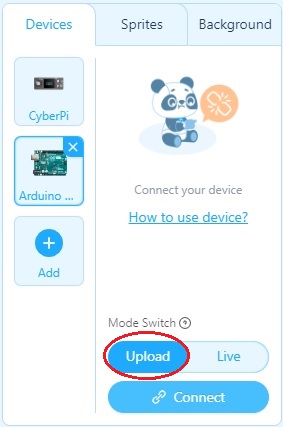
mBlock will compile the program and upload it to the connected board.
Wait for the upload to complete. You'll see messages in the mBlock window indicating the status of the upload.
8- Run the program:
After a successful upload, the program will start running on your Arduino board.
You can observe the results of your program using the components connected to the Arduino board, such as LEDs, sensors, motors, etc.
By following these steps, you should be able to use mBlock to program an Arduino board. Feel free to explore the tutorials, project examples, and additional resources available within mBlock to deepen your knowledge and programming skills with mBlock.
1 comment

Giantess Porn 11-02-2626
Interesting post! By the way, if you love high quality GTS content, take a look at giantess.video. They have some stunning clips there. Regards!
Leave a comment
Passion for robotics

Recent tutorials


Robotics workshop

Polpular tutorials


Making robots

Most commented tutorials


Robotic arm

Categories
Smart Home