Micro:bit watering system
Tutoriel plan
1- What is an automatic watering system ?
2- How does Micro:bit control a watering system ?
3- System Components
4- Irrigation system connection diagram
5- Programming Micro:bit with Makecode
What is an automatic watering system ?
An Automatic Watering System is a setup designed to water plants, gardens, lawns, or agricultural fields without manual intervention. It uses timers, sensors, and delivery systems like drip lines or sprinklers to provide plants with the right amount of water at the right time.
How It Works:
1. Water Source: Typically connected to a faucet, reservoir, or water tank.
2. Control Unit: A timer or smart controller regulates when and how much water is delivered.
3. Delivery System: Pipes, hoses, or drip lines distribute water to plants.
4. Sensors (Optional): Devices like soil moisture or rain sensors can adjust watering based on conditions.
Advantages:
Saves time and effort.
Provides consistent watering.
Reduces water waste.
Encourages healthier plant growth.
How does Micro:bit control a watering system ?
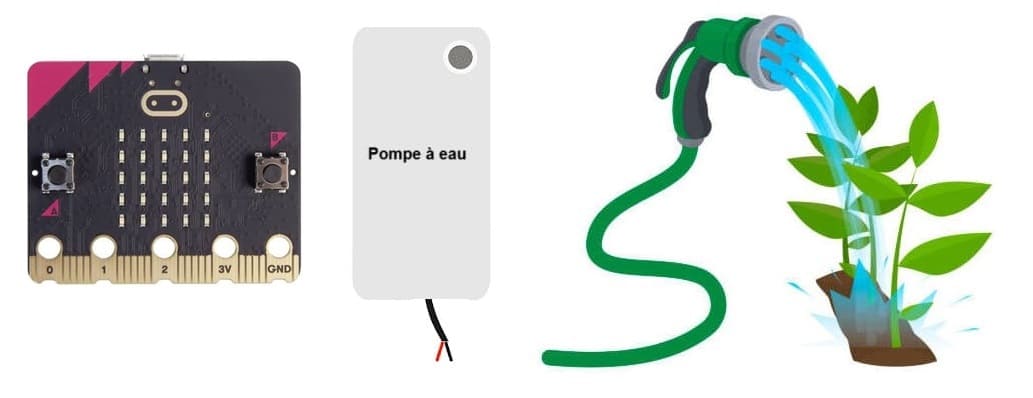
Using a Micro:bit, you can create an automated watering system that measures soil moisture and activates a water pump based on the moisture levels.
How It Works
1- Soil Moisture Measurement:
The soil moisture sensor measures the water content in the soil.
The sensor outputs an analog signal proportional to the moisture level.
2- Data Processing (Micro:bit):
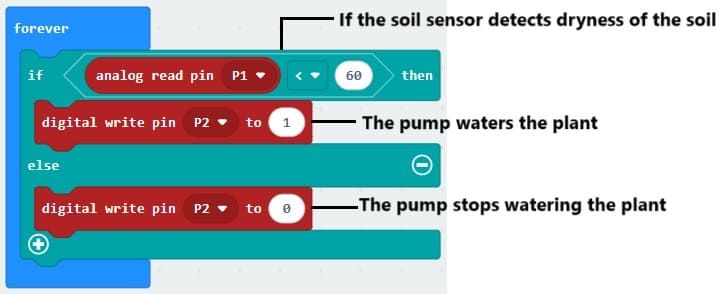
The Micro:bit reads the soil moisture data via its analog input pin (e.g., pin P0).
The code running on the Micro:bit compares the soil moisture reading to a predefined threshold.
3- Relay Control:
If the soil is too dry, the Micro:bit sends a signal (HIGH) to the relay module (e.g., pin P1).
The relay activates, completing the circuit to power the water pump.
4- Water Pump Operation:
The pump draws water from the tank and waters the plants.
Once the desired moisture level is reached, the Micro:bit turns off the relay, stopping the pump.
System Components
Micro:bit:
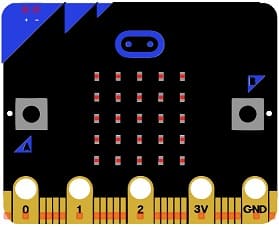
The main microcontroller to manage the system.
The GPIO expansion card for the Micro:bit card
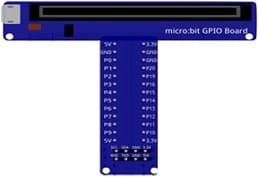
It is a board that allows you to connect various electronic components, sensors, and modules to the Micro:bit easily.
Soil Moisture Sensor:
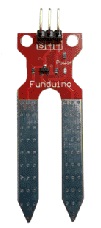
Detects the moisture level in the soil.
Relay Module:
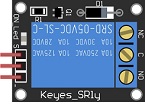
Acts as a switch to control the water pump.
Water Pump:
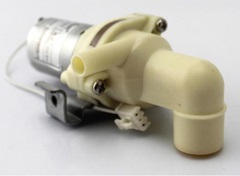
Pumps water from the tank to the plants.
Water Tank:
Stores the water supply.
Power Supply:
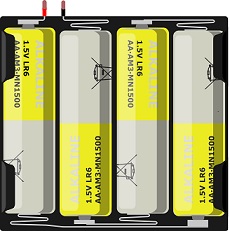
Powers the Micro:bit and the water pump (may include a battery pack or adapter).
Connecting Wires:

For connections between components.
Breadboard
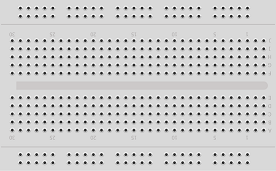
to test electronic circuits without the need for soldering
Irrigation system connection diagram
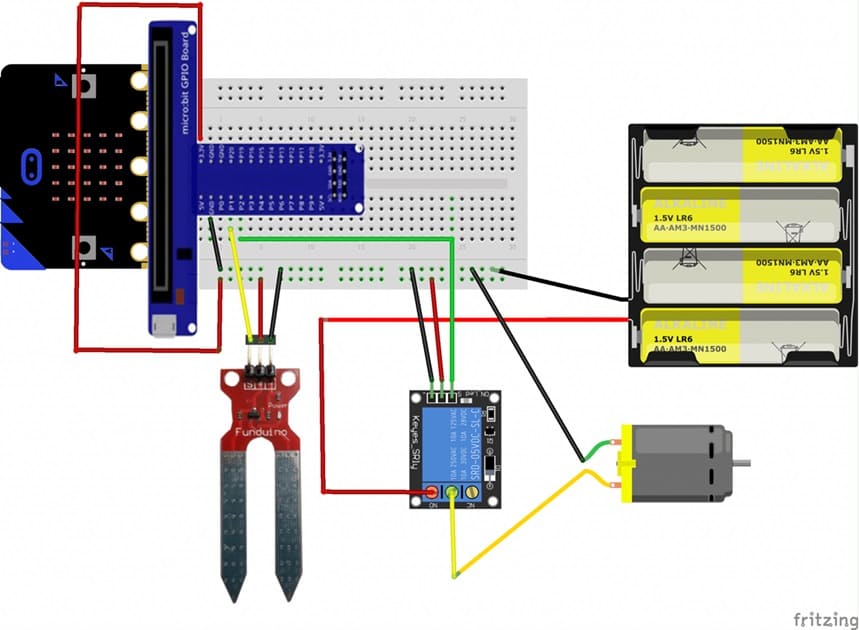
1. Set Up the Soil Moisture Sensor:
Insert the sensor probes into the soil near the plants.
Connect the sensor to the Micro:bit:
VCC to Micro:bit 3.3V pin.
GND to Micro:bit GND.
Signal pin to an analog input (e.g., P1).
2. Connect the Relay Module:
VCC to Micro:bit 3.3V pin.
GND to Micro:bit GND.
Signal pin to a digital output (e.g., P2).
NO pin to (+) battery terminal
3. Connect the Water Pump:
Connect the pump’s power lines to the relay’s COM (Common) terminals.
Connect the pump’s GND lines to (-) battery terminal.
Connect the pump to the water tank using a tube.
Programming Micro:bit with Makecode
1- Open the Microsoft MakeCode editor for Micro:bit.
2- Create a new project.
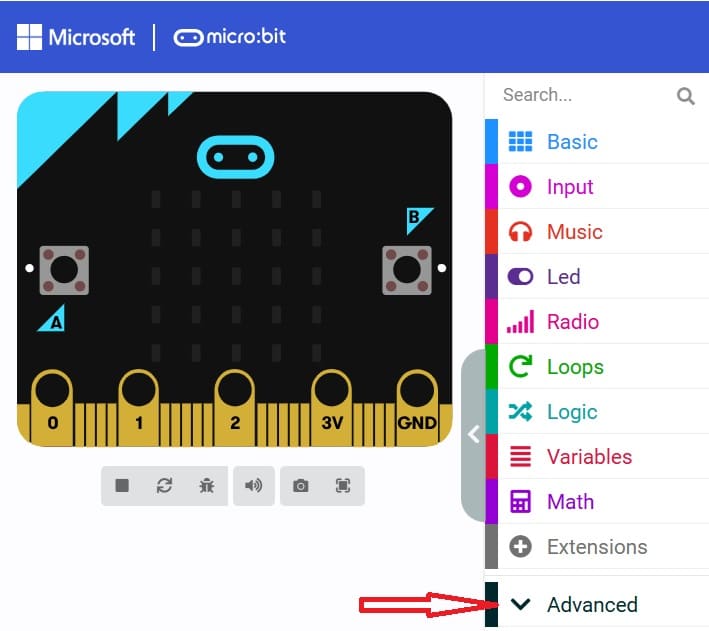
3- Go to Adavanced
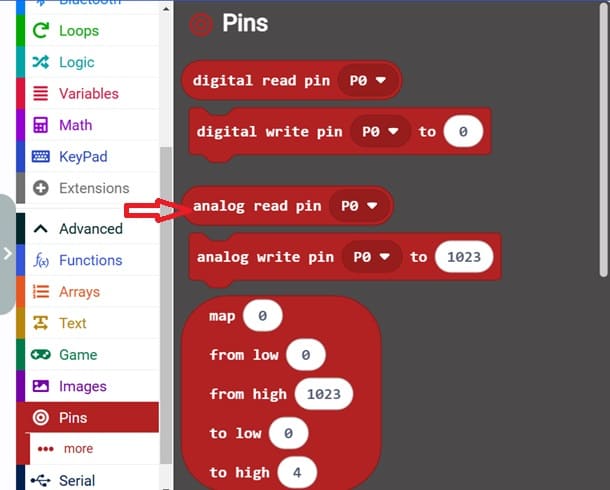
4- Go to Pins and choose 'analog read pin P0' to read value returned by soil sensor.
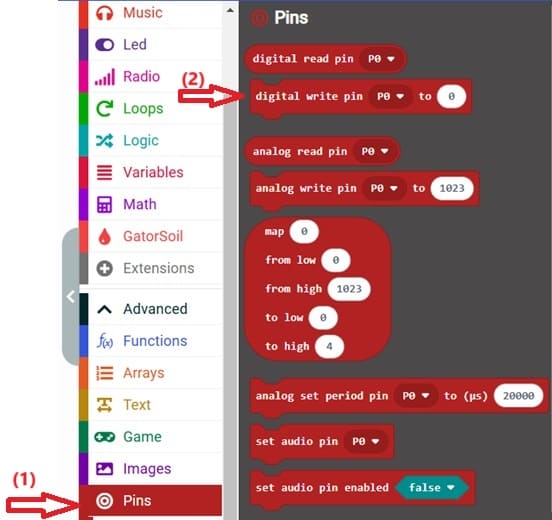
5- Go to Pins and choose 'digital write pin P0 to 0' to control the water pump.
6- You can write the code using MakeCode blocks.
