Micro:bit two-wheeled robot avoiding obstacles
Tutorial plan
1- What is a robot avoiding obstacles ?
2- Operation of Micro:bit robot avoiding obstacles
3- Robot components
4- Mounting of robot
5- Programming Micro:bit board with Makecode
What is a robot avoiding obstacles ?
A robot avoiding obstacles refers to a robotic system designed to navigate through an environment while detecting and steering clear of objects or barriers in its path. Obstacle avoidance is a critical aspect of mobile robotics, enabling robots to move safely and autonomously without collisions.
How Obstacle Avoidance Works
1- Detection: The robot uses its sensors to scan the environment and identify obstacles in its path.
2- Decision-Making: Based on the data, the robot's software calculates the best way to avoid the obstacle while maintaining its destination.
3- Action: The robot adjusts its movement (e.g., slowing down, turning, or rerouting) to avoid the obstacle.
Applications
Autonomous Vehicles: Avoid pedestrians, other vehicles, and road obstacles.
Service Robots: Navigate safely in homes, hospitals, or offices.
Industrial Robots: Operate in dynamic environments, avoiding people and equipment.
Drones: Avoid trees, buildings, or other aerial obstacles.
Operation of Micro:bit robot avoiding obstacles
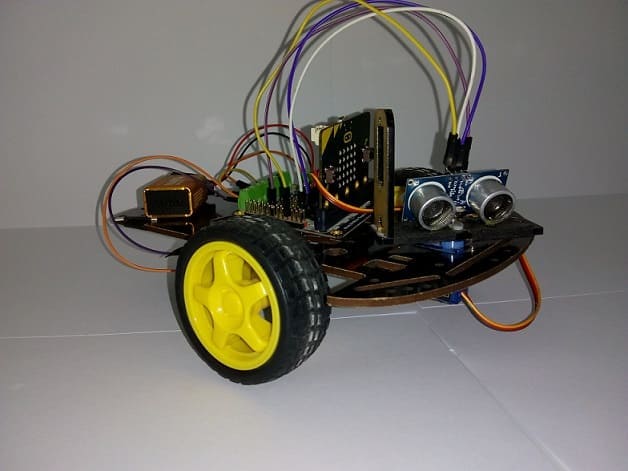
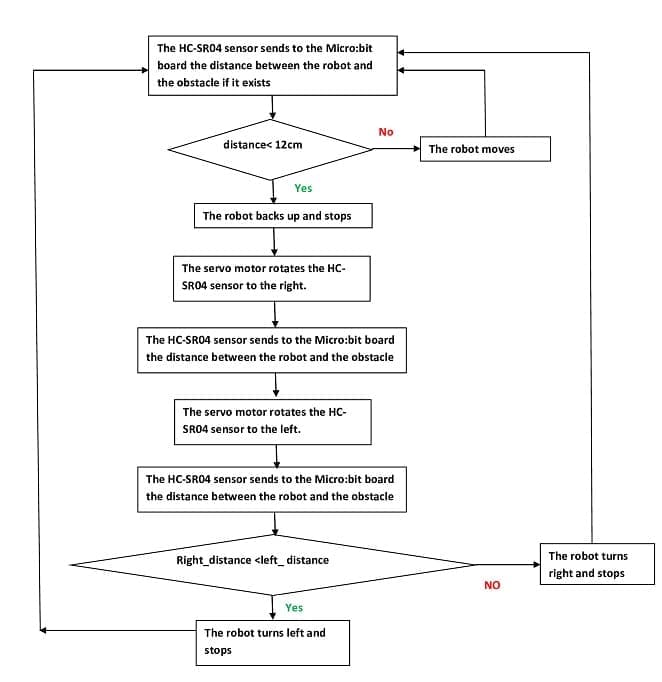
A Micro:bit two-wheeled robot avoiding obstacles integrates various components to autonomously detect and avoid obstacles using a servo motor, ultrasonic sensor (HC-SR04), driver expansion board, and a 9V battery.
How It Works
1- Initialization:
The Micro:bit initializes the motors, ultrasonic sensor, and servo motor.
Servo motor positions the ultrasonic sensor to scan the environment.
2- Obstacle Detection:
The HC-SR04 measures the distance to obstacles in the current direction.
If an obstacle is detected within a predefined range (e.g., < 20 cm), the Micro:bit triggers an avoidance maneuver. 3- Scanning and Decision Making:
The servo motor rotates the ultrasonic sensor to scan left and right.
The Micro:bit compares distances in different directions and determines the clearest path.
4- Navigation:
The robot adjusts its direction by controlling the DC motors via the driver expansion board:
- Moves forward if no obstacles are detected.
- Turns left or right based on the servo scan results.
- Stops if surrounded by obstacles.
Robot components
Micro:bit Board:
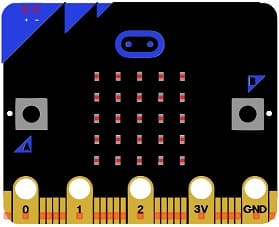
Acts as the main controller, running the obstacle avoidance logic.
HC-SR04 Ultrasonic Sensor:
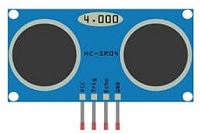
Measures the distance to obstacles by emitting ultrasonic waves and calculating the time taken for the echo to return.
Servo Motor:

Rotates the HC-SR04 sensor to scan the environment (e.g., left, right, and forward).
Driver Expansion Board:
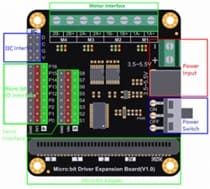
Interfaces the Micro:bit with the DC motors and servo motor.
Handles power distribution to the motors and sensors.
Two-Wheeled Chassis:
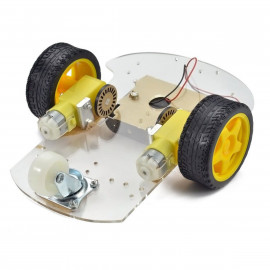
Provides mobility. Two DC motors drive the wheels for forward, backward, and turning movements.
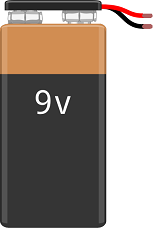
9V Battery:
Provides power to the entire system.
Mounting of robot
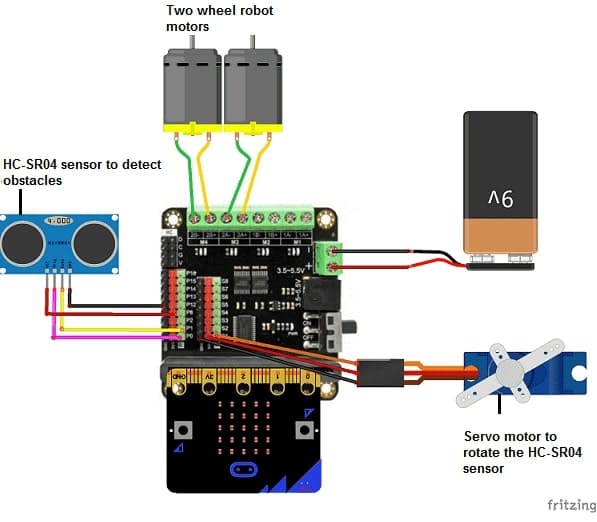
Hardware Connections
Micro:bit to Driver Expansion Board:
The Micro:bit is mounted on the expansion board, which simplifies connections to motors and sensors.
DC Motors to Driver Board:
Motor terminals connect to the motor output pins on the expansion board.
HC-SR04 to Micro:bit (via Expansion Board):
Trigger Pin connects to a GPIO pin (e.g., P0).
Echo Pin connects to another GPIO pin (e.g., P1).
Power (Vcc) and Ground (GND) connect to the expansion board.
Servo Motor to Expansion Board:
The servo control signal pin connects to a GPIO pin (e.g., S1).
Power and ground pins connect to the expansion board.
9V Battery:
Supplies power to the expansion board, which distributes it to motors and sensors.
Programming Micro:bit board with Makecode
1- Go to Microsoft MakeCode and start a new project.
2- In MakeCode, open the Blocks Editor (https://makecode.microbit.org/).
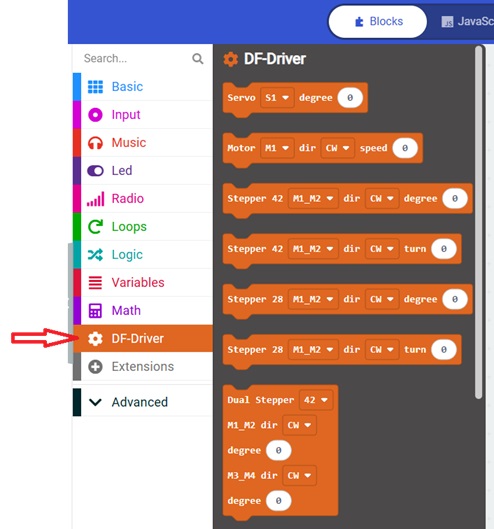
3- Add the Micro:bit Driver Expansion Board extension:
Look for "Extensions" and click on it.
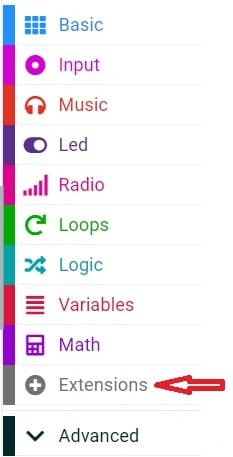
In the search box, insert this link "https://github.com/DFRobot/pxt-motor".
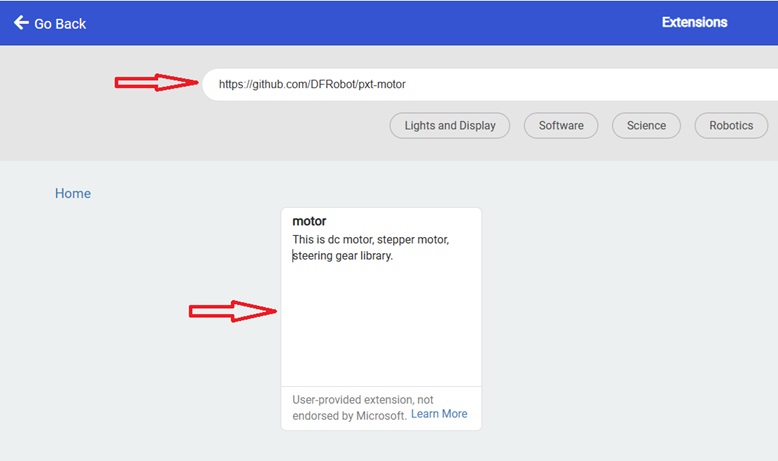
You can now use this blocs to controls the two motors.
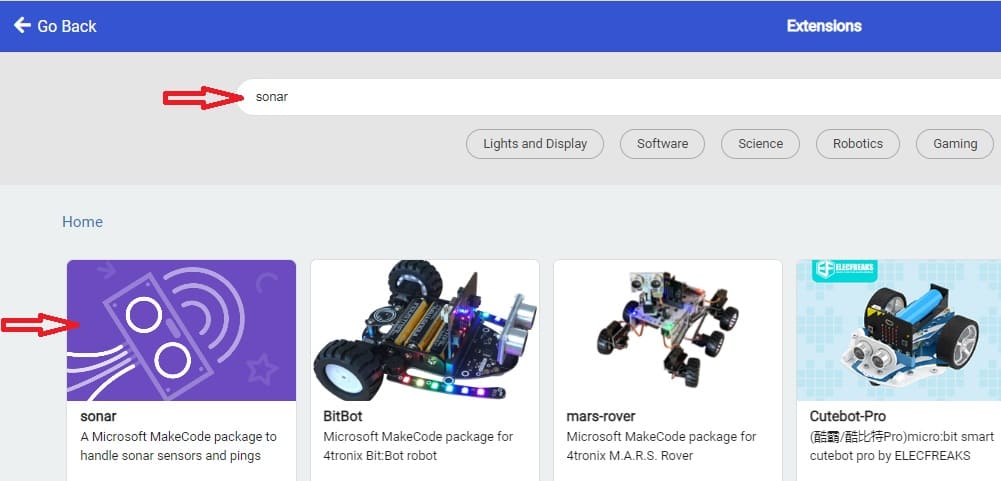
4- Add the HC-SR04 extension:
Look for "Extensions" and click on it.

In the search box, type "sonar" to find the bluetooth extension.
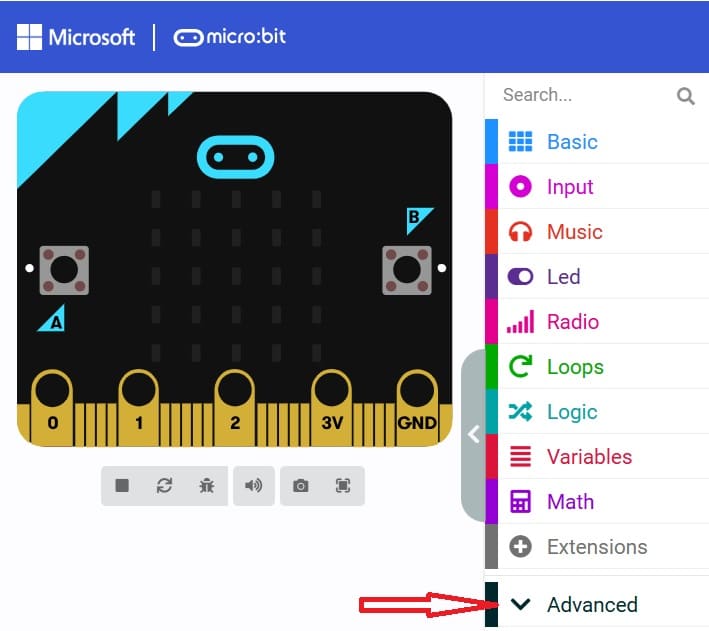
5- Go to advanced :
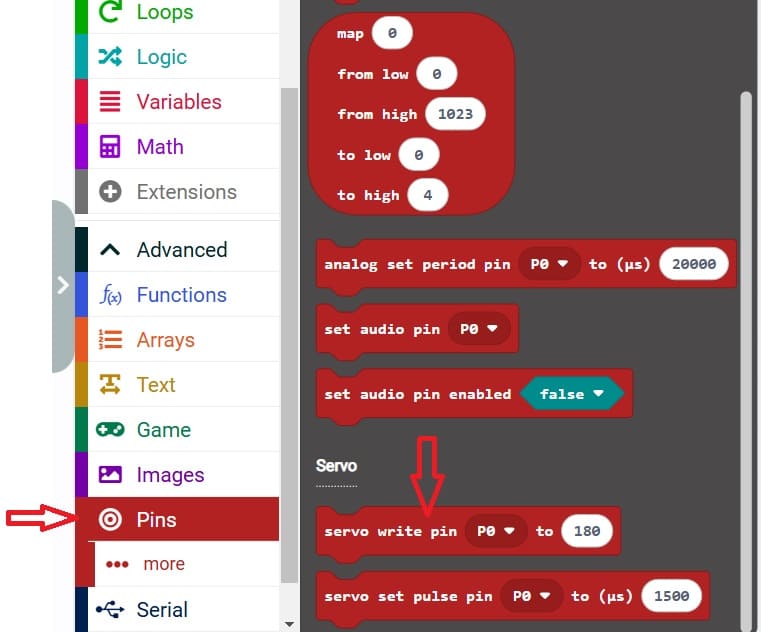
6- Go to Pin and choose 'servo write pinP0 to 180' instruction :
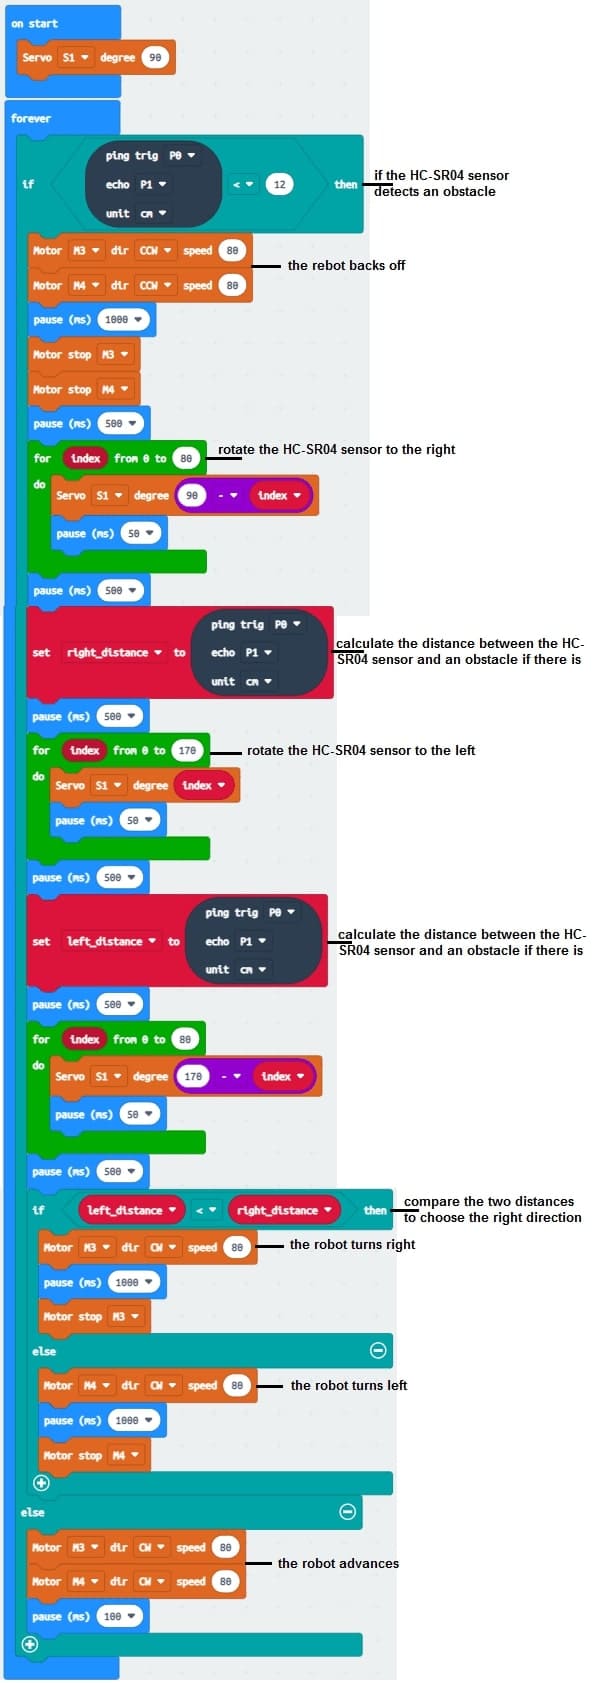
7- Create This program who reads the ultrasonic sensor data and adjusts the robot’s movement.
