Measure water level using Micro:bit
Tutorial Plan
1- Water measurement objective
2- How does the Micro:bit card measure water level ?
3- Materials Needed
4- System wiring diagram
5- Programming Micro:bit with Makecode
Water measurement objective
Water measurement refers to the process of quantifying the flow, volume, or level of water in various settings. It is essential for managing water resources, ensuring efficient usage, and maintaining environmental sustainability.
The objective of water measurement is to accurately quantify water usage, availability, or flow to support various activities and decision-making processes.
Specific objectives can vary depending on the context but often include:
1. Resource Management
Monitor water availability in reservoirs, rivers, and aquifers to ensure sustainable usage.
Support water allocation for agricultural, industrial, municipal, and ecological needs.
2. Regulatory Compliance
Ensure adherence to water use permits and legal frameworks.
Monitor effluent discharge to meet environmental standards.
3. Efficiency Optimization
Track water usage to reduce waste and improve efficiency in industries, agriculture, and households.
Enhance irrigation systems and water distribution networks.
4. Flood and Drought Management
Measure water levels and flows to predict and mitigate the impact of floods and droughts.
Develop early warning systems based on real-time water measurements.
5. Scientific Research
Collect data for hydrological studies, climate change research, and ecosystem monitoring.
Understand groundwater recharge rates and surface water interactions.
6. Economic Planning
Support water pricing and economic policies based on accurate usage and availability data.
Plan infrastructure development, such as dams, canals, and treatment plants.
7. Public Health and Safety
Monitor water quality and supply in urban and rural areas.
Manage drinking water systems to ensure public safety.
How does the Micro:bit card measure water level ?
The Micro:bit can measure the water level in a bottle using a simple circuit with wires that detect the conductivity of water. Here’s how it works:
Water conducts electricity to some extent, especially if it contains impurities. The Micro:bit uses this property to detect the presence of water at different levels by completing a circuit through water.
How It Works:
1- Preparation:
Cut a few wires to act as probes and insert them into the bottle at different heights.
Each wire represents a specific water level (e.g., low, medium, high).
2- Connection:
Connect one wire (common ground) to the GND pin of the Micro:bit.
Connect the other wires to different pins on the Micro:bit (e.g., P0, P1, P2). These will act as input/output pins.
3- Circuit Function:
When water touches the ground wire and one of the other wires, it completes the circuit.
The Micro:bit detects this by checking the voltage or signal at the specific pin.
4- Signal Processing:
The Micro:bit's pins can be set to either detect digital signals (on/off) or analog values (varying conductivity).
The Micro:bit reads the pin state and determines which level of water has been reached.
5- Output:
Based on the water level detected, the Micro:bit can display messages or icons on its LED matrix, or it can send signals to other devices (e.g., a buzzer, motor, or external display).
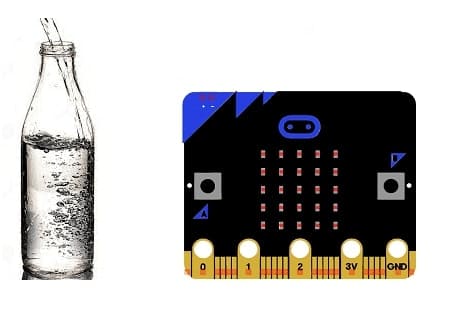
Materials Needed
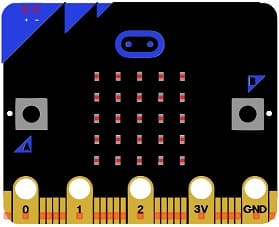
Micro:bit board (The main microcontroller board to control the system)
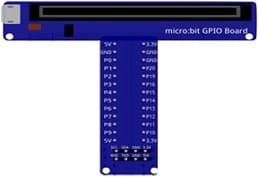
The GPIO expansion card for the Micro:bit card
A plastic bottle (used as the water container).

Wires (e.g., copper or insulated wires with stripped ends).

Resistors (to limit current and prevent damage to the Micro:bit).

Breadboard ( to test electronic circuits without the need for soldering)
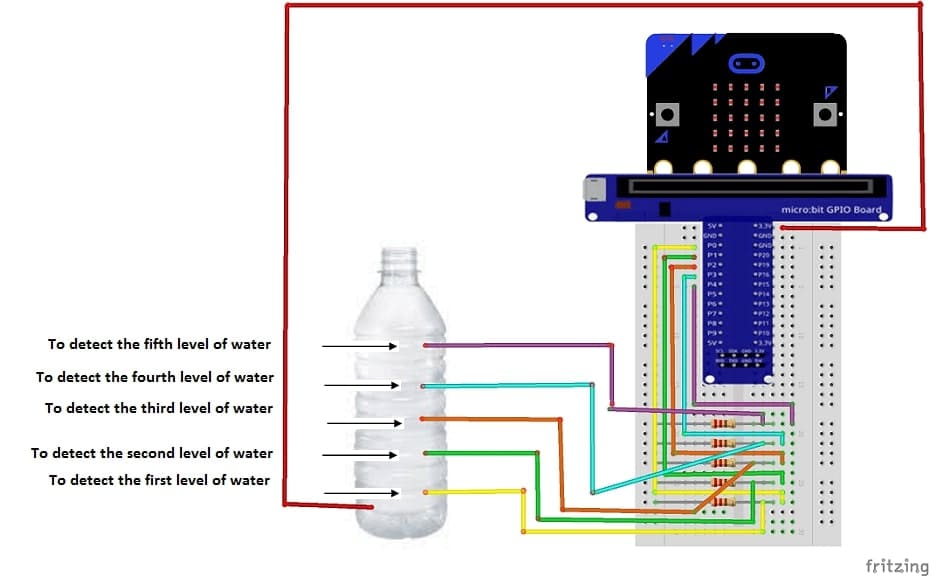
System wiring diagram
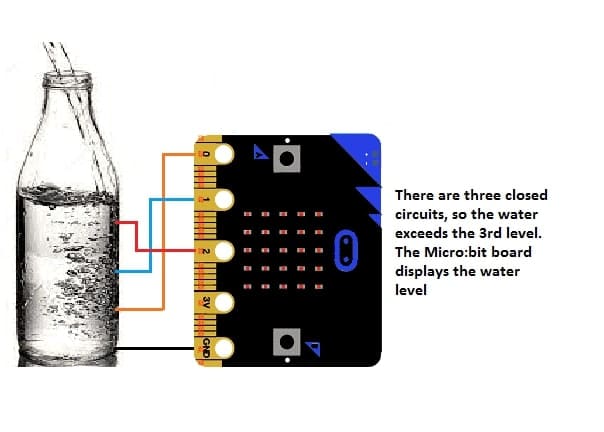
Common Ground Wire:
Insert one wire into the bottom of the bottle.
Connect this wire to the GND pin of the Micro:bit.
Level Detection Wires:
Insert additional wires into the bottle at different heights (e.g., low, medium, and high levels).
Connect these wires to Micro:bit pins (e.g., P0, P1, P2).
Add a resistor (1kΩ–10kΩ) in series between each wire and its respective Micro:bit pin to protect the circuit.
Connections:
Each detection wire acts as an input to the Micro:bit.
When water bridges the ground wire and a detection wire, the Micro:bit senses it.
Programming Micro:bit with Makecode
Below is a MakeCode program for measuring water levels using a Micro:bit. This program assumes three water level wires are connected to pins P0, P1, and P2 on the Micro:bit, and a ground wire is at the bottom of the container.
1- Open the Microsoft MakeCode editor for Micro:bit.
2- Create a new project.
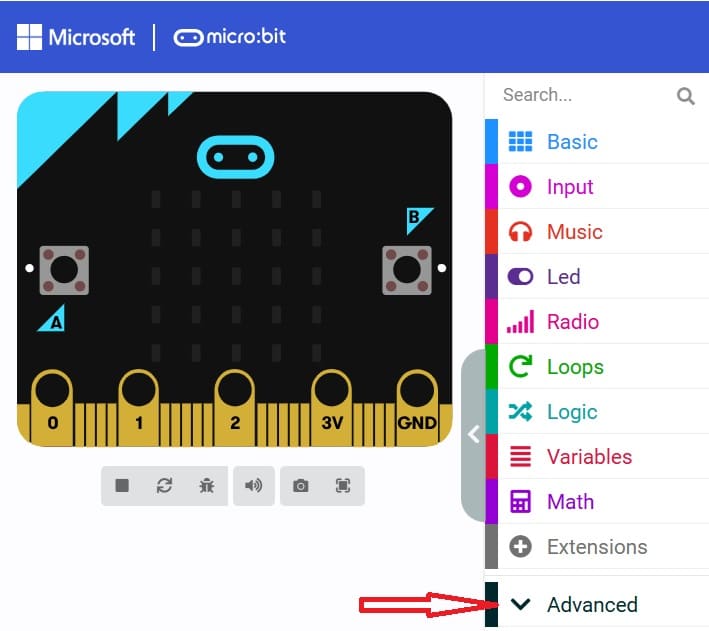
3- Go to Adavanced
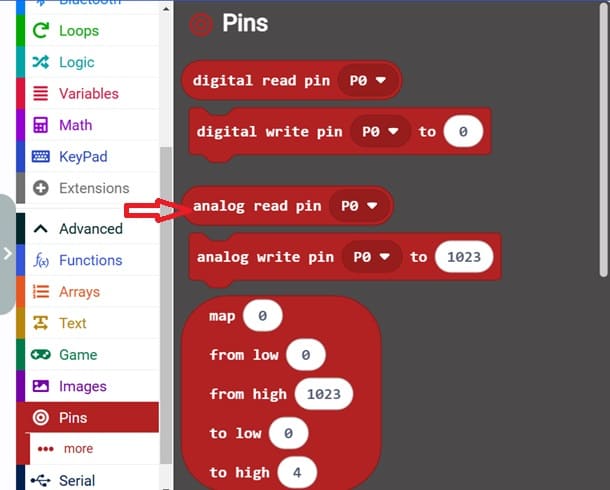
4- Go to Pins and choose 'analog read pin P0'
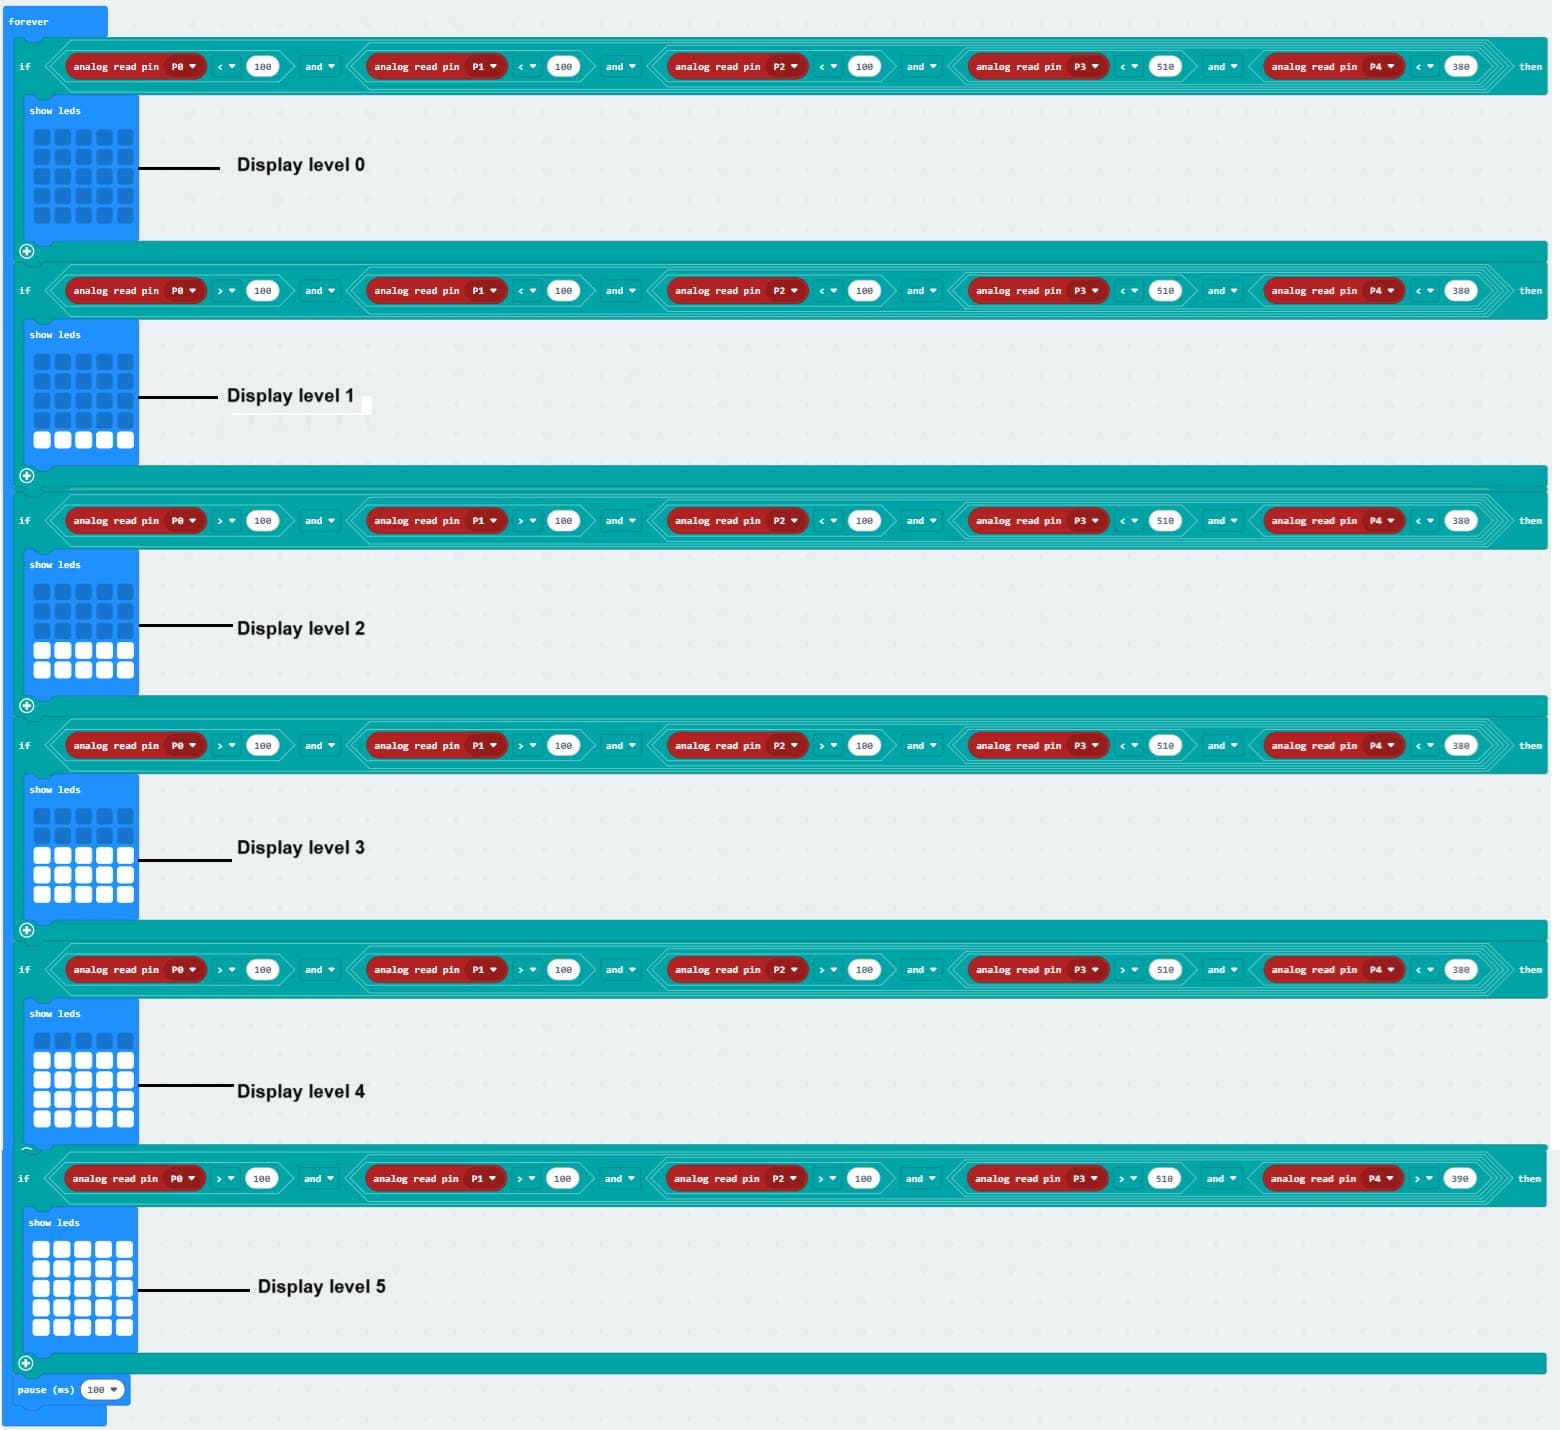
5- Use the blocks provided below to create the program.
How It Works
1- Pins as Inputs: Pins P0, P1, P2, P3 and P4 are checked continuously.
2- Signal Detection: If water bridges the ground wire and any of these pins, it completes the circuit.
3- Output: The Micro:bit's LED matrix displays the water level.
This program is simple and can be extended to include sound alerts or wireless communication for remote monitoring!

