Display temperature and light intensity measured by Micro:bit on LCD I2C display
Tutorial plan
1- How does the Micro:bit card measure temperature and light intensity ?
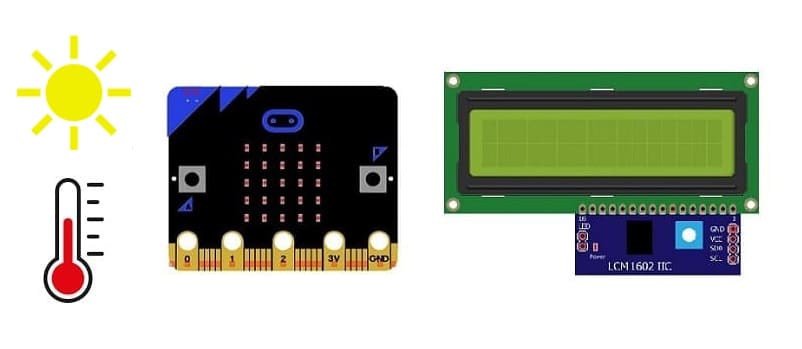
2- The components needed to display temperature and light intensity on the LCD I2C display
3- Micro:bit board wiring diagram with LCD I2C display
4- Program the Micro:bit card with Makecode to display temperature and light intensity on the LCD I2C display
How does the Micro:bit card measure temperature and light intensity ?
The Micro:bit board measures temperature and light intensity using built-in sensors. Here's a brief overview of how each measurement is typically carried out:
1- Temperature Measurement:
The Micro:bit includes a temperature sensor known as a thermistor or a temperature-dependent resistor (TDR). This sensor exploits the fact that the electrical resistance of certain materials changes with temperature.
As the temperature changes, the resistance of the thermistor changes accordingly. The Micro:bit measures this resistance and converts it into a temperature value using a calibration algorithm or lookup table.
The temperature reading is typically provided in degrees Celsius.
2- Light Intensity Measurement:
The Micro:bit features a light sensor, often based on a phototransistor or a photodiode. These sensors respond to changes in light by altering their electrical characteristics.
As the ambient light changes, the resistance or current of the light sensor changes. The Micro:bit measures this change and converts it into a value representing light intensity.
The light intensity reading is usually provided as a numerical value, with higher values indicating brighter light conditions.
When programming the Micro:bit, you can access these sensors using the available programming environments such as MakeCode or MicroPython. These environments provide blocks or functions to read values from the temperature and light sensors, allowing you to incorporate these measurements into your projects. Keep in mind that the actual hardware implementation might vary between different Micro:bit models, but the general principles for temperature and light measurements remain similar.
The components needed to display temperature and light intensity on the LCD I2C display
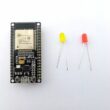
Micro:bit board:

The Micro:bit board is a small, programmable microcontroller board designed for education and beginner-friendly coding projects. It was developed by the BBC, in collaboration with various partners, as a tool to introduce young people to programming and electronics.
The GPIO expansion card for the Micro:bit card

The GPIO expansion board for the Micro:bit board expands the capabilities of the Micro:bit board by adding more input/output (GPIO) pins and additional functionality.
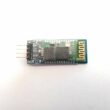
LCD I2C 1602 Display:

The LCD I2C 1602 display is a type of liquid crystal display (LCD) that utilizes the I2C (Inter-Integrated Circuit) communication protocol to interface with microcontrollers or other devices.
Jumper Wires:

To make the physical connections between the components.
Breadboard:

A breadboard is a useful tool for creating temporary electronic circuits. It allows you to connect components without soldering .
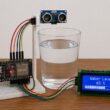
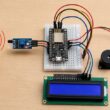
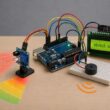
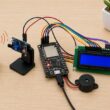
Micro:bit board wiring diagram with LCD I2C 1602 display
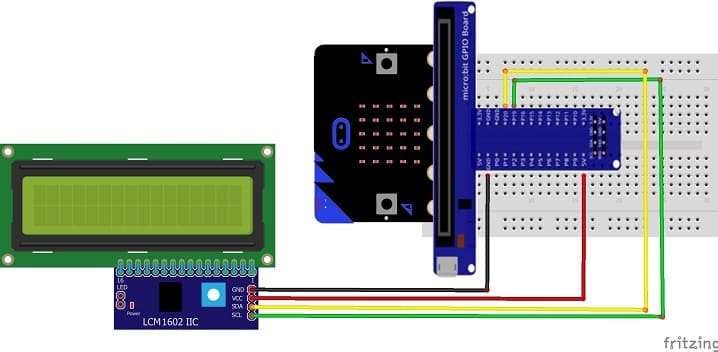
Connect the LCD I2C 1602 Display to the Micro:bit board as follows:
1- Connect the SDA (data line) of the LCD I2C 1602 display to P20 pin of the Micro:bit board.
2- Connect the SCL (clock line) of the LCD I2C 1602 display to P19 of the Micro:bit board.
3- Connect the VCC pin of the LCD I2C 1602 display to the 5V pin of the GPIO board or another energy source .
4- Connect the GND pin of the LCD I2C 1602 display to GND pin of the Micro:bi board.
Program the Micro:bit card with Makecode to display temperature and light intensity on the LCD I2C display
To program the Micro:bit to display temperature and light intensity on the LCD I2C display using MakeCode, you can follow these steps:
1- Open the MakeCode editor for Micro:bit: https://makecode.microbit.org/.
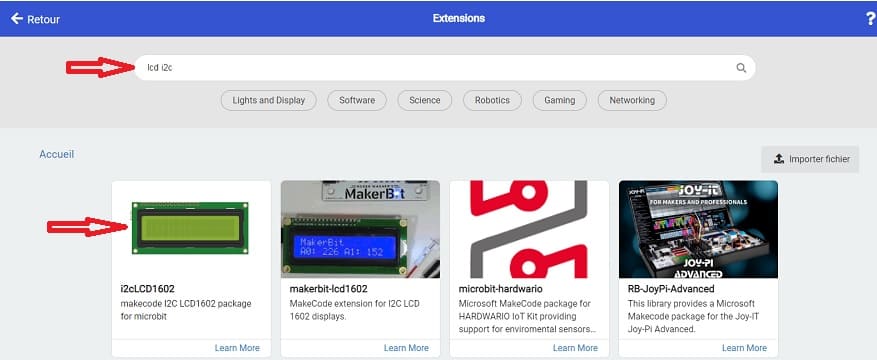
2- Add the LCD I2C extension:
Look for "Extensions" and click on it.

In the search box, type "LCD I2C" to find the OLED extension.
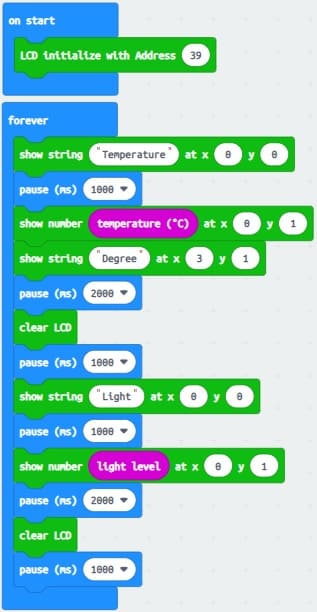
 5- Write the code to measure temperature and light intensity:
3- Use the blocks from the "Input" category to measure temperature and light intensity. These blocks are usually labeled "temperature" and "light level" and can be found in the "Input" section.
4- Add blocks from the LCD I2C extension to initialize the display and show the measured values.
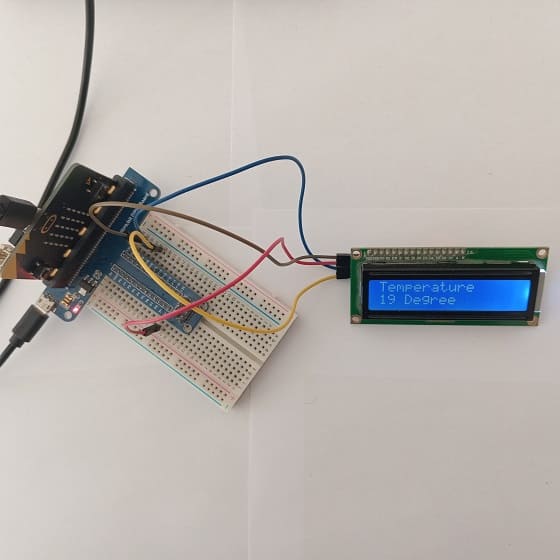
Here's a simple example of code that measures temperature and light intensity and displays them on the LCD I2C display:
0 comment
Leave a comment
Passion for robotics

Recent tutorials

Robotics workshop

Polpular tutorials


Making robots

Most commented tutorials


Robotic arm

Categories
Smart Home