Display temperature and humidity measured by DHT22 sensor connected to Arduino on I2C LCD display
Tutorial plan
1- How to use the DHT22 sensor by the Arduino UNO board ?
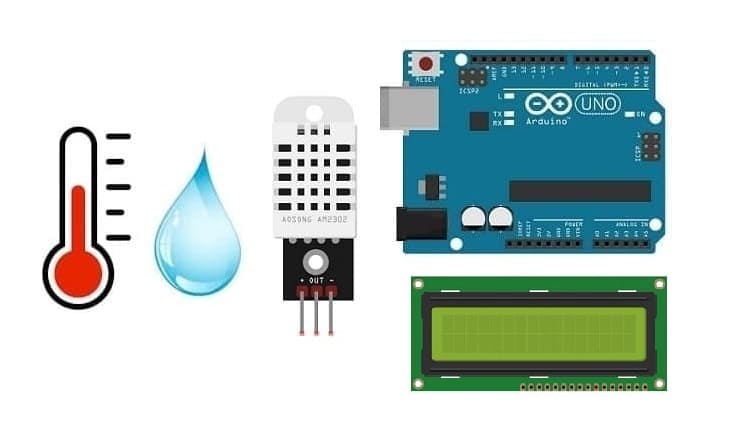
2- The components required to display the temperature and humidity measured by the DHT22 sensor connected to Arduino on the I2C LCD display
3- Mounting the Arduino board with the DHT22 sensor and the I2C LCD display
4- Programming Arduino UNO to display the temperature and humidity measured by the DHT22 sensor on the I2C LCD display
How to use the DHT22 sensor by the Arduino UNO board ?
The DHT22 sensor is a digital temperature and humidity sensor. It's commonly used in various projects and applications to measure environmental conditions. This sensor provides accurate temperature and humidity readings through a digital signal output. The DHT22 consists of a capacitive humidity sensor and a thermistor for temperature measurement. It's relatively simple to use with microcontrollers like Arduino and Raspberry Pi, making it popular for DIY projects, weather stations, home automation, and other applications requiring environmental monitoring.
Arduino UNO is a popular microcontroller board known for its versatility and ease of use in various electronics projects, including interfacing with DHT22 sensor. Here's a breakdown of how sensors can be used with an Arduino UNO:
Hardware Connections:
Power: Connect the DHT22 sensor's power (+) and ground (-) pins to the Arduino's 3.3V and GND pins, respectively.
Data/Signal: the DHT22 sensor have a OUT pin. Connect this pin to any digital or analog pin on the Arduino (refer to the sensor's datasheet for specific pin connections).
Arduino Sketch (Code):
Utilize Arduino's programming language (based on C/C++) to interface with the sensor.
Use libraries (if available) specific to the DHT22 sensor to simplify code and access sensor readings. For instance, the dhtlib library for DHT temperature and humidity sensors.
Reading Sensor Data: In the Arduino sketch, you'll write code to read data from the sensor. This might involve initializing the DHT22 sensor, reading digital values, and interpreting sensor outputs into meaningful data (temperature and humidity).
Processing Sensor Data: Display the sensor data on an LCD screen, serial monitor, or communicate it to other devices via Bluetooth, Wi-Fi, or other communication modules connected to the Arduino.
The components required to display the temperature and humidity measured by the DHT22 sensor connected to Arduino on the I2C LCD display
To display the temperature and humidity readings from the DHT22 sensor on an I2C LCD display using an Arduino, you'll need the following components:
Arduino UNO Board

The Arduino Uno board is a microcontroller board based on the ATmega328P microcontroller. It's one of the most popular and widely used boards in the Arduino family due to its simplicity and versatility.
It is the central control unit for your project.
DHT22 Sensor

The DHT22 sensor is popular for its relative accuracy, ease of use, and affordable cost, making it a common choice for various electronic projects. However, like any sensor, it has its limitations, and considering its specifications is important for accurate measurements.
I2C LCD Display (usually 16x2)
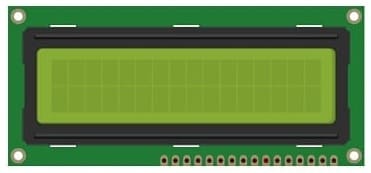
This display is used for displaying the temperature and humidity from the DHT22 sensor .
Jumper Wires:

For making temporary connections and wiring between components.
Breadboard:
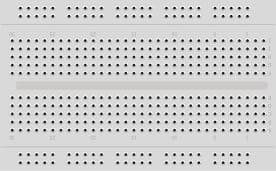
A breadboard is a useful tool for creating temporary electronic circuits. It allows you to connect components without soldering.
Mounting the Arduino board with the DHT22 sensor and the I2C LCD display
Mounting the Arduino board along with the DHT22 sensor and I2C LCD display can be done in various ways based on the preferences for the project's permanence, aesthetics, and convenience. Here's a suggestion on how to mount them:
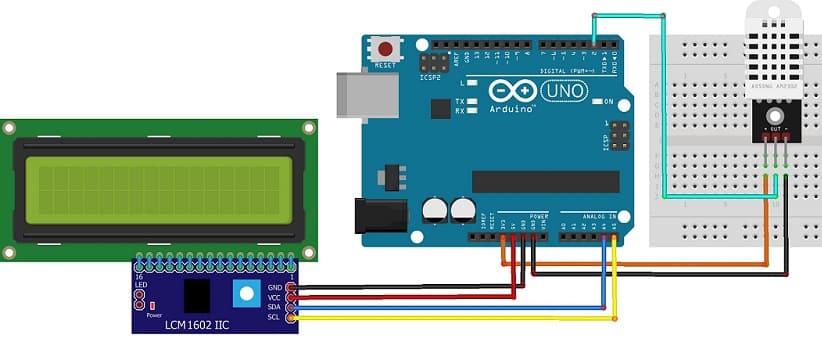
Attaching the I2C LCD Display :
- connect the VCC pin of the display to 5V pin of the Arduino
- connect the GND pin of the display to GND pin of the Arduino
- connect the SDA pin of the display to A4 pin of the Arduino
- connect the SCL pin of the display to A5 pin of the Arduino
Mounting the DHT22 Sensor:
- connect the (+) pin of the DHT22 Sensor to 3.3V pin of the Arduino
- connect the (-) pin of the DHT22 to GND pin of the Arduino
- connect the OUT pin of the DHT22 to pin 2 of the Arduino
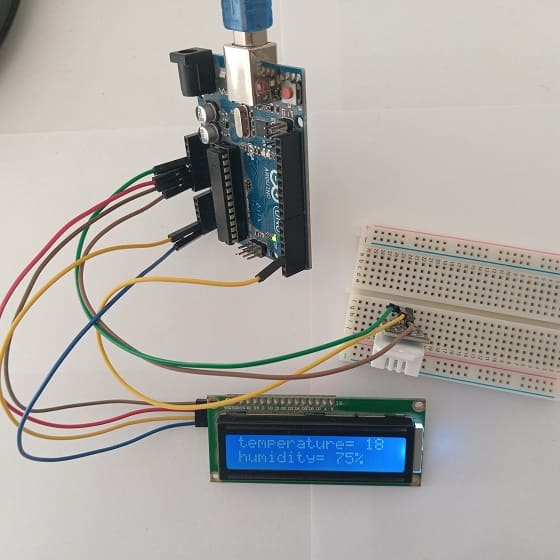
Programming Arduino UNO to display the temperature and humidity measured by the DHT22 sensor on the I2C LCD display
Here's an example code that combines the dhtlib library and the LiquidCrystal_I2C library to read data from the DHT22 sensor and display it on the I2C LCD:
|
1 2 3 4 5 6 7 8 9 10 11 12 13 14 15 16 17 18 19 20 21 22 23 24 25 26 27 28 29 30 |
#include <dht.h> #include <LiquidCrystal_I2C.h> #define dataPin 2 // Defines pin number to which the sensor is connected dht DHT; // Creats a DHT object LiquidCrystal_I2C lcd(0x27, 20, 4); void setup() { lcd.init(); // Initialize the LCD } void loop() { int readData = DHT.read22(dataPin); // DHT22/AM2302 float t = DHT.temperature; // Gets the values of the temperature float h = DHT.humidity; // Gets the values of the humidity lcd.backlight(); // Turn on the backlight lcd.clear(); lcd.setCursor(0, 0); lcd.print("temperature= "); lcd.print((int)t); // Display temperature on the LCD lcd.setCursor(0,1); lcd.print("humidity= "); lcd.print((int)h); // Display humidity on the LCD lcd.print("%"); delay(2000); } |
Upload this code to your Arduino UNO, and the temperature and humidity readings should appear on the LCD display. Adjust pin configurations and addresses if your setup differs.


