Detect gas leaks using ESP32 board, MQ-4 sensor and SSD1306 display
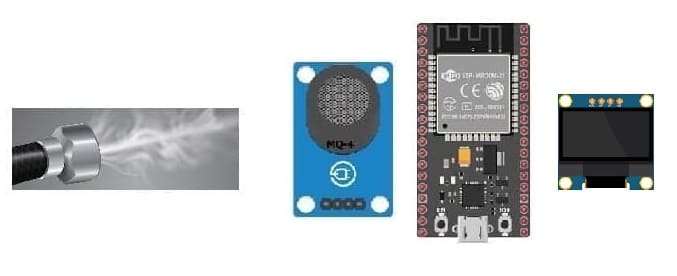
Tutorial plan
1- How does the ESP32 board detect gas leaks and display an alert message ?
2- Necessary system components
3- ESP32 board wiring with with the MQ-4 sensor and SSD1306 display
4- Program the ESP32 board to detect the gas leak and display an alert message
How does the ESP32 board detect gas leaks and display an alert message ?
The ESP32 board itself doesn't inherently detect gas leaks; instead, it relies on additional components such as gas sensors to detect gas leaks. Here's a generalized explanation of how the ESP32 board can be used in conjunction with gas sensors to detect gas leaks and display an alert message on an SSD1306 screen:
1- Gas Sensor Integration: The ESP32 board is connected to a gas sensor module capable of detecting specific gases. These sensors often work on principles like semiconductor conductivity or electrochemical reactions, where the presence of certain gases alters the sensor's electrical properties.
2- Wiring Setup: The gas sensor is connected to the ESP32 board, typically through GPIO pins. The sensor may require calibration and specific wiring according to its datasheet.
3- Programming the ESP32: Using a programming language such as MicroPython, the ESP32 board is programmed to read data from the gas sensor periodically. The code involves initializing the sensor and setting up routines to collect sensor readings.
4- Data Processing: The ESP32 reads data from the gas sensor and processes it to determine if gas levels exceed a predefined threshold indicating a leak. This may involve simple threshold comparison or more complex algorithms depending on the sensor and application requirements.
5- Alert Generation: If gas levels surpass the threshold, the ESP32 triggers an alert. This could be in the form of activating an alarm, sending a notification to a connected device via Wi-Fi or Bluetooth, and/or displaying a warning message on SSD1306 screen.
6- SSD1306 Display: The ESP32 controls SSD1306 screen to display the alert message. The message may include information about the type of gas detected and instructions for action.
By combining the ESP32's processing power, connectivity options, and GPIO capabilities with specialized gas sensors and SSD1306 screen, it's possible to create a gas leak detection system that provides real-time alerts and enhances safety in various environments.
Necessary system components
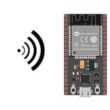
ESP32 Board:
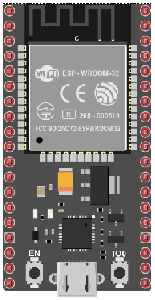
The ESP32 is a powerful microcontroller developed by Espressif Systems. It's renowned for its integrated Wi-Fi and Bluetooth capabilities, making it a popular choice for various IoT (Internet of Things) applications.
MQ-4 gas sensor:
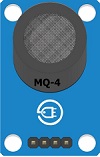
The MQ-4 gas sensor is a commonly used module for detecting the presence of methane (CH4), a flammable gas commonly found in natural gas and industrial environments.
SSD1306 screen
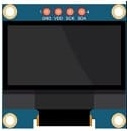
The SSD1306 is a popular display controller used in OLED (Organic Light-Emitting Diode) screens. It's commonly employed in various electronics projects to showcase information on small screens. The SSD1306 controller is compatible with different screen sizes and is often integrated with microcontrollers like Arduino UNO board to display text, graphics, and images.
The SSD1306 screen is used to display the alert message in case of gas leak detection.
Jumper Wires:

For making temporary connections and wiring between components.
Breadboard:
A breadboard is a useful tool for creating temporary electronic circuits. It allows you to connect components without soldering.
ESP32 board wiring with the MQ-4 sensor and SSD1306 display
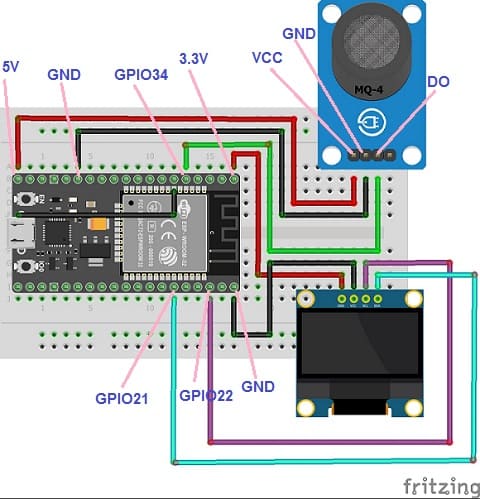
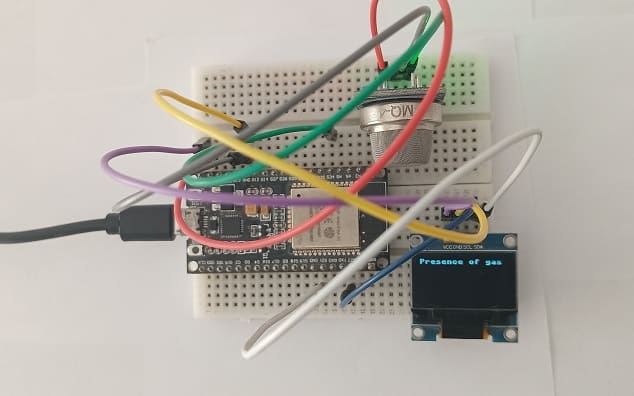
Details of the MQ-4 sensor connections to the ESP32 board :
- Connect the VCC pin of the MQ-4 sensor to the 5V pin of the ESP32 board
- Connect the GND pin of the MQ-4 sensor to the GND pin of the ESP32 board
- Connect the DO pin of the MQ-4 sensor to the GPIO34 pin of the ESP32 board
Connect the of the SSD1306 display to GPIO21 pin of ESP32 board.
- Connect the SCL (clock line) of the SSD1306 display to GPIO22 pin of ESP32 board.
- Connect the VCC pin of the SSD1306 display to the 5V pin of ESP32 board.
- Connect the GND pin of the SSD1306 display to GND pin of ESP32 board.
Program the ESP32 board to detect the gas leak and display an alert message
To program the ESP32 board to detect a gas leak using the MQ-4 gas sensor and display an alert message on an SSD1306 screen with MicroPython, you'll first need to:
1- ensure MicroPython is installed on your ESP32
2- flash your ESP32 with MicroPython using this file esp32-20210902-v1.17.bin
3- import this library :ssd1306.py for SSD1306 screen
4- use the following code:
|
1 2 3 4 5 6 7 8 9 10 11 12 13 14 15 16 17 18 19 20 21 22 |
from machine import Pin, ADC, I2C import ssd1306 from time import sleep # ESP32 Pin assignment i2c = I2C(-1, scl=Pin(22), sda=Pin(21)) oled_width = 128 oled_height = 64 oled = ssd1306.SSD1306_I2C(oled_width, oled_height, i2c) gaz = ADC(Pin(34)) # GPIO pin connected to the MQ-4 sensor gaz.atten(ADC.ATTN_11DB) while True: oled.fill(0) oled.show() gaz_value = gaz.read() if (gaz_value<500): oled.text('Presence of gas', 0, 0) oled.show() else: oled.text('Absence of gas', 0, 0) oled.show() sleep(1) |
In this Micropython program:
1- We import necessary modules like Pin, ADC (Analog-to-Digital Converter), and I2C for communication.
2- gaz.read() function reads the analog value from the gas sensor and checks if it exceeds the threshold for gas detection.
3- Inside the main loop, we continuously check for gas leakage using the check_gas_leakage function and display an appropriate message on the SSD1306 screen.
Make sure to adjust pin assignments and threshold values according to your actual hardware setup and the sensitivity of your gas sensor. Additionally, you may want to add further actions like activating a buzzer or sending a notification when a gas leak is detected.

