Control three LEDs by ESP32 card
Tutorial plan
1- Role of LEDs in robotics
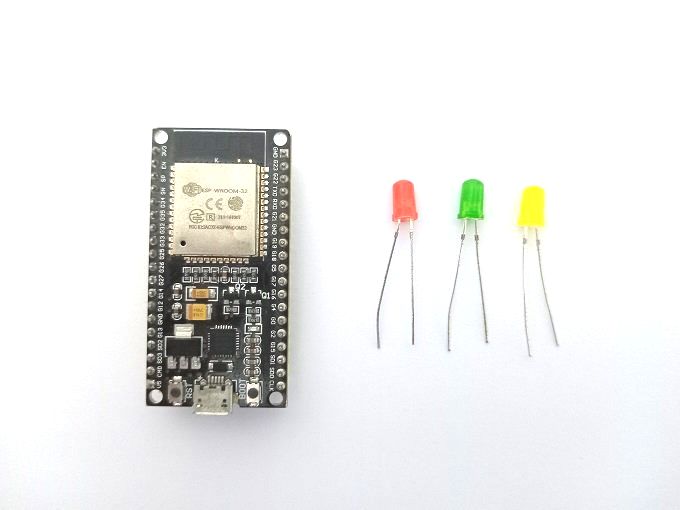
2- The components needed to control three LEDs by ESP32
3- Mounting ESP32 with three LEDs
4- Lighting three LEDs by ESP32
5- Alternately light three LEDs by ESP32
Role of LEDs in robotics
LEDs (Light-Emitting Diodes) play various roles in robotics. Here are some common applications of LEDs in robotics:
Status Indicators: LEDs are often used as status indicators in robotic systems. They can be programmed to provide visual feedback about the state of different components or subsystems within the robot. For example, LEDs can indicate whether the robot is powered on, charging, in standby mode, or performing a specific task.
Sensor Readouts: LEDs can be used in conjunction with sensors to provide visual feedback on the readings or measurements obtained by the sensors. For instance, in line-following robots, an array of sensors detects the line, and LEDs are used to indicate which sensors are activated or which path the robot is following.
Communication: LEDs can be used as part of a communication system in robots. For example, LEDs can be integrated into a robot's body to display signals or messages to interact with humans or other robots. These visual cues can help convey information or intentions in a clear and intuitive manner.
Illumination: LEDs are widely used for illuminating the working area of robots. They provide bright and energy-efficient lighting solutions for vision systems, enabling robots to perceive and navigate their environment effectively. LEDs are particularly useful in low-light conditions or for specific applications such as machine vision, inspection, or object recognition.
Aesthetics: LEDs are sometimes incorporated into robotic designs for aesthetic purposes. They can enhance the visual appeal of robots by adding customizable lighting effects or creating an engaging display. This is often seen in entertainment robots, humanoid robots, or robot companions.
The components needed to control three LEDs by ESP32
To control two LEDs using an Arduino UNO, you will need the following components:
The ESP32 is a popular microcontroller board that integrates Wi-Fi and Bluetooth connectivity. It is widely used for IoT (Internet of Things) projects and offers a range of features and capabilities.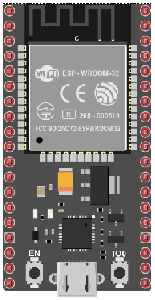
Three LEDs: Choose the LEDs of your choice, considering their color and brightness. Ensure that they are compatible with the Arduino in terms of voltage and current.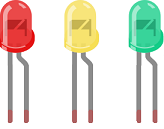
Three resistors: Resistors are needed to limit the current flowing through the LEDs to protect them. The value of the resistors will depend on the specifications of the LEDs and the operating voltage of the Arduino.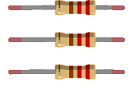
Breadboard : will be used to connect the LEDs, resistors, and Arduino together. 
Jumper wires: These wires are used to make connections between the Arduino UNO and the LEDs. 
Mounting ESP32 with three LEDs
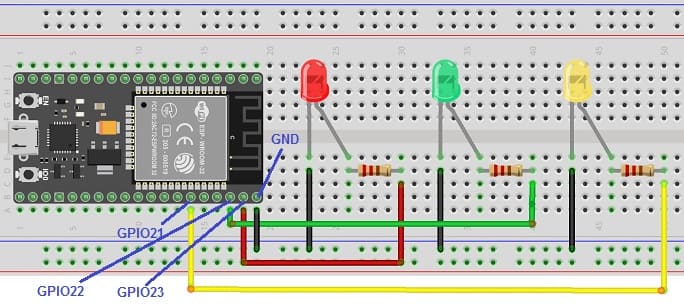
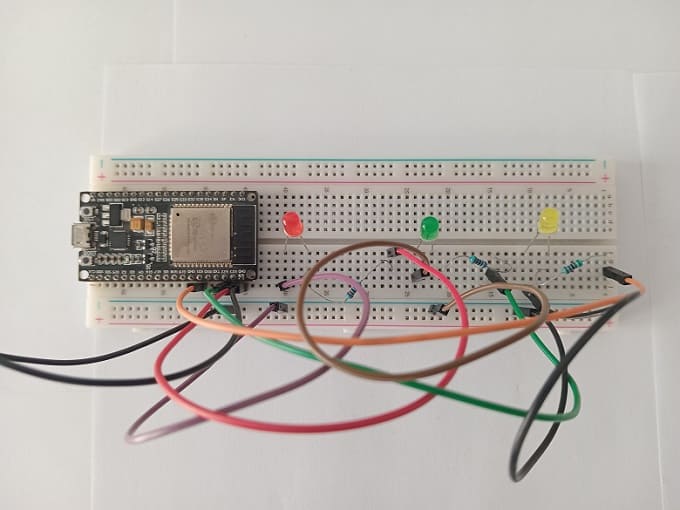
Here are the steps to mount the ESP32 with three LEDs:
1- Place the ESP32 board on the breadboard.
2- Insert the LEDs into the breadboard, connecting them to the output pins of the ESP32 board. For example, connect the red LED to GPIO 23, the green LED to GPIO 22, and the yellow LED to GPIO 21. Make sure to insert the LEDs correctly, paying attention to the polarity (anode and cathode).
3- Connect a resistor in series with each LED. The resistor should be connected between the corresponding GPIO pin and the positive terminal (anode) of the LED.
4- Connect the negative terminal (cathode) of each LED to the ground (GND) of the ESP32 board.
5- Double-check that all connections are properly made and that nothing is short-circuited.
Once the mounting is complete, you can program the ESP32 board to control the LEDs. For example, you can use the MicroPython programming language and the uGPIO module to turn the LEDs on and off.
Lighting three LEDs by ESP32
To light three LEDs using an ESP32 board and MicroPython, you can follow these steps:
1- Connect the LEDs to the GPIO pins of the ESP32 board. For example, connect the anode (longer leg) of each LED to a GPIO pin, and connect the cathode (shorter leg) of each LED to the ground (GND) pin. Ensure that you have appropriate current-limiting resistors in series with each LED to prevent excessive current flow.
2- Set up the GPIO pins as outputs in your MicroPython code. You can use the Pin class from the machine module for this purpose.
|
1 2 3 4 5 6 |
from machine import Pin # Define the GPIO pins for each LED pin_led_red = Pin(23, Pin.OUT) pin_led_green = Pin(22, Pin.OUT) pin_led_blue = Pin(21, Pin.OUT) |
3- Use the value() method of the Pin class to control the state of the GPIO pins. Set the pin's value to 1 to turn the LED on.
|
1 2 |
# Turn on the red LED pin_led_red.value(1) |
Here's a simple example
|
1 2 3 4 5 6 7 8 9 10 11 |
from machine import Pin # Define the GPIO pins for each LED pin_led_red = Pin(23, Pin.OUT) pin_led_green = Pin(22, Pin.OUT) pin_led_yellow = Pin(21, Pin.OUT) # Turn on the three LEDs pin_led_red.value(1) pin_led_green.value(1) pin_led_yellow.value(1) |
Alternately light three LEDs by ESP32
To alternately light three LEDs using an ESP32 board and MicroPython, you can use a loop and control the state of the LEDs based on the iteration. Here's an example code that demonstrates the alternating lighting:
|
1 2 3 4 5 6 7 8 9 10 11 12 13 14 15 16 17 18 19 20 |
from machine import Pin # Define the GPIO pins for each LED pin_led_red = Pin(23, Pin.OUT) pin_led_green = Pin(22, Pin.OUT) pin_led_yellow = Pin(21, Pin.OUT) while True: pin_led_red.value(1) time.sleep(1) pin_led_red.value(0) pin_led_green.value(1) time.sleep(1) pin_led_green.value(0) pin_led_yellow.value(1) time.sleep(1) pin_led_yellow.value(0) |
In this code, while True turns on each LED one at a time for 1 second before turning it off and moving to the next LED.
0 comment
Leave a comment
Passion for robotics

Recent tutorials


Robotics workshop

Polpular tutorials


Making robots

Most commented tutorials


Robotic arm

Categories
Smart Home