Control an LED by the ESP32 card
Tutorial plan
1- Role of LEDs in robotics
2- The components needed to control an LED by Arduino UNO
3- Mounting the Arduino UNO with an LED
4- Lighting an LED by Arduino UNO
5- Blink an LED by Arduino UNO
Role of LEDs in robotics
LEDs (Light-Emitting Diodes) play various roles in robotics. Here are some of the key roles of LEDs in robotics:
Visual Indicators: LEDs are often used as visual indicators to display specific information or states on a robot. For example, an LED can be used to indicate whether the robot is powered on, in standby mode, or to signal errors or warnings.
Communication: LEDs can be used for communication with users or other robots. Sequences of blinking or color changes in LEDs can be used to transmit specific messages or signals.
Detection and Tracking: LEDs can be used for visual detection and tracking in vision-based robotic systems. For example, infrared LEDs can be used to detect specific markers or landmarks on the field or to track moving objects.
Lighting: LEDs are commonly used to provide illumination in robotic applications. They are chosen for their low power consumption, long lifespan, and small size. LEDs can be used to light up the robot's working environments or to illuminate areas of interest during robotic operations.
Aesthetics: LEDs can also be used for aesthetic purposes in robot design. They can be integrated into parts of the robot to give it an attractive or futuristic look, or to create special visual effects.
In summary, LEDs play an essential role in robotics as visual indicators, communication means, detection devices, lighting sources, and aesthetic elements. Their low power consumption, long lifespan, and versatility make them a popular choice in many robotic applications.
The components needed to control an LED by ESP32
To control an LED using an ESP32, you will need the following components:
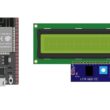
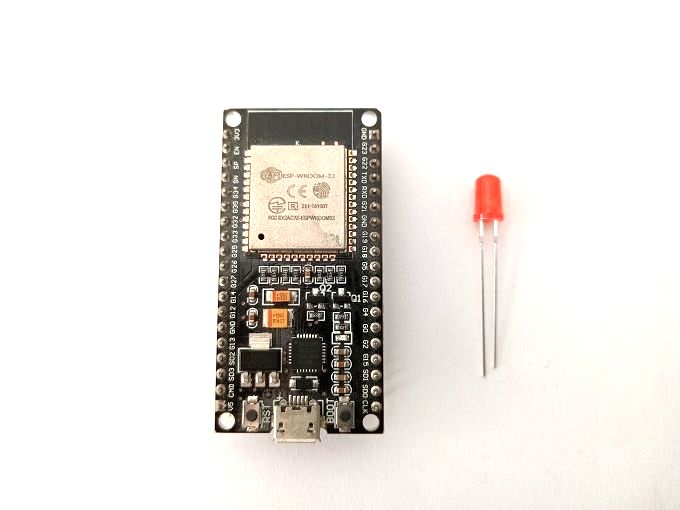
ESP32 Board: The ESP32 is a microcontroller board that features built-in WiFi and Bluetooth capabilities. It can be programmed and used to control the LED.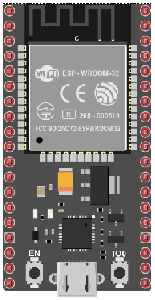
LED: Choose an LED of your choice, considering its operating voltage and brightness. Make sure the LED is compatible with the output voltage of the ESP32 (typically 3.3V).![]()
Resistor: To protect the LED and limit the current passing through it, you will need an appropriate resistor. The value of the resistor will depend on the power supply voltage and the specifications of the LED. A common resistor used with an LED is around 220 ohms. ![]()
Jumper wires: Use jumper wires to connect the LED to the ESP32 board.
Breadboard: A breadboard is a prototyping board that allows you to build circuits without soldering. It provides a convenient way to connect the components together. 
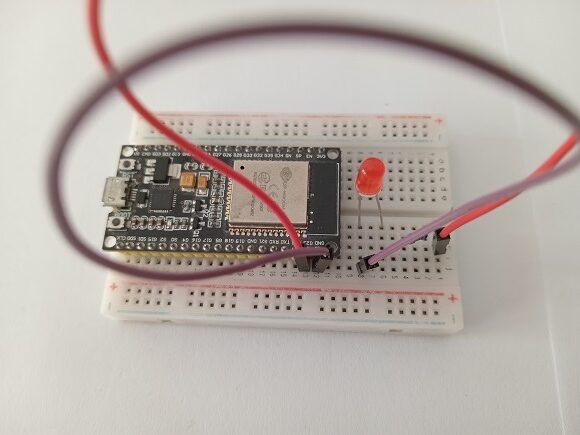
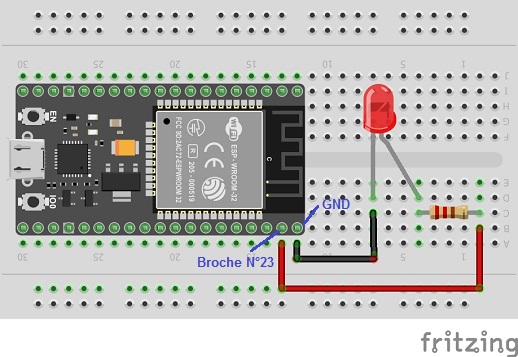
Mounting the ESP32 card with an LED
Once you have gathered these components, you can proceed with the following steps to control the LED:
1- Connect the anode of the LED (the longer leg) to a digital output pin on the ESP32 board. For example, you can connect it to GPIO pin 23.
2- Connect the cathode of the LED (the shorter leg) to the resistor. Then, connect the other end of the resistor to the ground (GND) pin on the ESP32 board.
Lighting an LED by ESP32 card
To light an LED using an ESP32 board with MicroPython, use the following MicroPython code to light up the LED:
|
1 2 3 4 |
from machine import Pin led_pin = Pin(23, Pin.OUT) # Define the LED pin led.value(1) # Turn on the LED |
Upload the code to the ESP32 board using your MicroPython editor.
Once the code is uploaded and the physical connections are made, the LED should start to light up based on the code.
Blink an LED by ESP32 card
To blink an LED using an ESP32 board with MicroPython, use the following MicroPython code to blink the LED:
|
1 2 3 4 5 6 7 8 9 10 11 |
from machine import Pin import time led_pin = Pin(23, Pin.OUT) # Define the LED pin while True: led_pin.value(1) # Turn on the LED time.sleep(1) # Wait for 1 second led_pin.value(0) # Turn off the LED time.sleep(1) # Wait for 1 second |
This code will blink the LED connected to GPIO pin 23 with a period of 1 second.
Upload the code to the ESP32 board using your MicroPython editor.
Once the code is uploaded and the physical connections are made, the LED should start to blink based on the code. Adjust the sleep durations (time.sleep()) to modify the timing of the LED's on and off states as desired.
0 comment
Leave a comment
Passion for robotics

Recent tutorials


Robotics workshop

Polpular tutorials


Making robots

Most commented tutorials


Robotic arm

Categories
Smart Home