Micro:bit Pacman Game
Tutorial plan
1- Presentation of Pac-Man game
2- Objective of our Pac-Man Game
3- Required Components
4- Component Wiring
5- Programming Makecode with Makecode
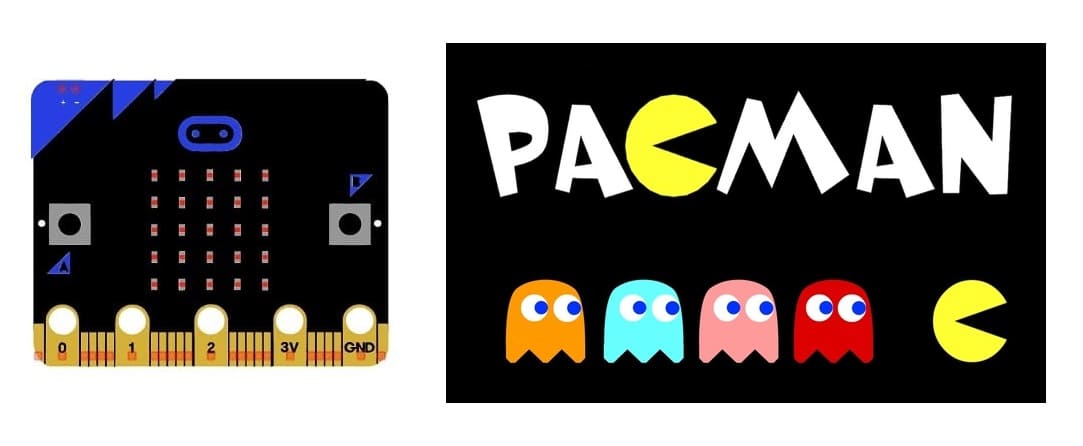
Presentation of Pac-Man game
Pac-Man is a classic arcade game developed by Namco and released in 1980. Designed by Toru Iwatani, the game became one of the most recognizable and influential video games of all time. Unlike many early arcade games that focused on space shooting (such as Space Invaders), Pac-Man introduced a maze-navigation concept with simple but engaging gameplay.
Objective
The player controls Pac-Man, a yellow, circular character who navigates through a maze filled with small dots called pellets. The goal is to eat all the pellets in the maze while avoiding four enemy ghosts that chase Pac-Man.
Controls
- The game is played using a joystick or arrow keys (in modern versions).
- Pac-Man moves continuously in the chosen direction until he hits a wall or changes direction.
Enemies: The Four Ghosts
The game features four ghosts, each with unique movement patterns and AI behavior:
- Blinky (Red) – The fastest ghost, actively chases Pac-Man.
- Pinky (Pink) – Tries to ambush Pac-Man by predicting his movements.
- Inky (Blue) – Moves unpredictably, making him difficult to avoid.
- Clyde (Orange) – Randomly moves but avoids Pac-Man when he gets too close.
Power-Ups: Power Pellets
- Large flashing dots called Power Pellets appear in the maze.
- When Pac-Man eats a Power Pellet, the ghosts turn blue and become vulnerable.
- Pac-Man can eat the ghosts during this period for bonus points.
- After a few seconds, the ghosts respawn at their starting position.
Game Progression
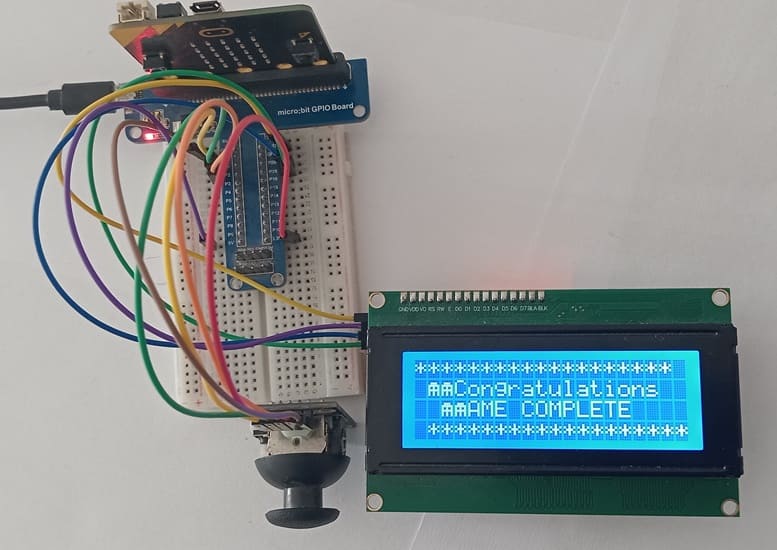
- Once Pac-Man eats all the pellets, the level resets with an increased difficulty.
- The game continues with faster ghosts and shorter Power Pellet effects.
Objective of our Pac-Man Game
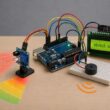
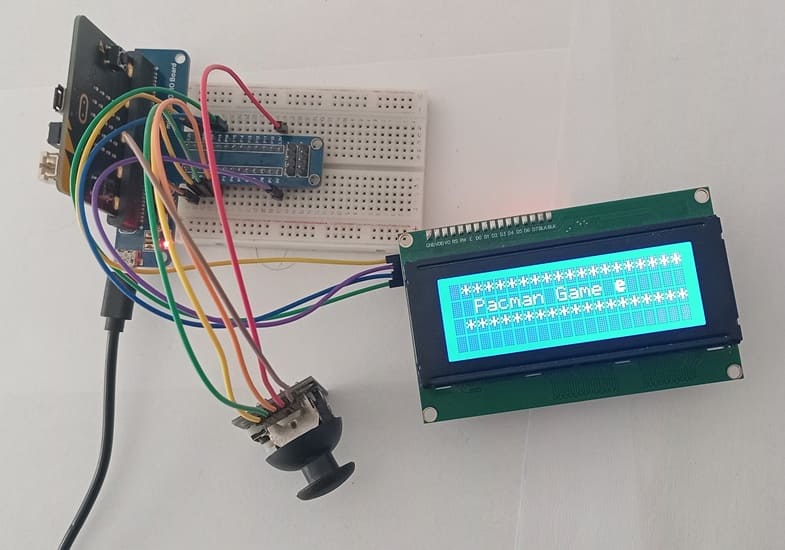
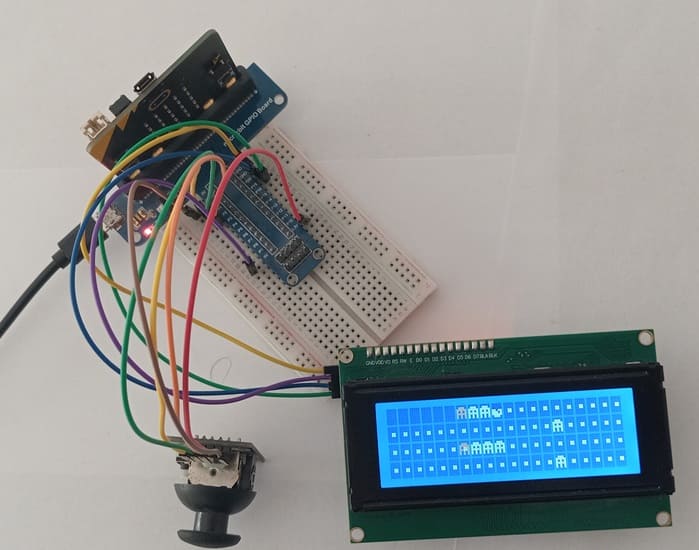
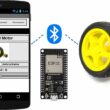
This project recreates the Pac-Man game using a BBC Micro:bit, a joystick, and an LCD I2C display. The Micro:bit acts as the main controller, the joystick is used for movement, and the LCD display shows the game interface.
Objective
1- Control Pac-Man using the joystick.
2- Eat all the pellets displayed on the LCD screen.
3- Avoid enemy ghosts (displayed on the screen).
Controls (Using Joystick)
- Move Left → Push joystick left
- Move Right → Push joystick right
- Move Up → Push joystick up
- Move Down → Push joystick down
LCD I2C Display
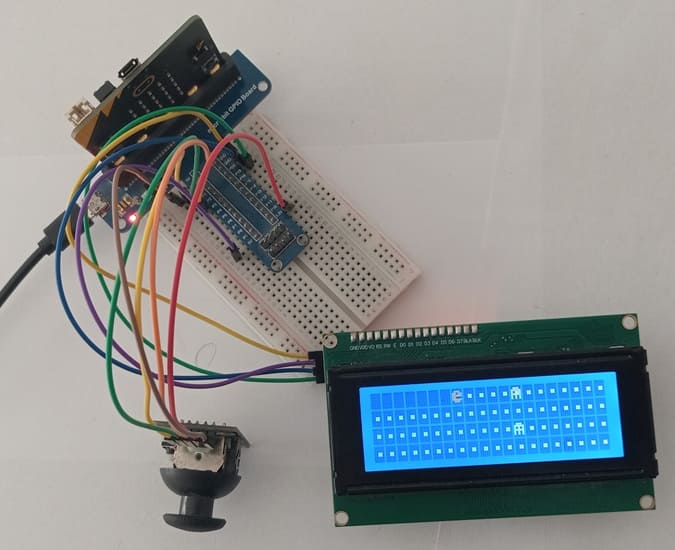
1- Shows Pac-Man (🟡), pellets (•), and ghosts (👻).
2- Updates in real-time as the joystick is moved.
Required Components
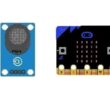
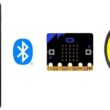
Micro:bit V2:

It acts as the game controller and processor.
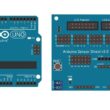
GPIO Expansion Board

It provides additional GPIO pins for interfacing the joystick and LCD screen with the Micro:bit.
Joystick
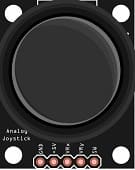
- The joystick module acts as an analog sensor, measuring movement in X and Y axes.
- It sends analog signals to the Micro:bit, which converts them into movement directions.
LCD I2C Display
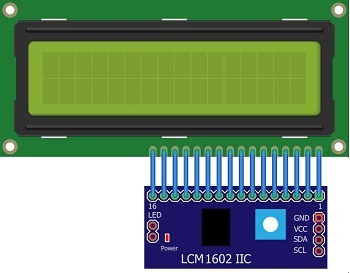
- The LCD I2C screen is used to display the maze, including Pac-Man, pellets, and ghosts.
- The Micro:bit updates the screen based on joystick input and game state.
Jumper Wires

Jumper wires will be used to make connections between the components.
Breadboard:

A breadboard can be used to create a temporary circuit for testing and prototyping.
Component Wiring
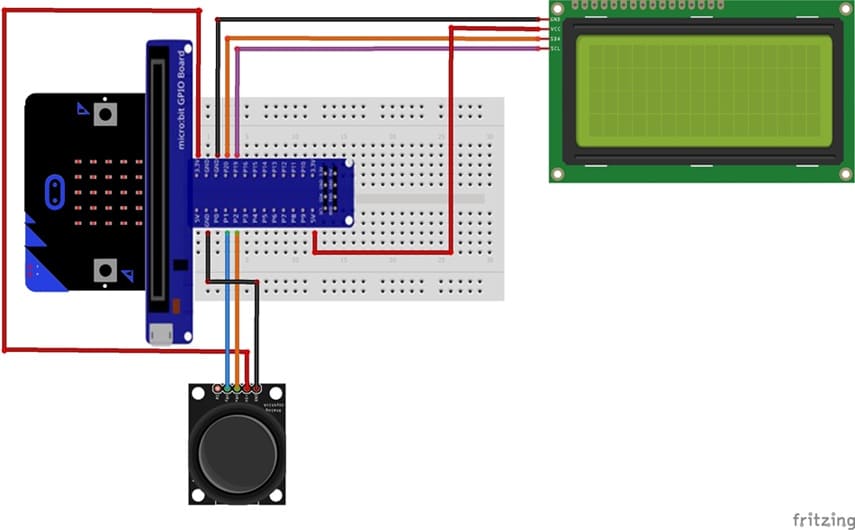
1- Joystick to Micro:bit :
X-axis (VRx pin ) → Analog input pin on GPIO board (e.g., P2).
Y-axis (VRy pin) → Analog input pin on GPIO board (e.g., P1).
LCD Screen (I2C-based) to Micro:bit :
SDA → Pin 19 (I2C Data).
SCL → Pin 20 (I2C Clock).
VCC → 3.3V or 5V.
GND → Ground.
Programming Makecode with Makecode
1- Setup in MakeCode:
Open the MakeCode editor.
Install the required extensions:
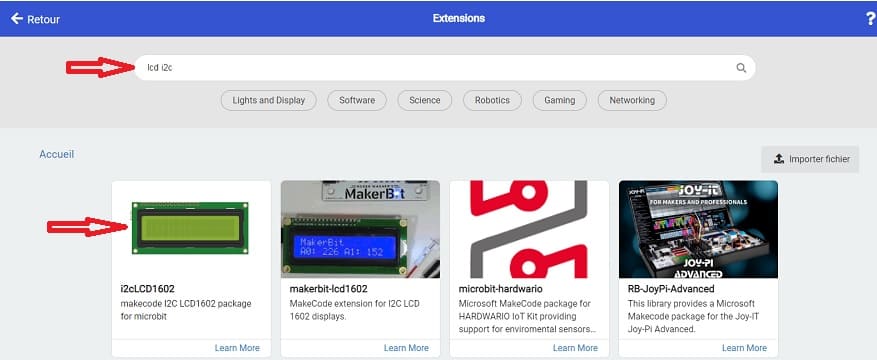
a- LCD extension for I2C control.
In the MakeCode editor, look for the "Extensions" option and click on it.

In the search bar, type "I2C LCD," and you should find an extension for the I2C LCD display. Add it to your project.
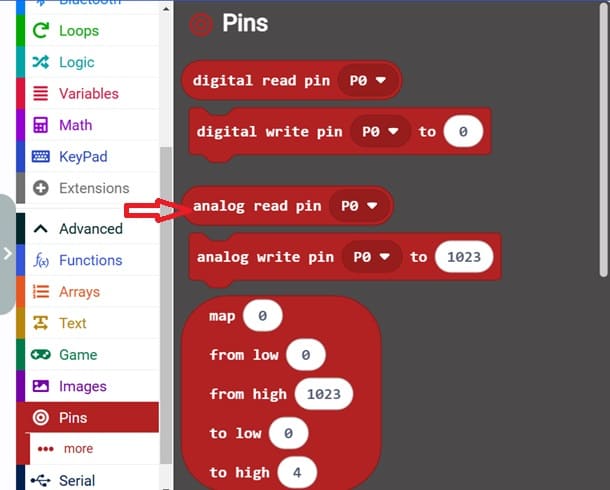
b- Analog Input for joystick readings.
Go to Pins and choose 'analog read pin P0' in order to read the value returned by joystick.
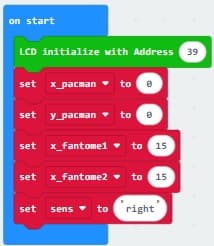
2- Initialization:
Initialize the LCD screen in the on start block.
Set up variables for the positions of Pac-Man ('o') and ghosts ('x').
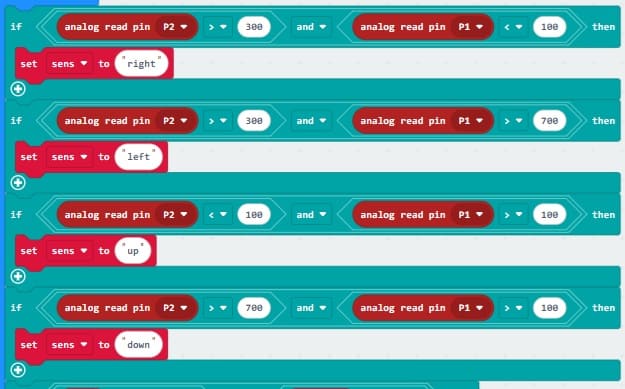
3- Joystick Input:
a- Read the joystick's analog values for X and Y axes.
b- Map the values to determine movement directions (left, right, up and down).
c- Move the Pac-Man by updating its head position based on the joystick input.
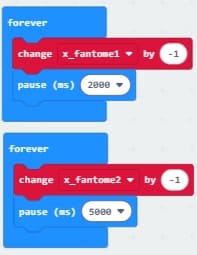
4- Moving ghosts :
Ghosts move toward Pac-Man.
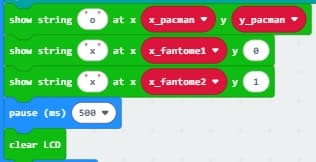
5- Display Updates:
Use the LCD to show the Pac-Man and the ghosts
Clear and refresh the LCD at each update.
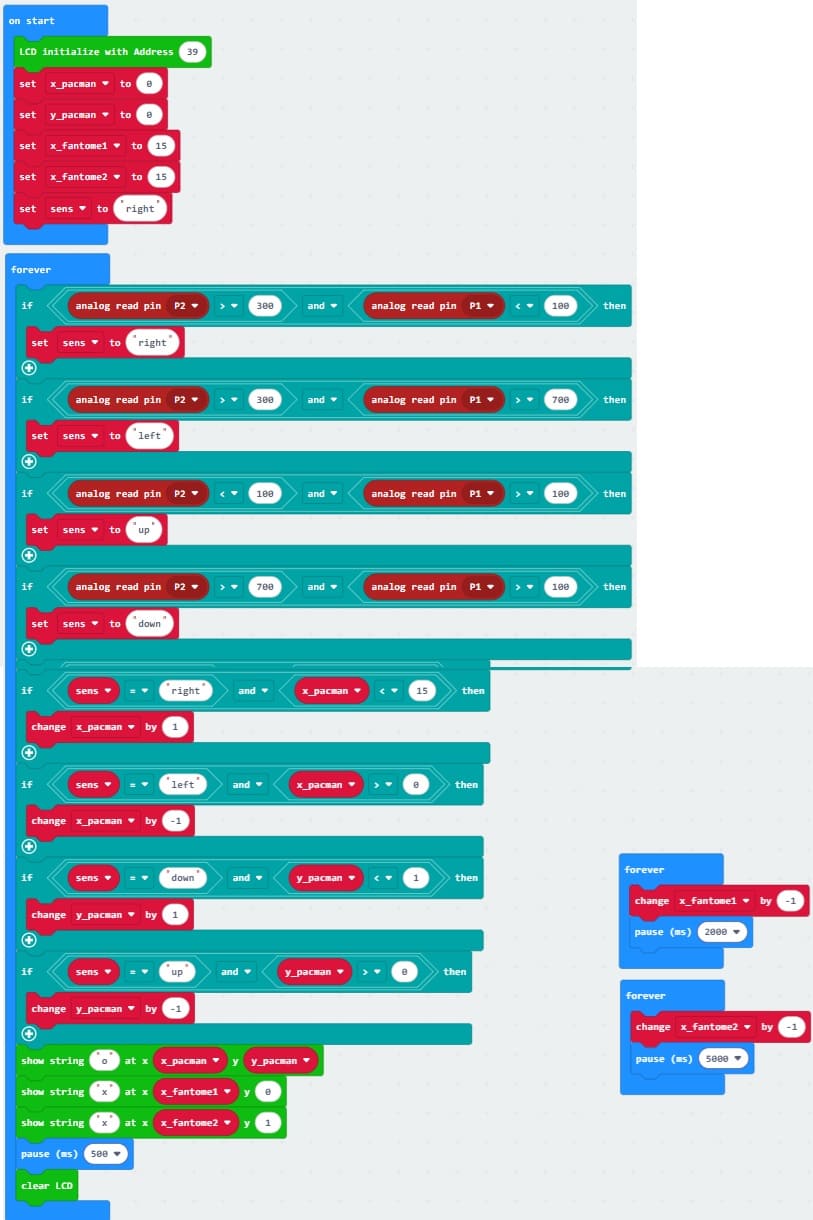
Here is the complete Makecode program :
0 comment
Leave a comment
Passion for robotics

Recent tutorials


Robotics workshop

Polpular tutorials


Making robots

Most commented tutorials


Robotic arm

Categories
Smart Home