Exchanging messages between two Micro:bit boards via radio
Tutorial plan
1- The Micro:bit board and the radio
2- Programming two Micro:bit boards with Makecode
The Micro:bit board and the radio
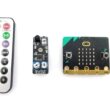
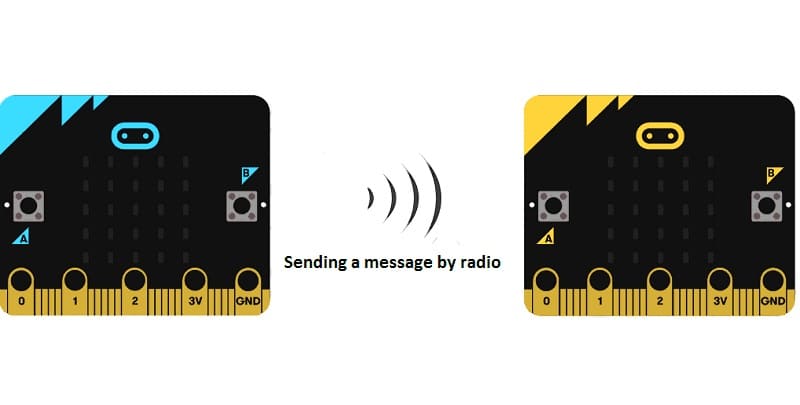
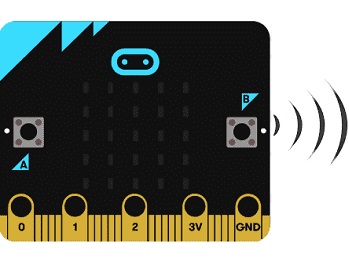
The Micro:bit board is a small, programmable device designed to make learning coding and electronics easy and fun. It comes with a variety of built-in features, including a radio module that allows multiple Micro:bit devices to communicate wirelessly.
The Radio Module
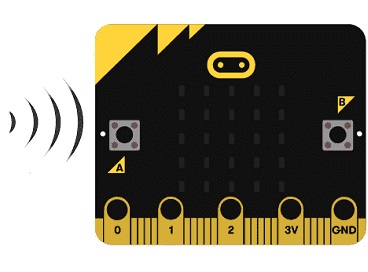
The radio module on the Micro:bit enables simple communication over short distances. It uses the 2.4 GHz frequency band to send and receive messages between Micro:bits. This feature is useful for creating wireless projects, such as:
Multiplayer games
Group messaging
Remote-controlled devices
Sensor networks
Key Features of the Radio Module
1. Group Communication: The radio module supports "groups," allowing devices in the same group to exchange messages without interfering with others outside the group. Groups are defined by a numerical channel (0–255).
2. Message Size: Each message sent via the radio can be up to 251 bytes long.
3. Broadcasting: Messages are broadcasted to all devices in the same group.
4. Range: The range depends on environmental factors but typically extends to a few meters indoors and further outdoors.
Programming two Micro:bit boards with Makecode
Here's how to program two Micro:bit boards in MakeCode to exchange messages using the radio module. We'll configure the boards so that pressing Button A on one Micro:bit sends a message to the other, and the receiving Micro:bit displays the message on its LED matrix.
Micro:bit #1 - Sender
1. Go to the MakeCode editor.
2. Add the Radio blocks from the toolbox.
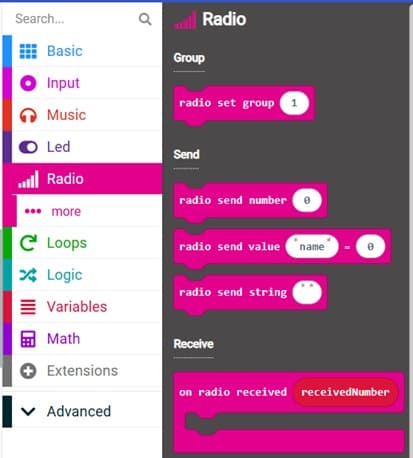
3. Set up the following program:
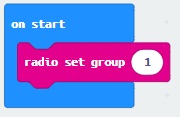
Use the on start block to set the radio group (e.g., radio set group to 1).
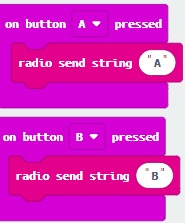
Use the on button A pressed block to send a message (e.g., "A").
Use the on button B pressed block to send a message (e.g., "B").
Micro:bit #2 - Receiver
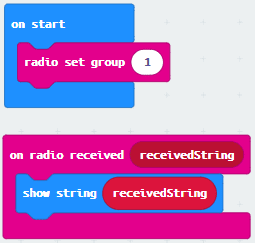
1. Use the same steps to create a new program in MakeCode for the second Micro:bit.
2. Set the radio group to match Micro:bit #1 (e.g., group 1).
3. Use the on radio received block to display incoming messages on the LED matrix.
