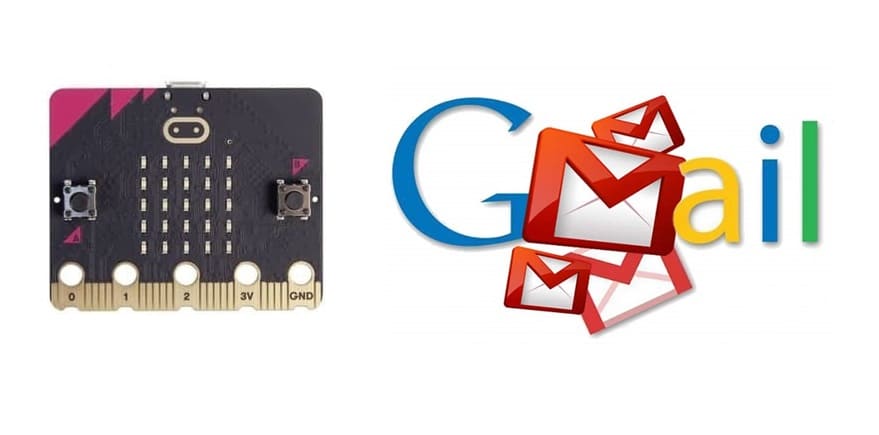
Sending email with Micro:bit and ESP8266 Wifi module
Tutorial plan
1- Presentation of IFTTT Webhook
2- How to send an email with the Micro:bit board ?
3- The necessary components
4- Wiring Overview
5- Programming Micro:bit with Makecode
Presentation of IFTTT Webhook
A webhook in IFTTT is an HTTP-based trigger that listens for requests from a specific URL. When the URL is accessed with the correct event name and key, it triggers the corresponding action you've configured in your IFTTT applet.
1- Create an IFTTT account at ifttt.com.
2- Navigate to the "Create" page to set up an applet.
3- Choose a trigger:
Select the Webhook service.
Set the trigger event name, e.g., microbit_email.
4- Choose an action:
Select the Email service.
Configure it to send an email to your desired recipient.
5- Save the webhook and note the key provided by IFTTT:
Go to the Webhook settings page: IFTTT Webhooks.
Copy your unique key, which is part of the URL: https://maker.ifttt.com/trigger/{event}/with/key/{your_key}.
How to send an email with the Micro:bit board ?

Here’s how pressing button A on the Micro:bit sends an email:
Step 1: Initial Setup
1. The Micro:bit is programmed with a script to:
Monitor button A for presses.
Communicate with the ESP8266 over UART.
2. The ESP8266 is set up to:
Respond to AT commands from the Micro:bit.
Connect to a WiFi network using the provided credentials.
Step 2: Button Press
1. Event Detection:
When button A is pressed, the Micro:bit detects the event in its main loop.
2. Command Execution:
The Micro:bit sends a series of AT commands to the ESP8266:
Start a TCP connection to maker.ifttt.com.
Send the HTTP GET request to trigger the Webhook.
Step 3: Trigger the Webhook
1. The ESP8266 sends the HTTP GET request to the IFTTT Webhook URL:
2. The Webhook service validates the request and triggers the associated IFTTT applet.
Step 4: Send the Email
1. The IFTTT applet sends an email to the specified recipient.
2. The email contains the content you configured in the applet.
The necessary components
Micro:bit Board
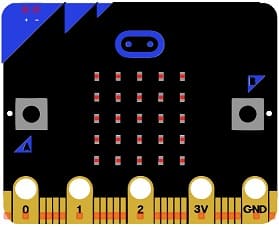
The Micro:bit acts as the controller:
Input: Button A press.
Communication: Sends commands to the ESP8266 via UART (TX/RX pins).
ESP8266 WiFi Module

The ESP8266 module handles the network communication:
WiFi Connection:
The Micro:bit sends the WiFi credentials (SSID and password) to the ESP8266 using AT commands.
The ESP8266 connects to the specified network.
HTTP Request:
When triggered by the Micro:bit, the ESP8266 sends an HTTP GET request to the IFTTT Webhook URL.
Response Handling:
The ESP8266 receives a response from the Webhook server (usually a 200 OK) and communicates it back to the Micro:bit.
GPIO Expansion Board
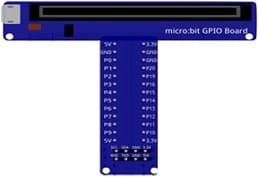
Provides additional GPIO pins for interfacing the ESP8266 WiFi Module with the Micro:bit.
3V/5V power module
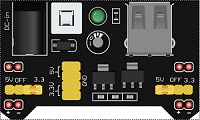
It supplies a stable 5V with sufficient current for the ESP8266.
Jumper Wires

Jumper wires will be used to make connections between the components.
Breadboard:
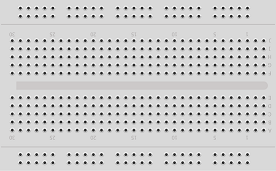
A Breadboard provides a platform to arrange and connect components without soldering.
Wiring Overview
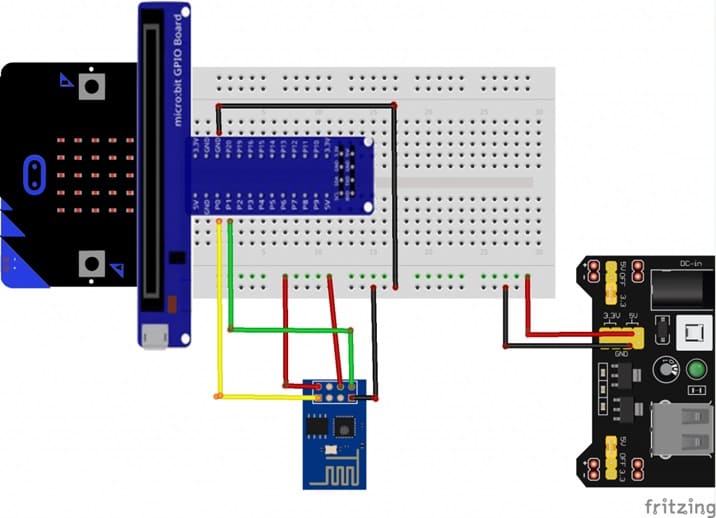
To perform the assembly, you can connect
- The RX pin of the ESP8266 card to Pin P0 of the Micro:bit card
- The TX pin of the ESP8266 card to Pin P1 of the Micro:bit card
- The GND pin of the ESP8266 board to the GND of the Micro:bit board
- The two pins 3V3 and EN of the ESP8266 board to the 5V pin of the power supply module
Programming Micro:bit with Makecode
1- Setup in MakeCode:
Open the MakeCode editor.
Install ESP8266 extensions
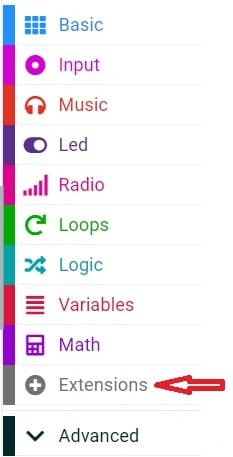
In the MakeCode editor, look for the "Extensions" option and click on it.
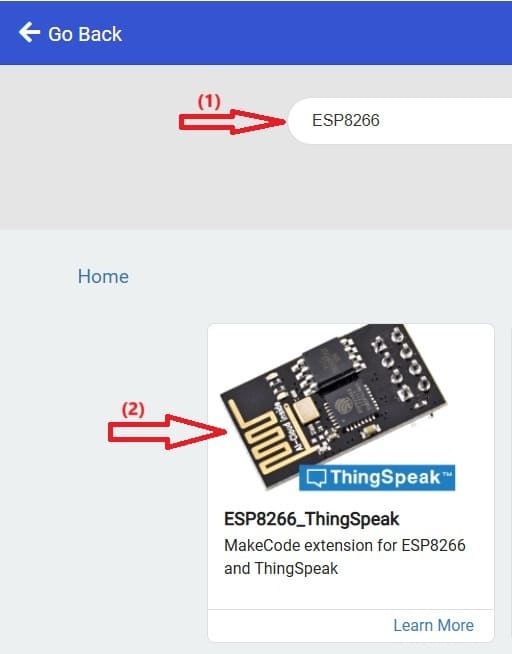
In the search bar, type "ESP8266," and add it to your project.
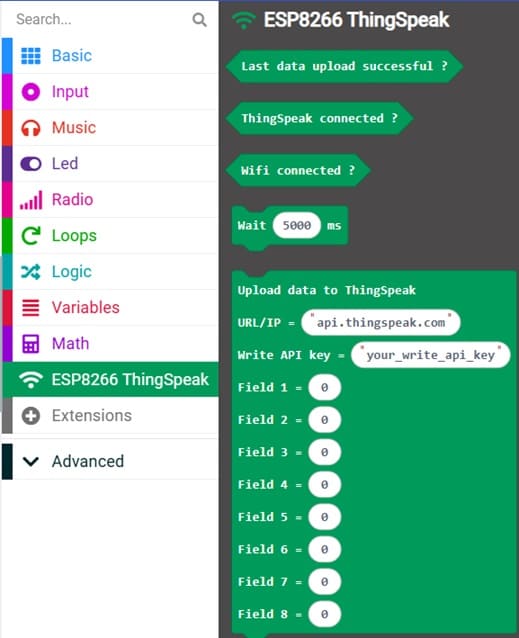
Here is the complete Makecode program :
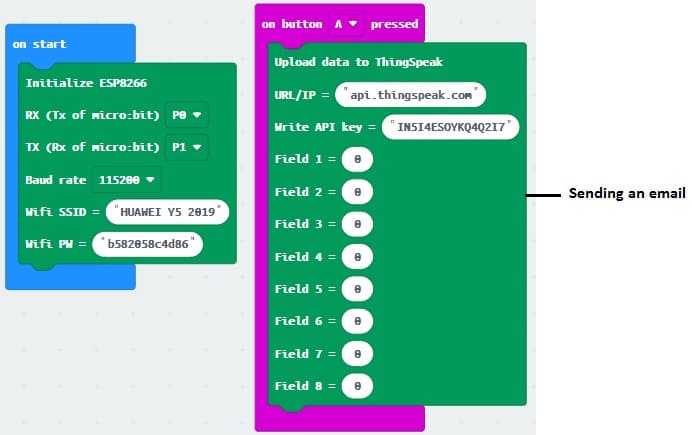
Upload the Code and test the Setup
1- Replace YOUR_SSID, YOUR_PASSWORD, and YOUR_IFTTT_KEY with your WiFi credentials and the IFTTT webhook key.
2- Download the .hex file and flash it to your Micro:bit using the USB cable.
3- Power on the Micro:bit and the ESP8266.
4- Press button A on the Micro:bit.
5- The Micro:bit will connect to WiFi and trigger the IFTTT webhook.
6- Check your email for the IFTTT-triggered message.


