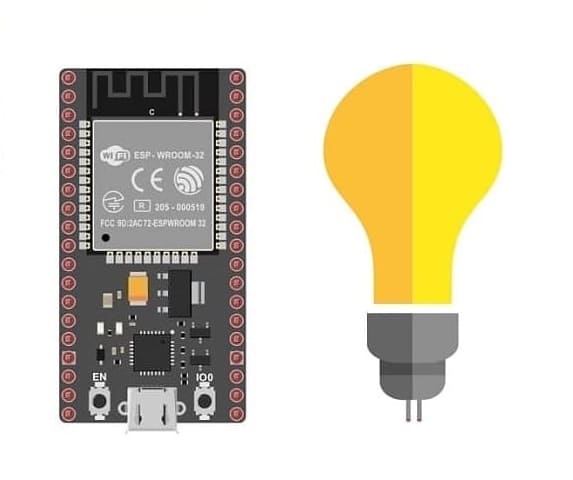
Control a lamp by the ESP32 card
Tutorial plan
1- Role of the relay for ESP32 card
2- The components needed to control a lamp by ESP32 card
3- Mounting the ESP32 card with a lamp and a relay
4- Program the ESP32 card with Micropython language to flash the lamp
Role of the relay for ESP32 card
The relay plays a crucial role in extending the functionality of an ESP32 board by enabling it to control higher-power circuits or devices that require more electrical power than the board can provide directly. Here's how the relay functions within the context of an ESP32:
Power Control: The ESP32 operates at relatively low voltage and current levels (such as 3.3V or 5V). However, many devices or appliances typically operate at higher voltages or currents. A relay acts as a switch that can handle these higher power requirements.
Isolation: It provides electrical isolation between the ESP32 and the high-power circuit. This ensures that the delicate electronic components on the ESP32 are protected from potential damage due to voltage spikes or other electrical disturbances in the high-power circuit.
Control Interface: Relays have two states: normally open (NO) and normally closed (NC). When the relay is triggered by the ESP32, it can change its state from open to closed or vice versa, thereby allowing or interrupting the flow of electricity to the connected device.
Application: With an ESP32, you can control the relay by sending digital signals from the GPIO pins. By switching the relay on or off, you control the power supply to external devices like lights, motors, heaters, or other high-power appliances.
For instance, if you want to turn on or off a high-power device using an ESP32, you'd connect the device to the relay, and the relay would be controlled by the ESP32 to complete or break the circuit, thus controlling the device's power supply.
Overall, the relay acts as an intermediary switch that allows the ESP32 to safely and effectively control devices requiring higher power, expanding the range of applications for the ESP32 in various projects involving the control of electrical appliances or systems.
The components needed to control a lamp by ESP32 card
To control a lamp using the ESP32 board, you will need the following components:
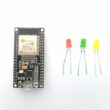
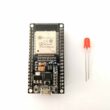
ESP32 Board:
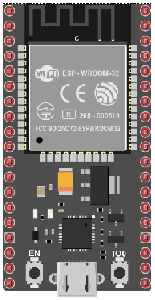
The ESP32 is a microcontroller board that features built-in WiFi and Bluetooth capabilities. It can be programmed and used to control the lamp.
Relay Module:
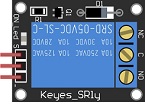
You'll need a relay module that is compatible with the ESP32 card and can switch the high-voltage lamp. Ensure it's rated for the voltage and current required for your lamp.
Lamp (220V):

The lamp you want to control, which is rated for 220V. Ensure it's in working condition and safe to use.
Power Supply for the Lamp:

You'll need a power source for the lamp, typically a 220V AC power supply.
Wiring:
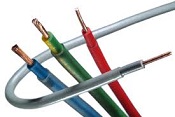
They safely connect a 220V AC lamp to a relay module that is controlled by the ESP8266 NodeMCU board.
Breadboard:

A breadboard is a prototyping board that allows you to build circuits without soldering. It provides a convenient way to connect the components together.
Jumper Wires:

You'll need jumper wires to make connections between the ESP32 card, lamp, relay, and breadboard. Ensure you have male-to-male jumper wires or a mix of male-to-male and male-to-female wires, depending on your specific needs.
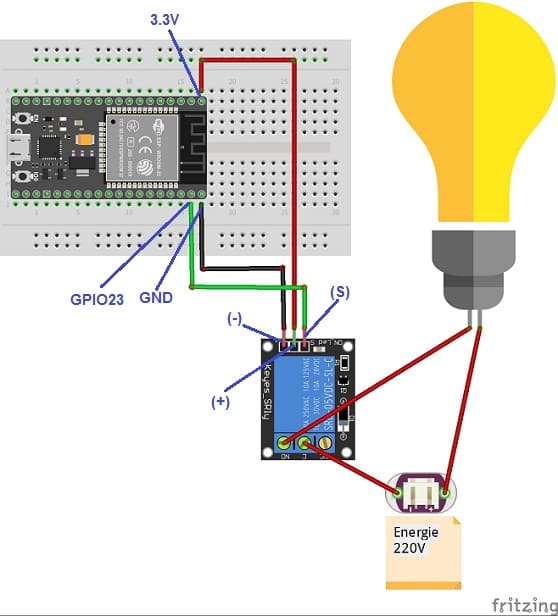
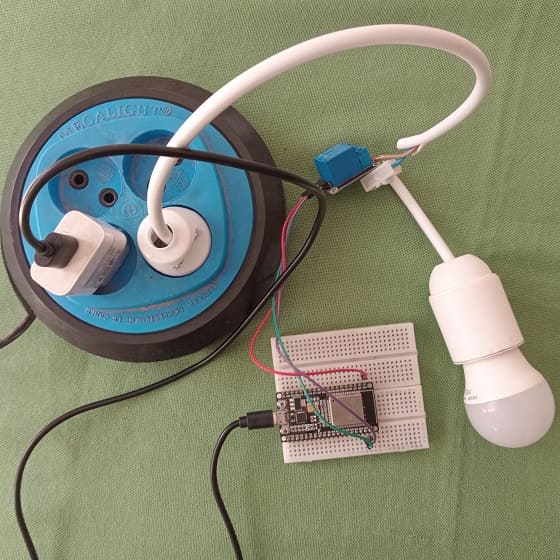
Mounting the ESP32 card with a lamp and a relay
To control a lamp using a ESP32 board, you will need to use a relay module to safely interface the low-voltage ESP32 card with the high-voltage lamp. Here are the step-by-step instructions to set up the ESP32 with a lamp:
1- Safety First: Ensure the lamp is disconnected from any power source before proceeding.
2- Connect the Relay to the ESP32:
- Connect the relay's control pin (S) to pin 23 of ESP32 board.
- Connect the pin (+) of relay to pin 3.3V of ESP32 board.
- Connect the relay's ground pin (GND) to the ESP32's GND.
3- Connect the Lamp and the power supply to the Relay:
- Connect one of the power supply's wires to the relay's common (COM) terminal.
- Connect the phase wire of the the lamp to the normally open (NO) terminal of the relay.
- Connect the neutral wire of the power supply directly to the neutral wire of the lamp.
Program the ESP32 card with Micropython language to flash the lamp
To flash a lamp using an ESP32 board with MicroPython, use the following MicroPython code to blink the lamp:
|
1 2 3 4 5 6 7 8 9 10 11 12 |
from machine import Pin import time # Configure the GPIO pin to control the relay as an output relay_pin = Pin(23, Pin.OUT) while True: relay_pin.value(1) # Turn on the lamp by activating the relay time.sleep(1) # Wait for 1 second relay_pin.value(0) # Turn off the lamp by deactivating the relay time.sleep(1) # Wait for 1 second |
This code will blink the Lamp by the relay connected to GPIO pin 23 with a period of 1 second.
Upload the code to the ESP32 board using your MicroPython editor.
Once the code is uploaded and the physical connections are made, the lamp should start to blink based on the code. Adjust the sleep durations (time.sleep()) to modify the timing of the lamp's on and off states as desired.
0 comment
Leave a comment
Passion for robotics

Recent tutorials


Robotics workshop

Polpular tutorials


Making robots

Most commented tutorials


Robotic arm

Categories
Smart Home