What is a Micro:bit card ?
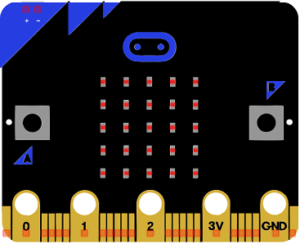
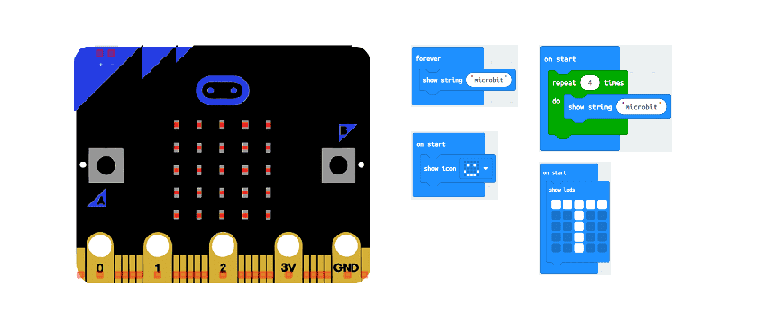
The Micro:bit is a pocket-sized, programmable computer that was designed by the BBC and several partners as a tool to help students learn about coding and electronics. It is a small, low-cost, and easy-to-use device that allows users to create a wide range of projects, from simple games to complex robots.
The Micro:bit card includes a number of features that make it a powerful learning tool. It has 25 programmable LED lights that can be used to create simple animations or display messages, as well as two buttons, an accelerometer, and a compass. It also includes wireless communication capabilities, allowing it to communicate with other Micro:bits or with other devices such as smartphones or computers.
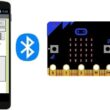
To program the Micro:bit, users can use a variety of programming languages and environments, including block-based languages like Scratch and JavaScript-based languages like MicroPython. The Micro:bit can be connected to a computer using a USB cable, or it can be programmed wirelessly using Bluetooth.
Using MakeCode as a programming language for the Micro:bit board
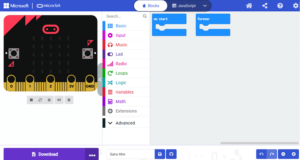
MakeCode is a free, open-source platform for creating interactive experiences with technology. It was created by Microsoft as a tool for teaching coding and computational thinking to students of all ages and skill levels.
MakeCode supports a variety of programming languages, including block-based languages like Scratch and JavaScript-based languages like TypeScript. It also includes a variety of tools for working with hardware, such as support for microcontrollers like the Micro:bit and Circuit Playground, as well as sensors and other electronics components.
One of the key features of MakeCode is its visual programming interface, which allows users to drag and drop blocks of code to create programs. This makes it easy for beginners to learn the basics of coding, while also providing more advanced users with the flexibility to write their own code.
In addition to its programming tools, MakeCode also includes a variety of resources and tutorials to help users get started with coding and electronics. It also has a strong community of users who share projects, tips, and resources with each other.
Display text on the Micro:bit board displa
To display text on the Micro:bit board display with MakeCode, follow these steps:
- Go to the MakeCode website and create a new project for the Micro:bit.
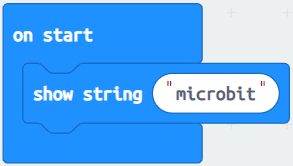
- In the "Basic" category of the code editor, drag the "show string" block and drop it into the workspace.
- Click on the text field in the "show string" block and type the text that you want to display.
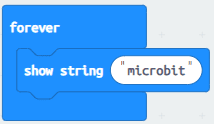
- Drag the "forever" block from the "on starts" category and snap it around the "show string" block. This will make the text display continuously on the board.
- Connect your Micro:bit to your computer and click on the "Download" button in the MakeCode editor.
- A file with a .hex extension will be downloaded. Drag and drop this file onto the Micro:bit drive that appears on your computer to transfer the code to the board.
- Your Micro:bit will now display the text that you entered in the "show string" block.
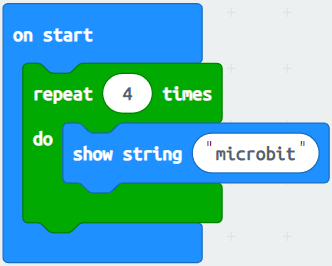
Here's an example code block in MakeCode to display the text "micro:bit!" on the Micro:bit board display:

